How to make a biovore
This time it will be how to make a biovore.
What we need
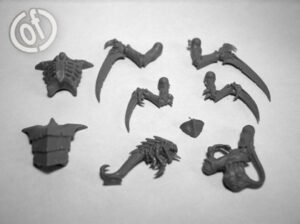
- Parts needed for a plastic biovore:
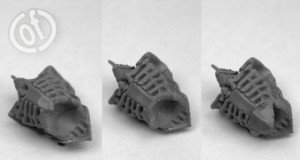
- warrior body
- set of warrior scything talons
- set of hormagaunt scything talons
- one ripper
- left arm from warrior barbed strangler
- chitinous armour plate from gaunt weapon sprue
- green stuff
Carving and glueing
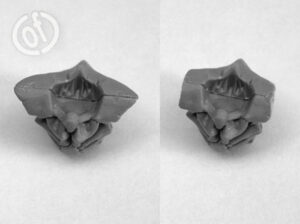
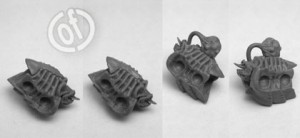
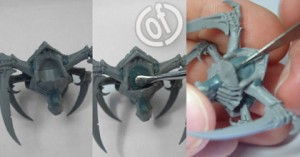
The first thing to do is preparing the warrior’s body. Cut off the shoulder armour plates to make some space for front legs.Remember to round the edges with knife.
Cut off the rear part of the neck to achieve a flat surface- this will be the place for the ripper’s head.
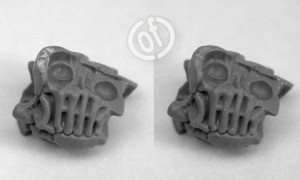
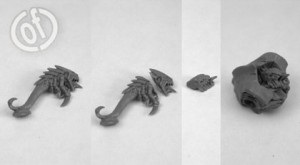
Cut the ripper in half and match the head to the body.
Remove the plastic triangle that is standing out in lower part of warrior’s body and glue there chitinous armour plate from a gaunt
Take the barbed strangler arm and cut off the bag with spore mines.
Prepare the chest by flattening it with a knife and place the spore mines bag there.
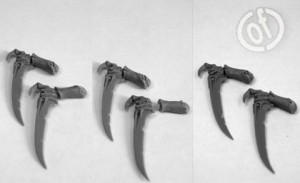
Now it’s time for the legs. Take a scything talon and cut it apart as in the picture. Make the end of it round and make sure that it fits the holes in the main body.
Standard scything talons aren’t identical so you have to adjust angles or legs won’t fit on standard biovore base.
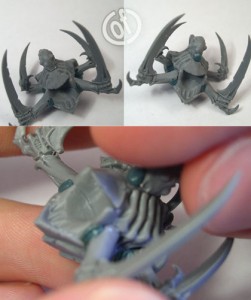
If you have done all the previous things you should now glue legs into place. The best method to do it, is gluing all legs at once. You should find a good pose and look out not to place them very wide because they wouldn’t fit onto base.
Green stuff time!
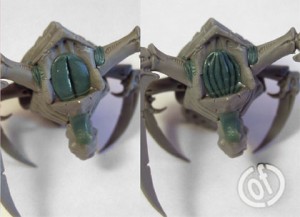
The next step is to hide the leg-body connections. The fastest way to do it is placing there some greenstuff. Make a small roller and place it directly on the connection. Then push some small channels with a sharp knife. This will give you a nice looking pattern.Fill in any gaps near the bag with green stuff. To achieve smooth surface stroke it with wet finger several times.
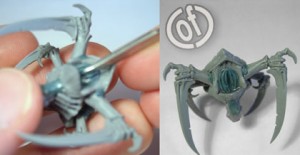
The final stage is making his rear part
Make the central channel a bit wider than the rest by pushing it with bigger knife or sculpting tool.





No comments:
Post a Comment