TUTORIAL: Plaster Walls
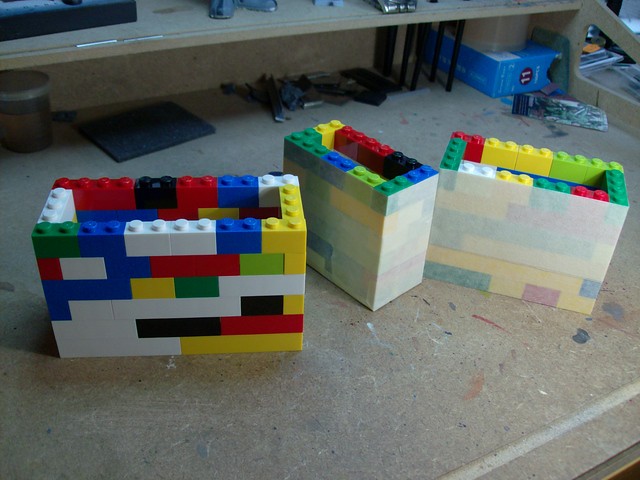
First of all, make some rectangular and empty structures. Those will serve us like a mold. Then, use some masking tape to seal the gaps between the LEGO blocks.
Then you must prepare the plaster. There is a mathematical formula to mix it properly, a weigth-volume relation. 18ml of water to 100gr of plaster. But I think none of you have something to weigth such measures, so keep in mind a part of water to 5 parts of plaster.

Mix properly for a minute, and then pour the plaster quickly in the "mold". In dentistry, you must avoid at all cost the bubbles, with the vibration of a machine, or simply hiting the mold at the desk. For this purpose, the bubbles will be just fine. At least the little ones.
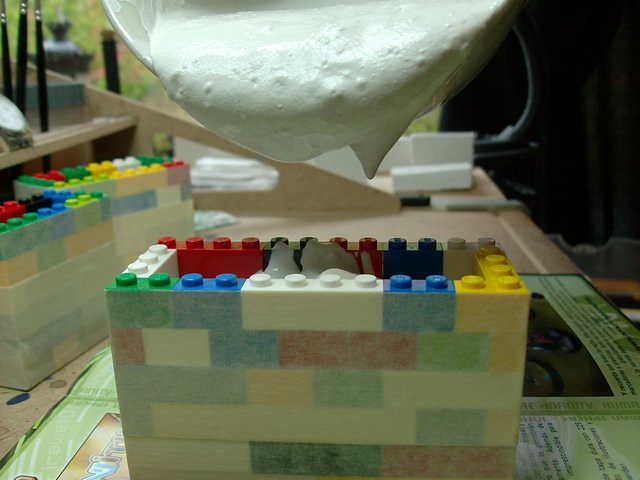
Just try to pour enough plaster to fill the mold, hit it softly at the desk, and if you notice the level of plaster goes dramatically down, add more plaster. If not, just hit until the surface is flat and a little more.

The piece of plaster will get hotter, then cooler, it will evaporate some water and then it will heat again to become cooler slowly. Just wait half an hour to undo the mold.

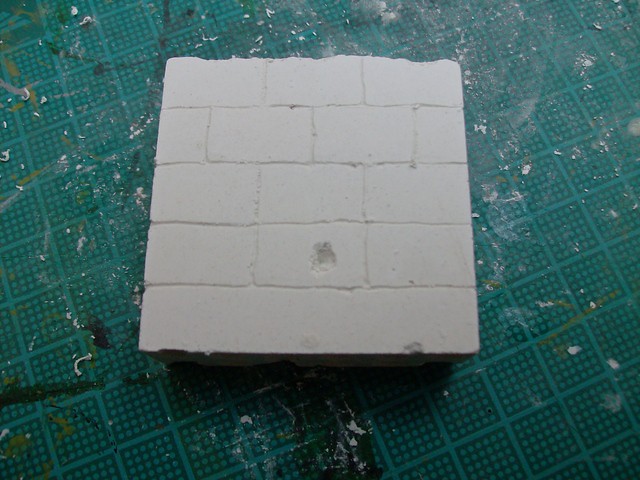
Voilà!!
Now you have a decent piece of plaster that looks good from 3 meters away. You can't leave it that way, can you?

As I said, in dentistry you must make the casts bubble-free. But for wargaming pieces of terrain, the little bubbles in the walls will look just fine!

With the help of a tip, a needle, a clip, a nail or anything pointy, make sure you "sculpt" the gaps between the blocks following the molding lines.
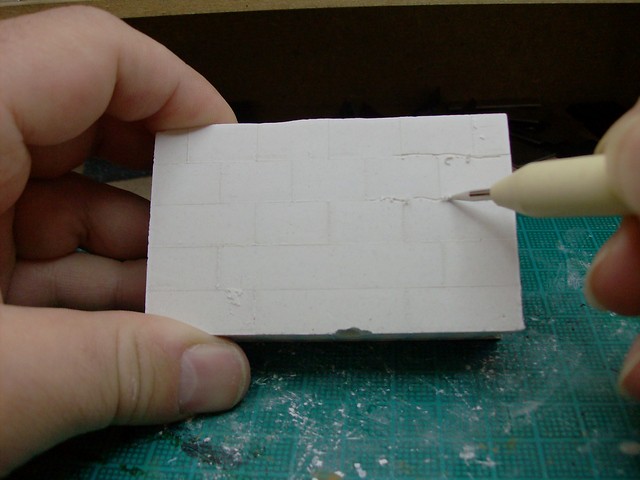
Add some more holes and little imperfections to the wall.

It should look like more or less like this:

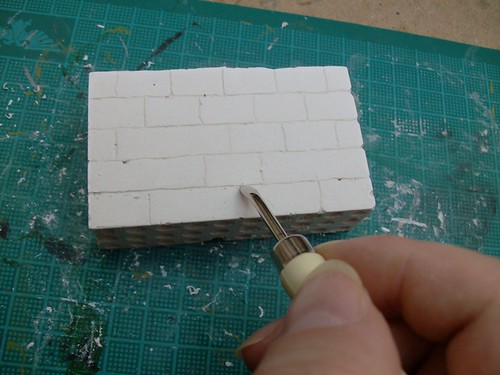
With the help of a modelling file, make the surface flat. With a modelling knife, sculpt the gap details from the upper blocks.

Now, to texturize the surface of the blocks you can use a wire brush or some pomice powder. Any oh these will look fine. You can ever mix both.

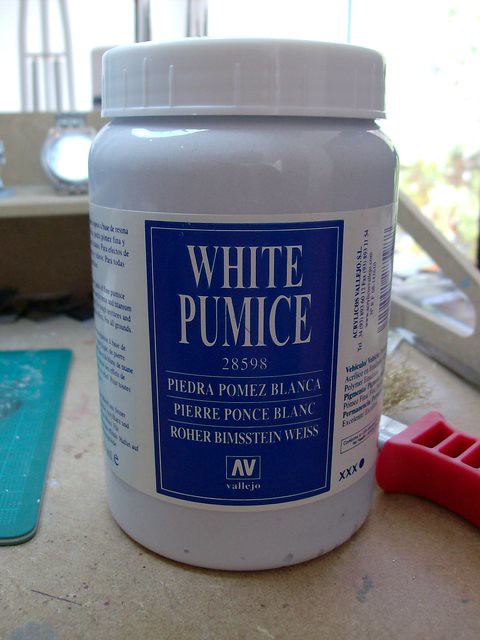
You can get pumice at any drugstore, or in any dental shop, to pay less than if buying at a modelling shop.
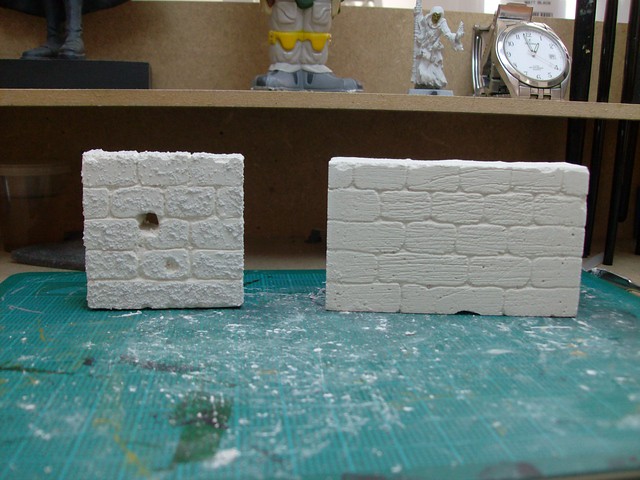
Finally, here they are. The one from the left was finished with pumice, and the one in the right, with the brush.
In a near future, I pretend to explain how to make modular walls to build some bigger structures, like castles, towers and houses. I hope you liked the tutorial.
As a final word i would like to say, if you like the idea and want to make eternal pieces of terrain this way, use another plaster. There ARE another types of plaster. Ask in a dental shop for die stones and resin die stones. Those costs maybe 2 or 3 times more than normal plaster, but their strength is 10x the stregth of the plaster. In my country the prices for those 3 kinds of plaster per Kg. are 2, 6 and 10 bucks. Sure you can get it much cheaper, specially if you buy more than just a kilo!
No comments:
Post a Comment