11 August 2011
Knocked out vehicle markers (tutorial)

 This
is something I saw in a tutorial on YouTube a while back and I made a
few myself for Flames of War. These are easy to make but take a couple
of hours in total since there is a lot of waiting involved.
This
is something I saw in a tutorial on YouTube a while back and I made a
few myself for Flames of War. These are easy to make but take a couple
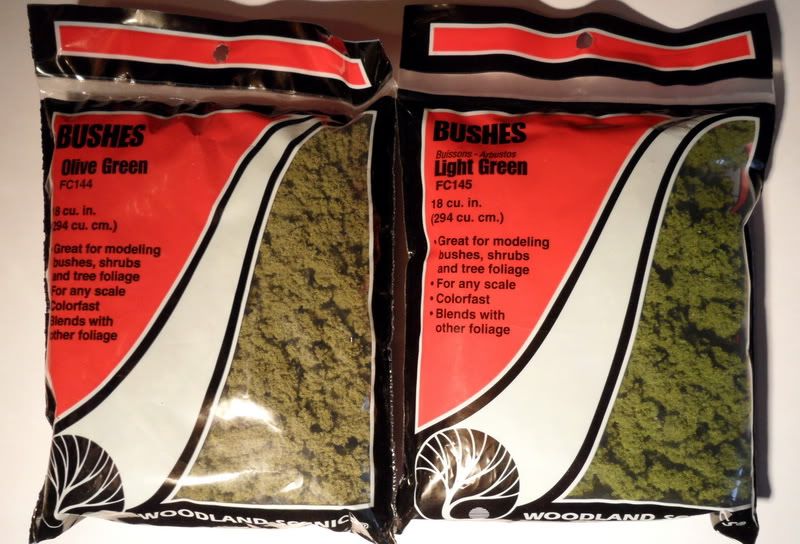
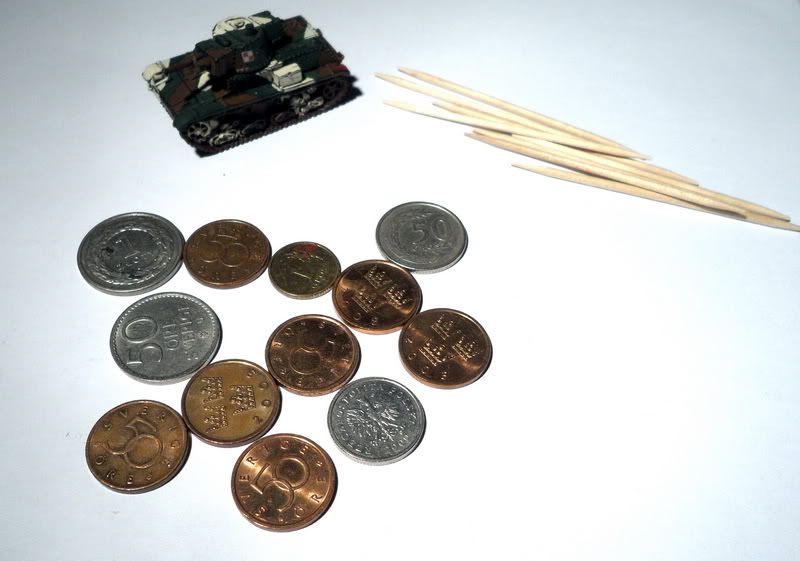
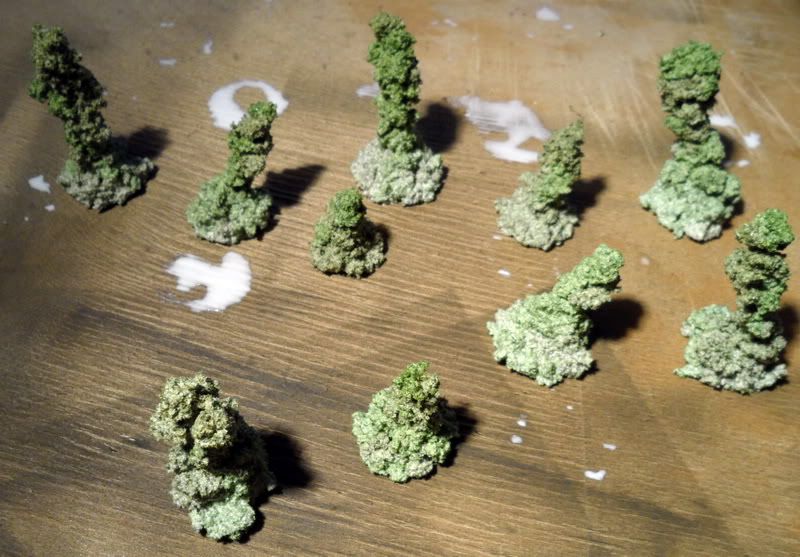
of hours in total since there is a lot of waiting involved.First of all you need some sort of pennies or metal counters which will be used as the base of your marker and will provide weight for it to not topple over. You can then use either metal wire - or use toothpicks like I did since I did not have any metal wire. This will be armature of the entire marker.
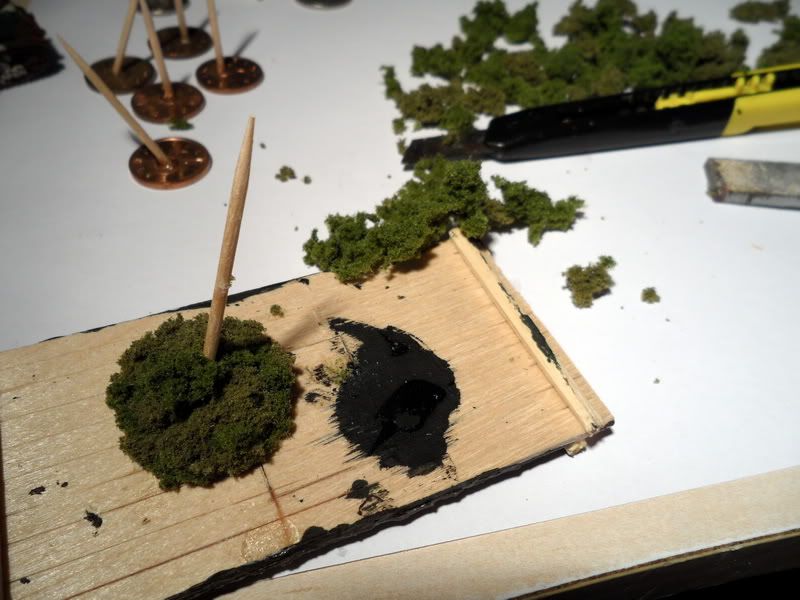
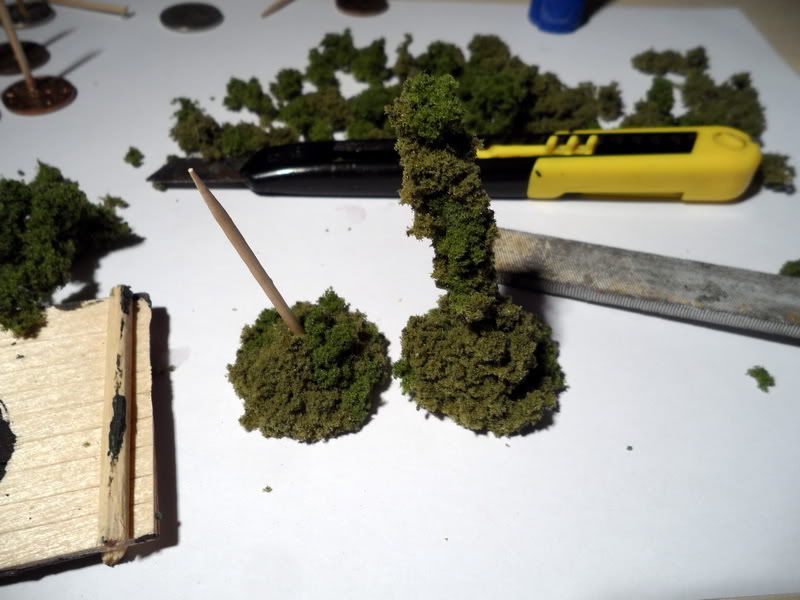
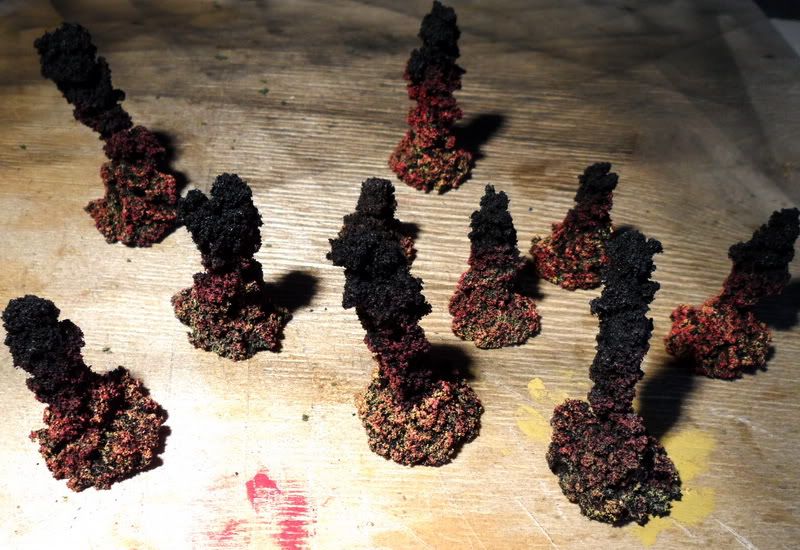
Glue either the toothpick or metal wire to the penny using superglue, and then superglue clump foliage pieces to the base covering the edges and the surface. Then start building the fire/smoke plume by adding superglue to your armature and attach additional clump foliage until you have a shape and size that you think will do.
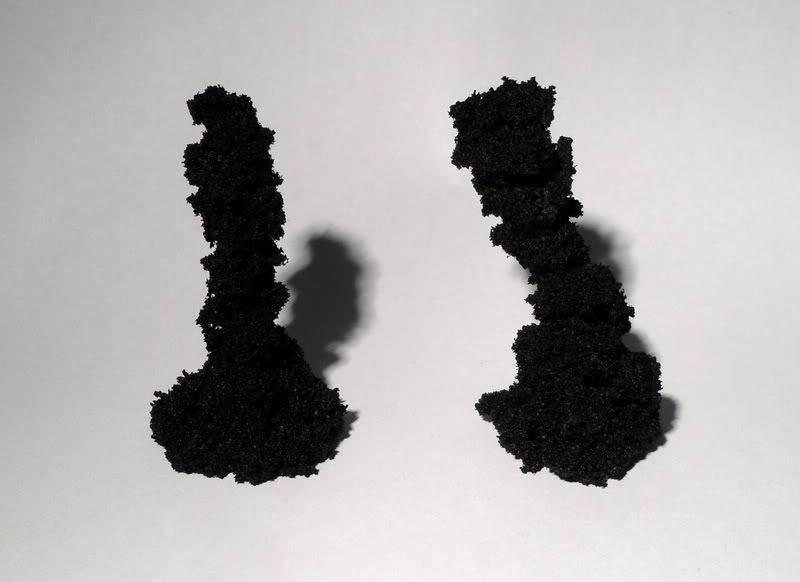
Clean off the entire plume by pulling off loose bits of clump foliage with your fingers, and then drench it with a mix of water and PVA glue, richly applied with a larger brush. Wait a few hours for it to dry completely, I let mine dry over night. Once dry the plume has become stiff and with a pretty hard surface. Now prime the plume black.
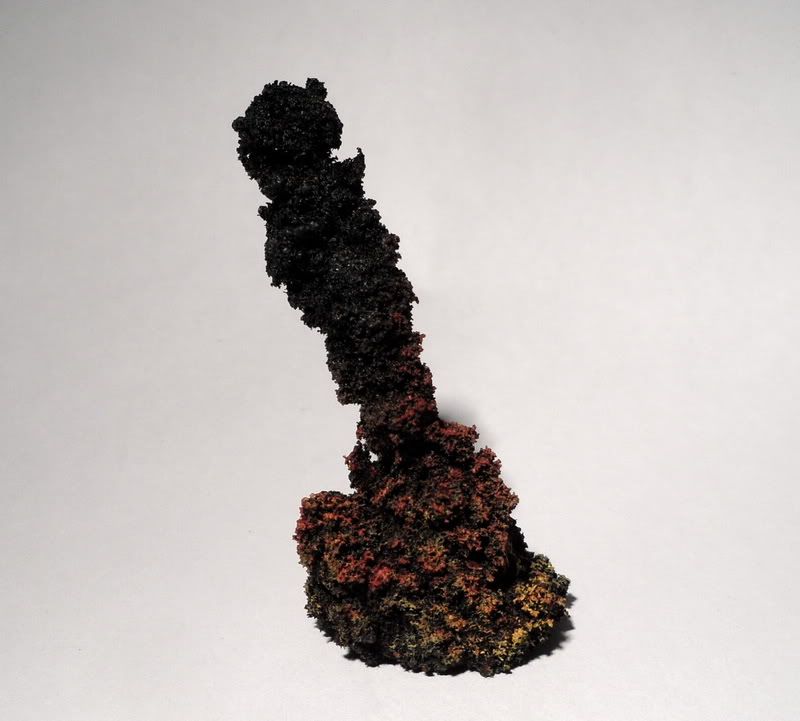
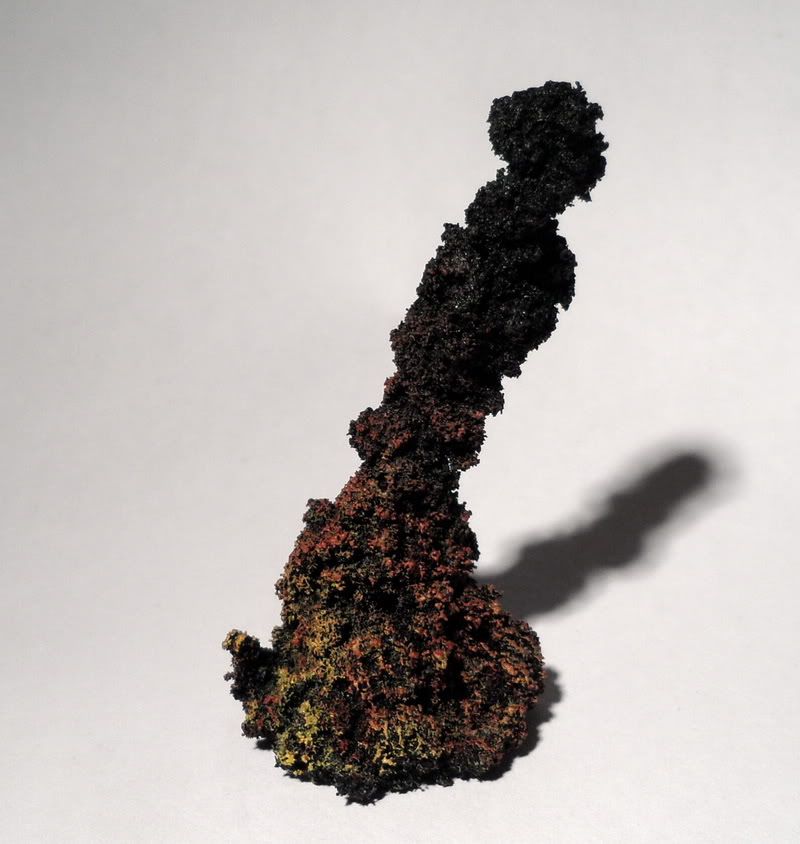
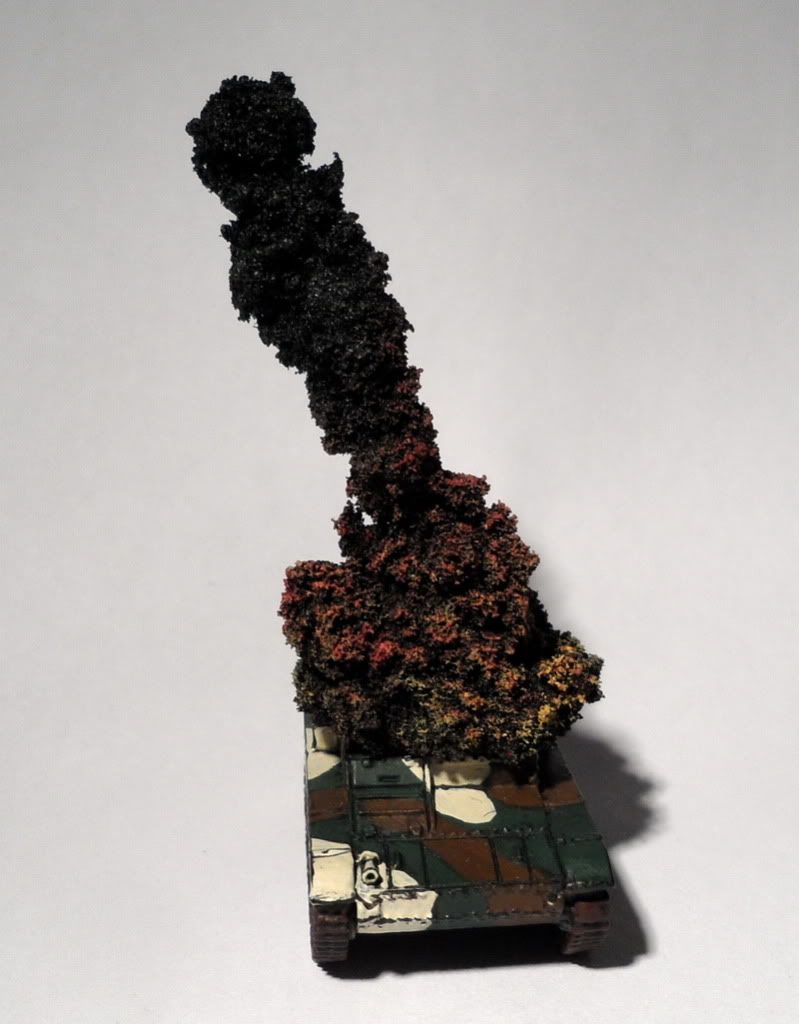
At this point, all that is left to do is to paint the fire roaring beneath the smoke. So I used GW Iyanden Darksun foundation paint to drybrush roughly 50% of the marker. I then used Vallejo scarlett red and drybrushed this over the yellow areas - and from a below direction - up to the black smoke as well.
This is a project that can be done in a day, and the end result is pretty nice. This method is not scale specific, so you can use the same method to make destroyed vehicle markers for 6mm or 28mm stuff as well.

You might also like:
No comments:
Post a Comment