Saturday, July 20, 2013

Water tower


I haven't posted for a while. Work, the house, the garden and a holiday in Gdansk came first. I've also been working on two model buildings. The first, a damaged town hall type-building, was a big project to start with but grew into a monster as it progressed. The second was a damaged apartment block that I've run into problems with. I've taken many photos of both projects over the last few months as they progressed but I'm not sure I can make sense of them now so I don't know if they'll ever see the light of day in this blog except, one day, as finished items. We shall see. 
I'm taking a break from them both at the moment so, meanwhile, here's a small project that I knew I could easily finish. It's a 00 scale water tower made by Dapol that's been in my loft for a while, and I wanted to make it suitable for my 15mm Chechen War table. I wasn't sure what to do with it for a long time but, after wandering around some of the former industrial areas of Gdansk, I was inspired to make it look neglected and put it on a base that looked like concrete slabs with grass growing between the cracks.
Here's the kit more or less straight out of the packaging: 
I forgot to take pictures of the initial stages! The first thing I did was take my underused rotary tool and lightly grind away some of the plastic to make the tank look like it had taken some knocks over the years. The legs are intended to be painted as if they are iron but I liked the idea of them been made of concrete, the material of choice for Soviet-era builders, so I ground quite deeply into the legs in places to try and make it look like some chunks had fallen off them. After grinding, I smooth any hard edges with a file.
I moved down the wheel on the central water pipe by about 5mm to make it a more suitable height next to 15mm miniatures. The next bit I did just to see if it would work. I glued the pipe and a washer to a square of plasticard...
...then filled the gaps and trimmed the square to the shape of the washer. I then wrapped a small strip of very thin plasticard around all of it to create a low and wide disk:
I simultaneously used polystyrene cement to hold the strip to the plasticard disk and superglue to hold it to the washer. It wasn't difficult to do but I couldn't find anything to hold it all together so I ended up having to sit there with it between my fingers while I waited for the two glues to take hold. I then levelled the top of the disk with plaster. Why did I do it? I just thought adding a concrete moulding would make the pipe looked more 'finished' somehow and wanted to try out bending plasticard. 
I usually add flock or sand to bases, but I tried something different this time. Before gluing the kit to the base, I wanted to texture it by wearing down the plastic in a similar way to what I had done with the kit. I painted the plastic with polystryrene cement, poured fine sand all over it then rubbed the whole lot with sandpaper before the glue dried. It gave the smooth plastic a slightly rough finish that I think works quite well as an imitation of concrete. I was quite pleased with the finish and how easy it was to do so I roughened two more sheets of plasticard on both sides, to make a few generic concrete walls with later. 
If you try this method, do so in a well-ventilated area because it really, really stinks! Incidentally, I used a 25-year old bottle of Beatties own-label glue that I found in a toolbox. I never realised before but the smell is unlike any other polystyrene cement. I used this kind of glue on the first model kit I ever attempted (a Macross Valkyrie) so it brought back some pleasant but long-forgotten memories for me. 
Anyhoo, here's the pipe in position on the centre of the base:

The textured plastic is easier to see in the centre of the image below: 
I threw the kit's ladder into my box of bits because it was too large to use on a 15mm terrain piece. The replacement ladder is made by Plastruct. I added some sand to the base to camouflage that I cut the original base too small and added an extra piece. Oops. I scratchbuilt the scaffolding frame at the top of the ladder because I accidentally cut up the original pieces for another project. Oops. I also intended to put a wire mesh around the scaffold but I dropped the metal mesh on the floor and it didn't turn up until after I'd declared the project finished. Oops.
I painted the whole terrain piece a light grey, then repainted the legs and base with a sort of dirty sandstone colour and picked out some of the metal supports with raw umber. For weathering on the tank, water pipe and supports, I alternated two thin washes of burnt orange and two thin washes of raw umber. On the legs and base, I used FolkArt's Dark Grey craft paint. Here's the terrain piece at the halfway point:

I drybrushed a few of the rusty metal supports where the washes had pooled too much paint, added a wash of dark grey to the tank, and a few blobs of rust here and there with a smaller brush. Here's the finished terrain piece, with a stand of Old Glory 15mm Middle Eastern Regular Infantry for scale:

The flocking on the sides of the base is not very subtle. I'm hoping it will look like clumps of grass growing up against the concrete slabs when it's on the table.

A couple of views from the other side:

A wargamer's-eye view of the roof:

A close-up of the grinding work I did with the rotary tool. It's just a few minutes of work but pays off because it makes painting easier. The thin washes of paint pool in the roughened areas and make it look like I've put in rather more effort than I actually did!

More grinding work. Here, my lazy brushwork is more apparent...
A close-up of some of the grinding work on the legs. This is the end of the base that I extended after I put the ladder in position and realised I'd made it too short.

I did very little fine brushwork on this terrain piece. Most of it was drybrushing on the metal supports. I added some burnt orange highlights to the raw umber, and drybrushed the edges of the metalwork with light grey to pick out the details.

I'm quite pleased with this project, not least because I finished it in a couple of evenings, which is amazingly fast by my standards, and most of that time was just waiting for the washes of paint to dry. The paintwork doesn't stand up to close inspection but it will do for wargaming. I'll be applying my new quick and lazy wash painting methods to future buildings.

Dolls House supplies


I recently discovered Mollys House Miniatures, a supplier for dolls house accessories. (By the way, I found the link following this awesome zeppelin project on LAF - check it out!) Some items from Mollys range of 1/48th scale stuff is perfect for 28mm wargamers. For example, have a look at these dead cheap furniture (£1.90 for a pack). Not all of the items suit the 28mm scale - some look a bit small - but many of them are just perfect, such as the chairs and table. Comparison shots with Village Idiot from Hasslefree Miniatures (28mm to eye level):

You can easily furnish a full house with this stuff for very little money. The detail isn't perfect of course (cheap plastics mass made in China) but with a little repaint it will look really good.

That's not all, though. Mollys also has some excellent metal bits from S&D Models (who list the items under 1/43 products while it is 1/48 at Mollys). I ordered the Green Grocers Set of veg sacks, crates and scales. This will be a great addition to the stalls of my Gierburg market square. They also have some other useful stuff such as buckets and barrels.


And now for the highlight: Etched brass pub signs and weather vanes. This stuff is absolutely stunningly beautiful! I immediately started drooling when I saw these at the shop and I was afraid they might be too big for 28mm. Fortunately Mollys has good info on the sizes and I couldn't believe to find them suitably sized. Now I really really can't wait to start working on my recently purchased second Coaching Inn and make good use of these items.


Check out the 1/48 Garden/Outside category for these items with better photos and exact information on measurements. I can tell you they fit perfectly.

So far Mollys Miniatures and especially the etched brass signs qualify for my personal "Miniature Find of the Year" award. Awesome accessories for very little money (heck, one sign/vane costs £0.60 to £0.70!) - a must for every terrain builder.

Saturday, July 13, 2013

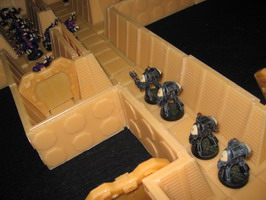
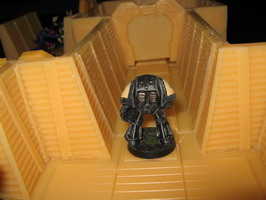
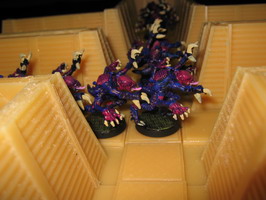
3d spacehulk

Since I prefer 3D-terrain instead of card-board, I was searching for a 3D-SpaceHulk for years.
I found:
  • Dwarven Forge -deluxe painted ready to play dungeons
  • JR Miniatures - resin dungeons
  • Ainsty now Old Crow Models - resin dungeons
  • Hirst Arts - moulds for making your own dungeon with plaster
  • WorldWorksGames - print out your dungeon on paper
  • Stone Edges - print out on paper
  • Germsworld -print out on paper for free
  • But none of them I considered the perfect system. I want to have the same scale as the 1st Edition floor tiles (30mm) and I want to be able to build the original scenarios.
    So I started my third project: “Building a 3D SpaceHulk”

    Step 1: Floor Tile

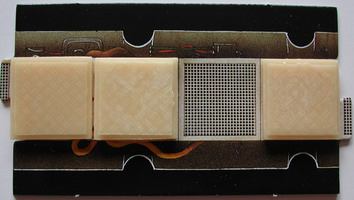
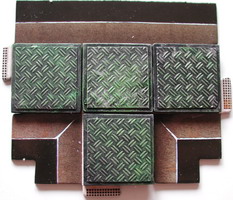
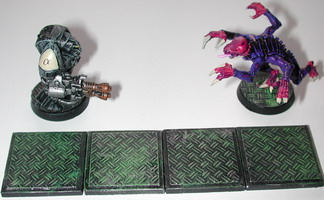
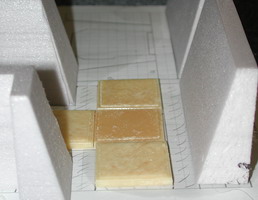
    First I created my own floor tile using the original dimensions of 30 x 30 mm. I used the same styrene sheet from Slater’s Plastikard as for my bases (Double Tread 1:50).

    Step 2: The Door

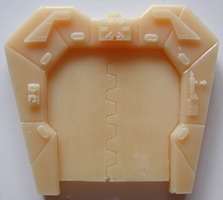
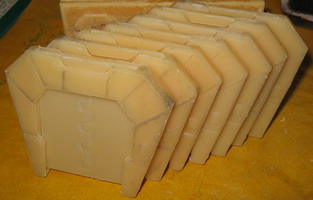
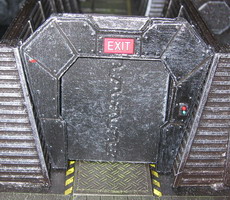
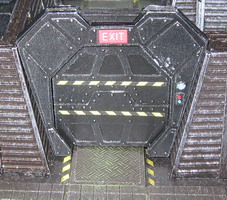
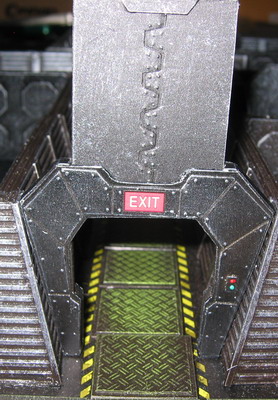
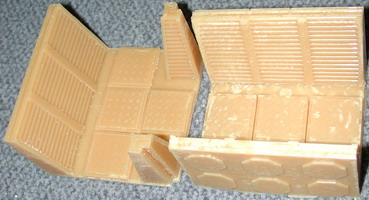
    I like the old door from Ainsty “Tech Tunnel 2” and changed it to a closed bulkhead. The line “Tech Tunnel” was replaced by “Tech Tunnel 4” and the door seemed to be OOP until Ainsty has been taken over by “Old Crow Models”. You find the door now here.
     
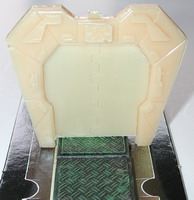
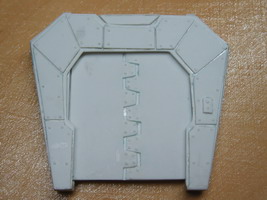
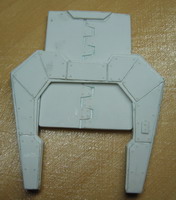
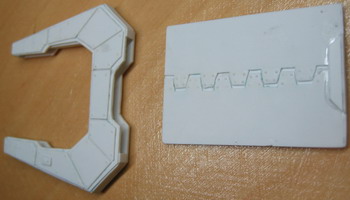
    To avoid copyright issues with the recast, I built my own door with a removable bulkhead:
     
    But this makes it tricky to create a mould for the main door.

     
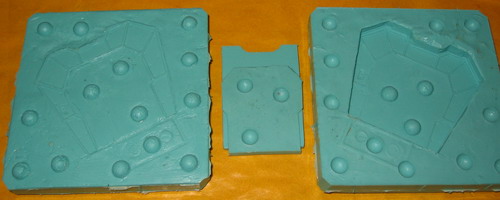
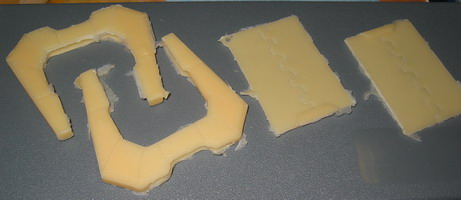
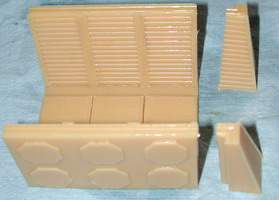
    The bulkhead mould was easy to made. A simple 2 sided mould.

     
    But the main door has to be made with a 3-part mould. This was the first time I made this.

     
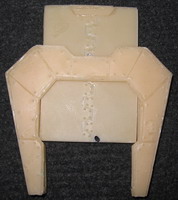
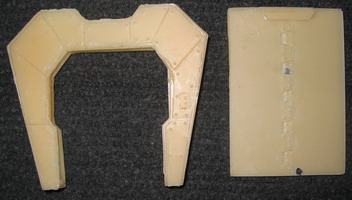
    Although some airbubbles are in the bulkhead, I’m very satisfied with the result. Especially because I needed only 4 days at the gaming fair in Stuttgart 2006 to finish 7 casts.


    Step 3: Designing the Walls

    This will be the most work. The first sketches are made and a lot of ideas in my head.
     

    First I tried some tests with Styrofoam, but after I discovered styrene sheet I switched to this material. It’s easy to handle and it has a smooth surface.
     
    For the outside I used 1mm and 0,5 mm styrene sheet. For the inside I made some examples and decided to use “Evergreen Scale Models” Metal Siding Styrene Sheet No. 4530.
     
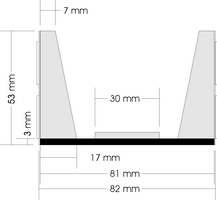
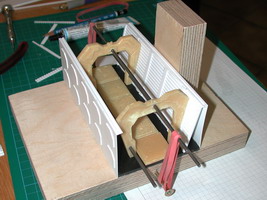
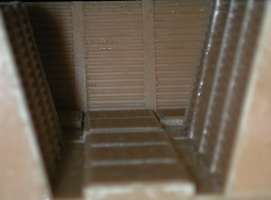
    To get the right angle for the door I built a tool, which I used for all modules to glue the walls inside.

    Step 4: Moulding the prototypes

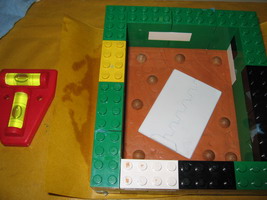
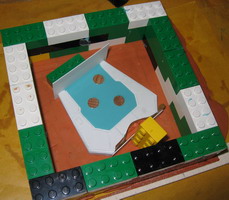
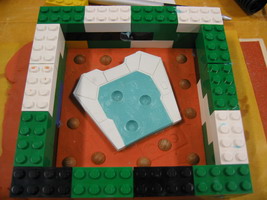
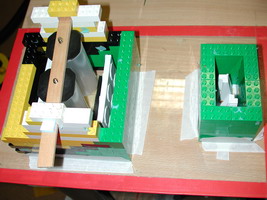
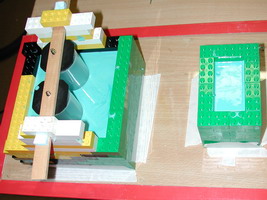
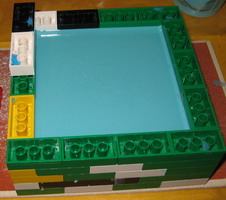
    Time to play the Lego!
     
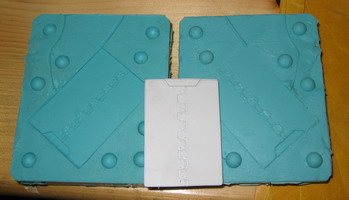
    Now the first moulding. The 2 bottles save some silicon (Order No.: 03-001A) and make it easier to release later the casted module.

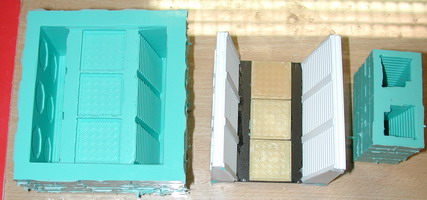
    The first moulds are ready for casting. I was very happy that the prototype was not destroyed, while releasing from the mould. These casts are used to finish the other modules.
     
    For casting I used resin from Rai-Ro (Order No.: 03-036A) which doesn’t damage the silicon mould. [Edit] Because of some quality issues I moved to another resin from Alpina:
    - Order No.: 0534145 “ALPA-Resin 12”
    - Order No.: 8088301 “RZ 30150” - filler Aluminiumhydroxid
    - Order No.: 0534007 “ALPA-COLOUR” black color


    Step 5: The rooms

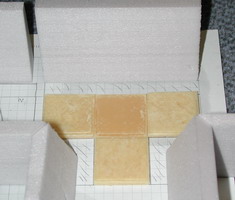
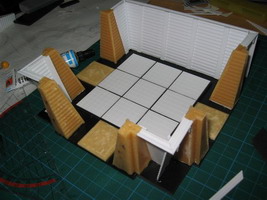
    For the rooms I use for the 9 tiles in the center “Evergreen Scale Models” Sidewalk No. 4515.

    Step 6: End tiles

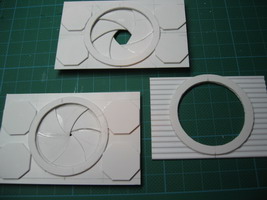
    The 1st and 2nd Edition includes some end tiles. I decided to create some “iris bulkheads” for this.


    Step 7: All prototypes finished

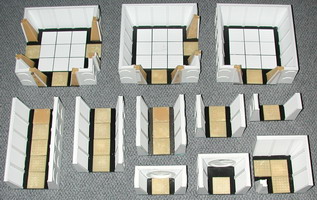
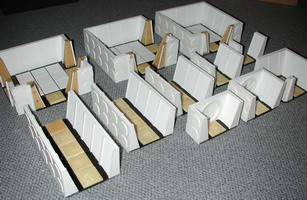
    Here you can see most of the core prototypes:
     

    Step 8: Moulding the prototypes

    And here you can see the first moulds:

    Corridor 2 tiles, corridor 3 tiles, corridor T and corridor X.
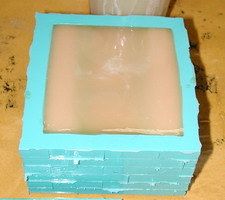
    For the X-corridor I tried a new silicon, which is cheaper, but has not the quality of the green one. It rips very easy, but it is good enough for this project. It’s from “Bethmann-Dental-Discount” and has the order number 2014 (2kg), 2041 (6kg) and 2040 (12kg).
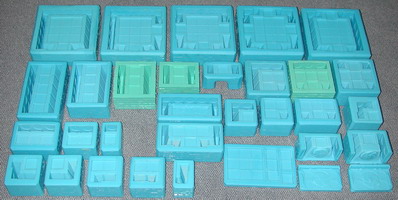
    And finally all moulds are finished:
     (Click on the pic for a bigger view)
    And here you can download the overview of all tiles needed for the missions: Download

    Step 9: Casting all tiles

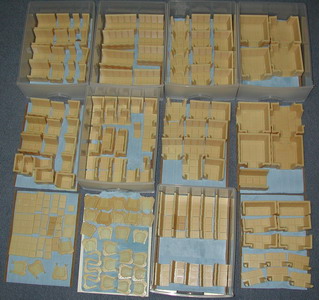
      I need “only” 6 boxes for all tiles.
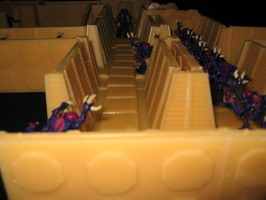
    Step 10: Sanding and washing all casted tiles

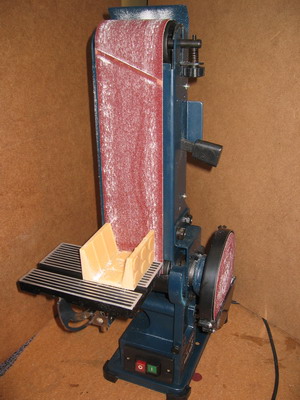
    To get the right 90 degree angle for the tiles I use an electronic sander.

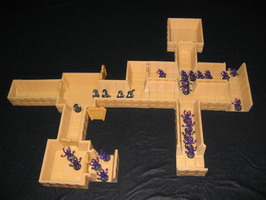
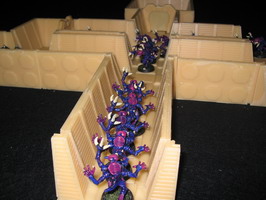
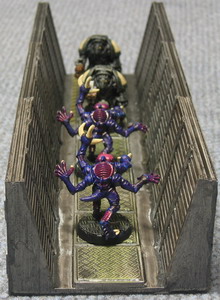
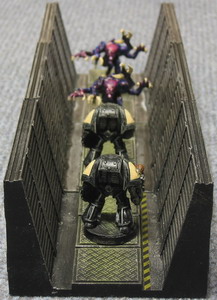
    I can’t wait longer - I have to make the first setup: Mission 1 (Click on the pics to get a 800x600 view)


    Before priming it is useful to brush all tiles with water and a little bit dish-washing detergent.

    Step 11: Painting

    I plan to use black primer spray from Games Workshop and simply to drybrush the tiles with Boltgun metall.

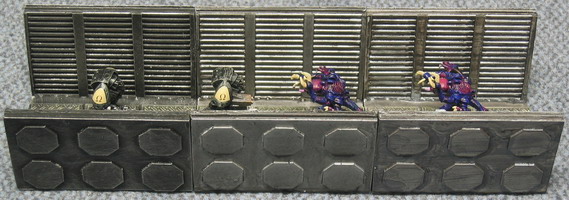
    I made 3 tests:
    Left: Black primer, Boltgun drybrush
    Middle: Black primer, Grey painted, Boltgun painted, Black inked
    Right: Grey primer, Boltgun painted, Thinned black

     
    I want to add a black/yellow line besides the floor tiles, using white laser water-slip decals. Here you see a test with clear water-slip decals and in reality it’s too dark.
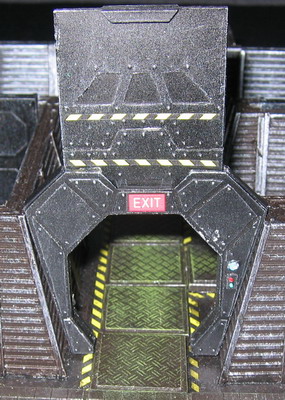
    In the end I (and the SpaceHulk community) vote for the Left color scheme.

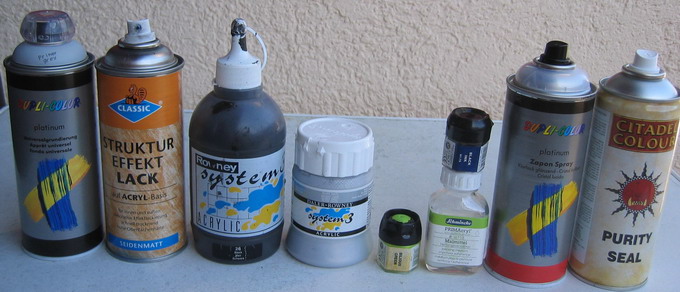
    1. Grey Primer (you can also use black GW spray and save step 3)
    2. Black Structure spray for the walls outside
    3. Paint everything black
    4. Drybrush everything silver
    5. Drybrush the floor tiles with Bilious green
    6. Black ink for the floor with the black/yellow line, thinned with water and painting medium
    7. Glossy varnish (give more protection)
    8. GW varnish (to reduce the glossy look)

    Step 12: Felt

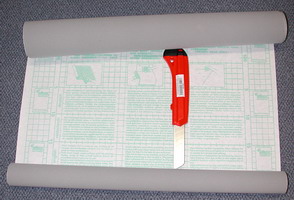
    To avoid moving the tiles while playing, each tile get a piece of “felt” underside. In Germany it’s called d-c-fix “Velour Selbstklebefolie”:


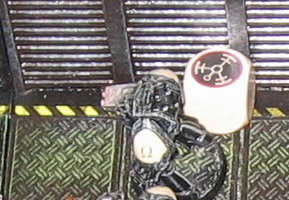
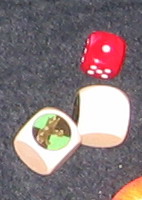
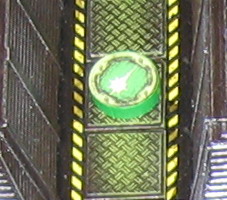
    Step 13: Blips and Counters

    Of course a 3D-SpaceHulk needs special blips and counters. At the fair “Spiel 2006” in Essen I bought several green wooden discs (25 x 6 mm, ProductNo P0003c) and white wooden blank dices (ProductNo W0016) from www.spielmaterial.de . Using clear and white laser water-slip decals very nice and useful blips and counters were made: