One of the most mysterious and impressive techniques used in miniature painting is the enigmatic OSL, which translates to On-miniature Source Lighting.
Whether you like it or not is a matter of personal preference, but why
shouldn’t you learn how to use this technique? These tips may be useful
for this purpose.
I wanted to explain my way of painting light on miniatures. On our forum we had a discussion about Ana’s spellsinger, and it inspired me to writing this article.General OSL tips
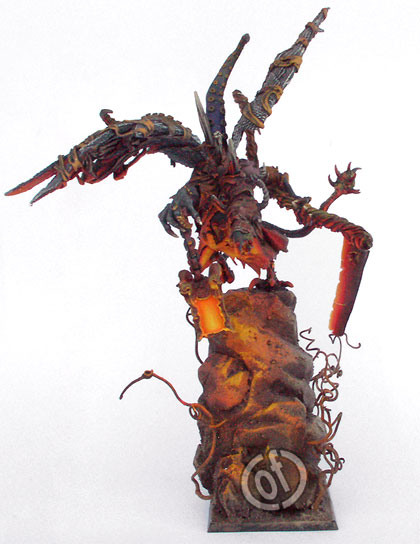
The way of painting light will be explained using my Demon of Chaos for the example. To begin with, we’ll remind several technical things that everybody should know:- The closer to the light source, the stronger the light, and the shadows too.
- One needs to know what kind of light the source casts: fire – red/yellow, lightbulb – whiteish, etc.
- We’re painting only these fragments of the mini, on which the light would fall in reality.
- The best method of learning this technique is looking at reallife examples or works of other artists, and the metohds of trials and errors. Usually only experience and practice can show you how it’s done, so I am not teaching you any “success guaranteed” method, but only giving you some hints which can be useful.
- Light looks different on different surfaces, eg. leather, metal, porous surface, or smooth surface. On a cloak or other fabric the light will remain matte (check the torn clothes on the demon’s front), while on metal the light would “slide” on the surface (the demon’s weapon).
- Weak light will make weak intensity of the effect, small small reflections, it doesn’t reach far. On the other hand strong light source casts much light, and has better range. It’s up to you to decide on the intensity of the color and its luminance. And the intensity and luminance define the what the reflections will look like and how far from the light source will they be.
- The further from the source, the bigger radius of the light, but lower intensity.

Maybe not a step-by-step OSL tutorial
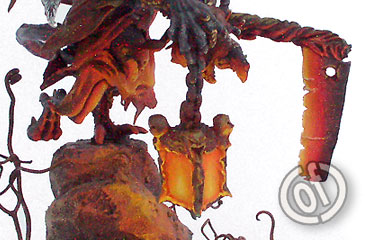
When the mini is painted, we can start painting our light. We’re starting with painting the light source (in this case – from the lamp), which will be helpful when we’ll be painting the reflections.I started with the darker colors, and I worked toward the lightest point (Fiery Orange, Golden Yellow, Sunburst Yellow, white). We’re keeping the transitions smooth. The reflections can be made with glazes, which will create the natural effect of light falling on the surfaces.

Using glazes for the large surfaces we’re applying successive layers, until the effects satisfies us, but let us keep the color darker than the light source. Glazes will be no good for smaller elements, because thinned paint can run into recesses, etc. And that’s how we paint all the lit surfaces.
The last thing you can do, if there is such need, is making the surfaces opposite to the lit ones darker. I can give you another advice: the reflections near the light source will connct with shadows in a more rapid way: much light – much shadow (eg. the demon’s head). The farther reflections will have more delicate, subtle, and smooth transitions into the local color and then into the shadow (eg. the demon’s tail and tentacles).
And then we can use the same method for the miniature’s base
No comments:
Post a Comment