Friday, February 8, 2013

WWII Facade – First Step


Hi everyone!
This is time for something BIG. Actually, not that bigger, but it was a loong route that brought me here, after many experiment and some huge gaps of time between each step. But finally i made something real, and it’s time to publish it!
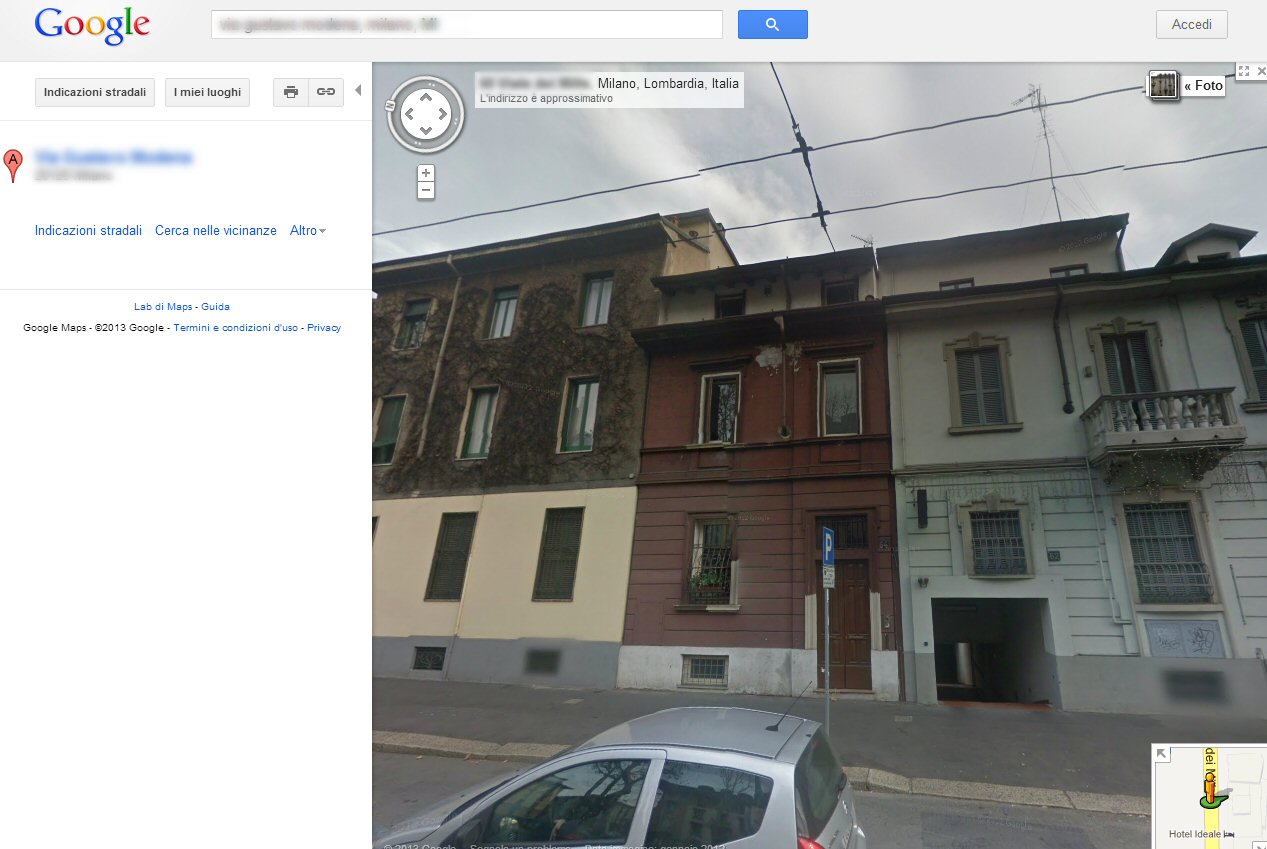
I just started with a real building. I’ve been seeing it everyday while going to my university, and when i was choosing which building to use as reference, that was quite one of my favourites. I went there with Google Street View, and took a screen.
StreetView
The photo of course was deformed and not detailed at all, but thanks to the smart functions of Google Sketchup, i managed to have a pretty orthogonal picture to work with, and i made this sketch model for reference.
facade
I also made another version of the second floor, the curved windows was pretty easy to make and i think they will give more variety to a street.
facade2
Then I made some windows and other decorations. All those will be laser cut directly on cardboard, because casting such a thin piece of resin is quite a hell, and it is indeed cleaning them.
facade3

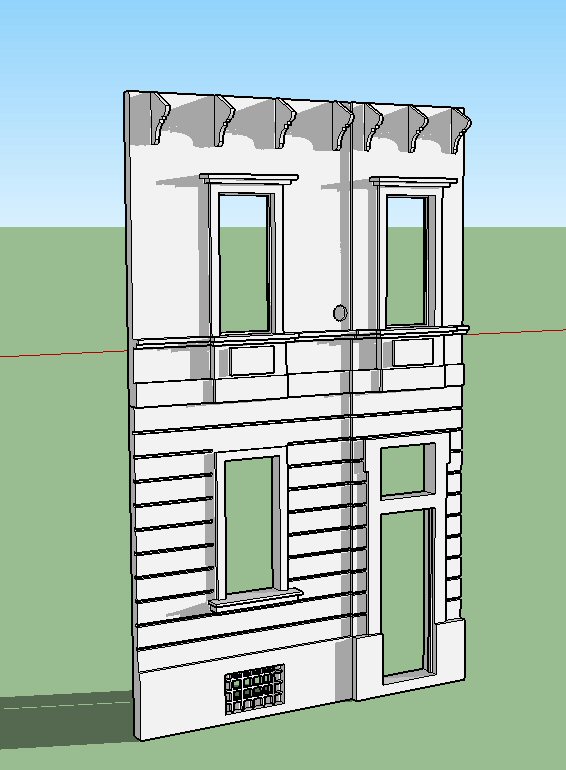
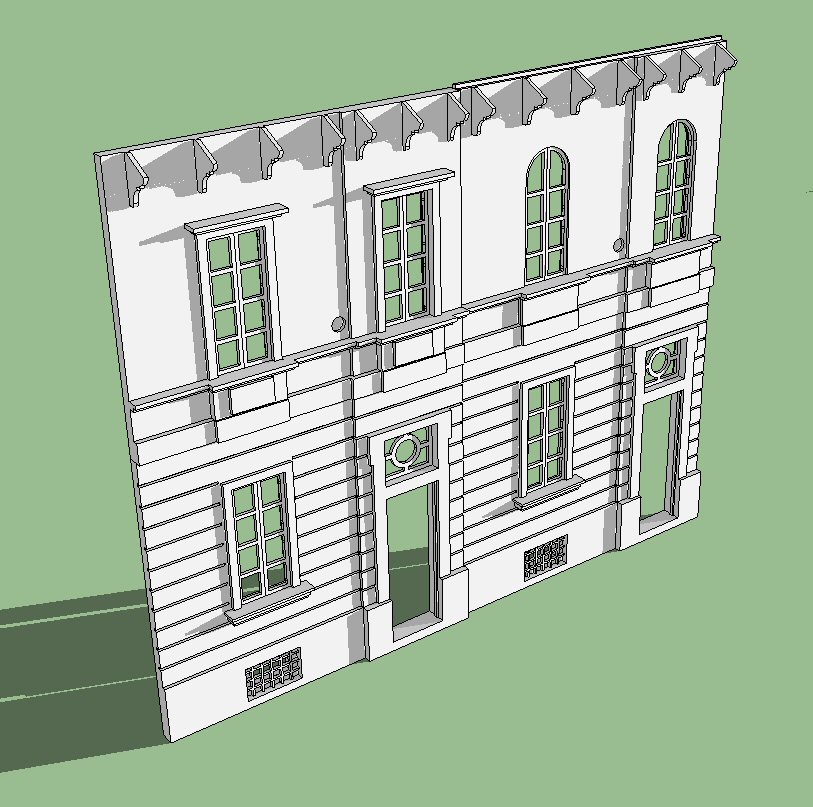
So here i am: I made some SVG plots and sent to my favourite laser-cutter around: http://www.vectorealism.com/
I higly reccmoend them, since they are professional and friendly, and helped me when i (well, obviously) sent them a wrong project to start with. Meh.
The package arrived a week after (To be honest i’ve to say that I went there to save the shipping fee, and they were damn far from my home! >__<), and i was amazed by the quality of the cutting.
Exif_JPEG_PICTURE
In order to have some exploration about the materials, i made some cuts in various materials: MDF, cardboard, PETG (kinda acrylic).
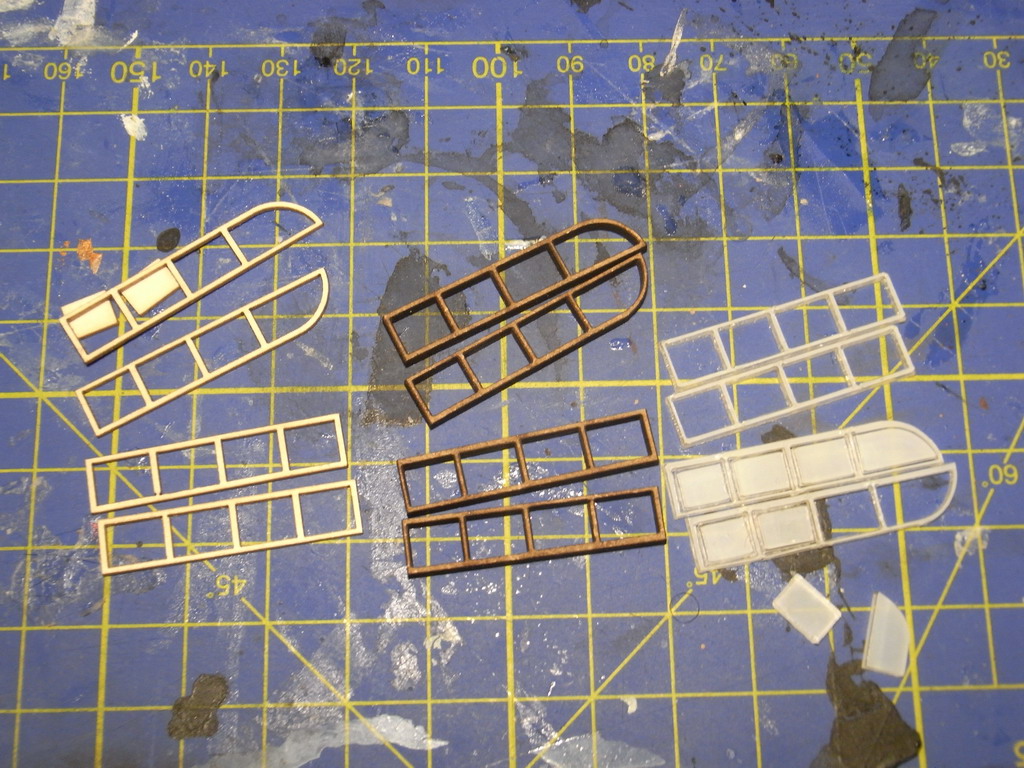
- Well, the PETG was quite a disaster: the laser melted the material, and instead of vaporizing it left two domes on both sides, which is exactely what i wasn’t looking for in the laser cut.
- MDF was pretty great. But costs twice than the cardboard. It’s resistent and everything but… 2,5 mm thick. It means that i would have to slice it, which is not a big deal, but still another eventual source of errors.
- Cardboard went quite above my expectations. Neat cut, resistent piece, great proportions. The only con: it’s clearly visible the edge left from the “pulses” of the laser, so the cuts are not smoot, but there’s a very thin series of holes. That’s not a big deal, actually.
Conclusions: I’d go for the cardboard in the future, unless i’ll have to make some thicker pieces, for which i’ll use MDF.
Exif_JPEG_PICTURE
Speaking of my pieces, i removed the excess parts and i had some quite cleaned windows!
Exif_JPEG_PICTURE
Then i started glueing. I used a 50/50 mixture of PVA and water, and i applied all over each surface.
Exif_JPEG_PICTURE
Layer after layer the facade took form. until the very last details.
Exif_JPEG_PICTURE
Here’s the view of the first two pieces.
Exif_JPEG_PICTURE
Once the all three got dry, i glued them on a base, and made the box for the first silicon mould. It will be used only for a couple of casts, and those will be the ceramic pieces where to start working manually.
Exif_JPEG_PICTURE
I had to cast the ceramic piece several times, since i wanted to avoid ANY bubble in this stage. Some bubble in the final piece will be unavoidable, but here the bubbles will be riproduced to all the casted pieces, and that’s unacceptable for me.
Exif_JPEG_PICTURE
Here’s the first floor.
Exif_JPEG_PICTURE
Second floor – version 1.
Exif_JPEG_PICTURE
Second floor – version 2.
Exif_JPEG_PICTURE
Then i started damaging them. Adding bullet holes is much easier than you could imagine, and creeks are easy to sculpt as well. The hardest part is to moderate, and keep in mind the level of damage you want to achieve.
Exif_JPEG_PICTURE
Here’s the not-too-much-damaged version of the first floor.
Exif_JPEG_PICTURE
Second floor here.
Exif_JPEG_PICTURE
I did the same for the other second floor, and i sculpted another first floor. I damaged it much more, imagining a HMG firing constantly on the same area, in order to hit someone hidden inside. That removed all the plaster, leaving the naked bricks… and in the central zone removing everything.
Exif_JPEG_PICTURE

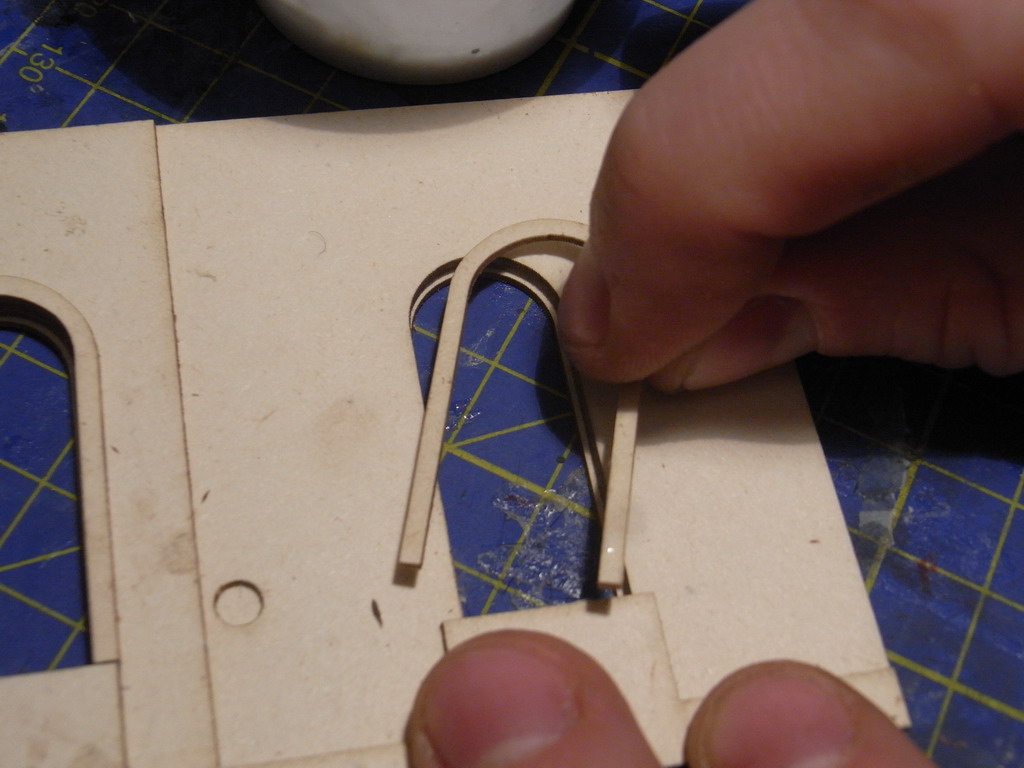
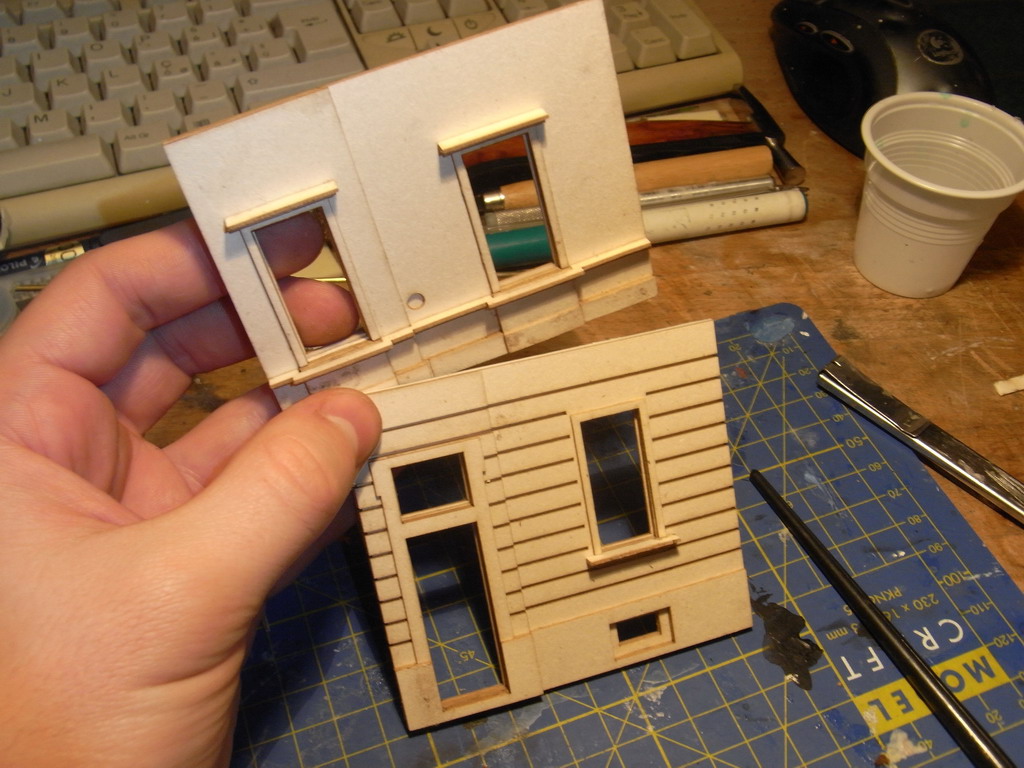
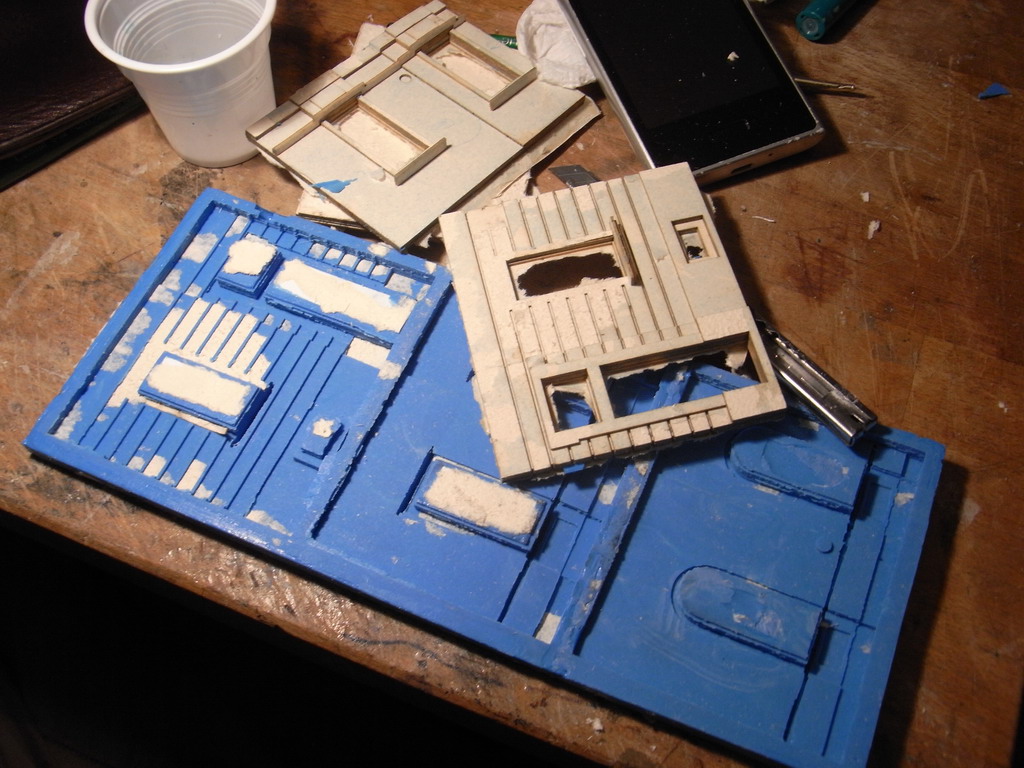
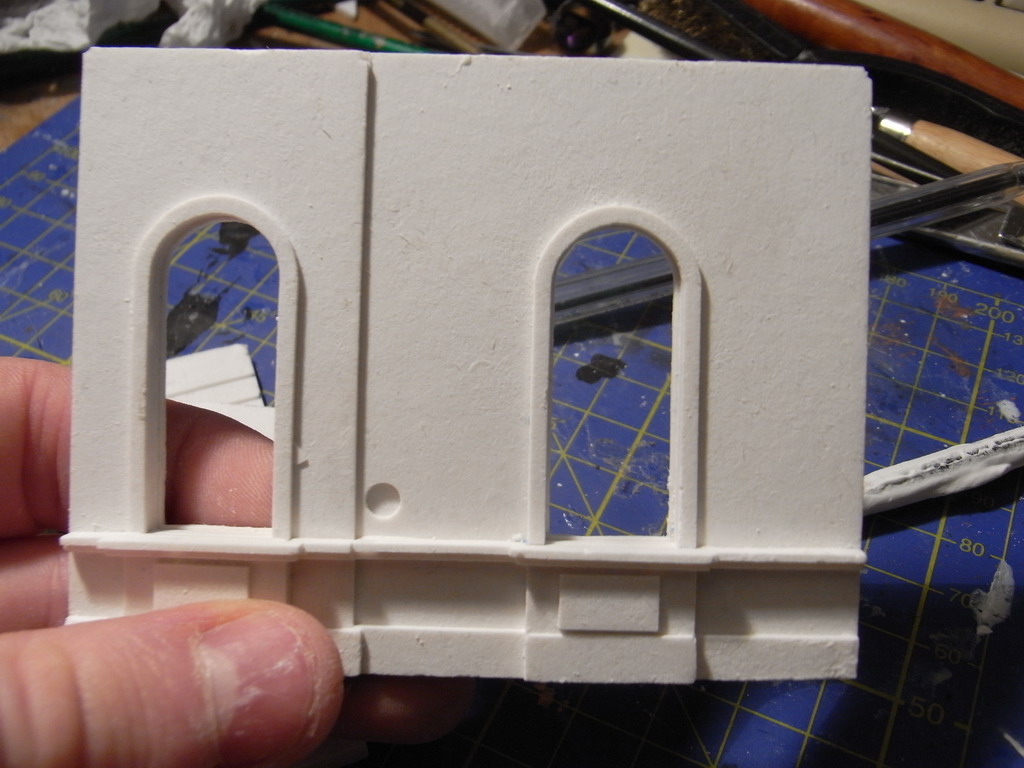
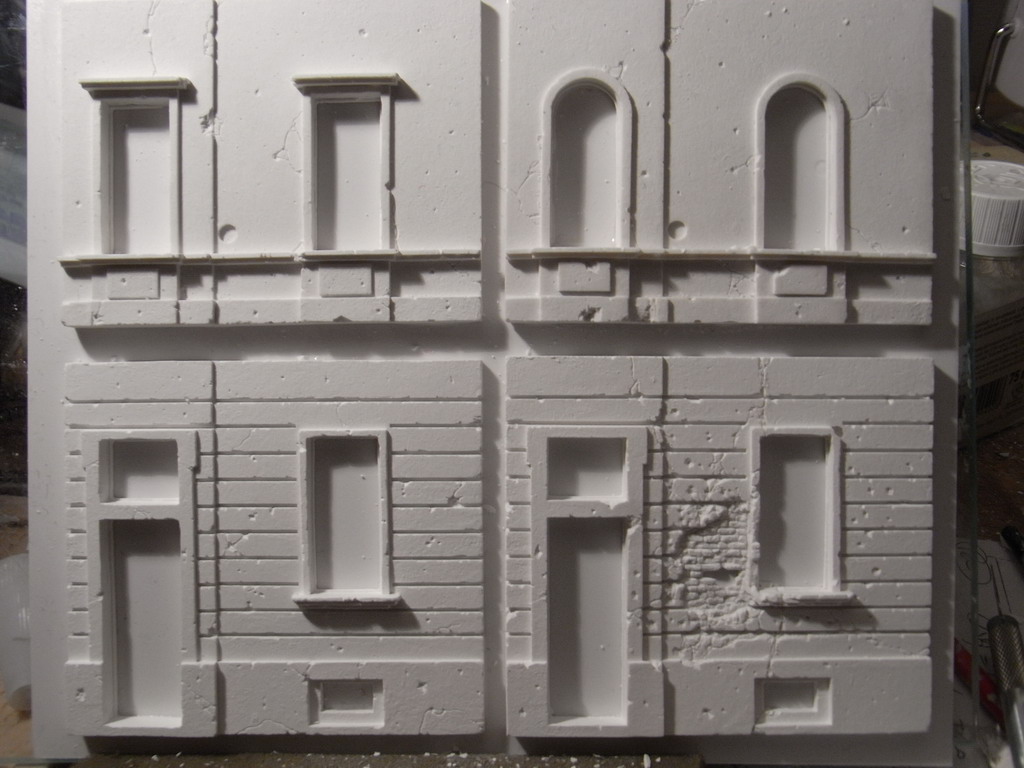
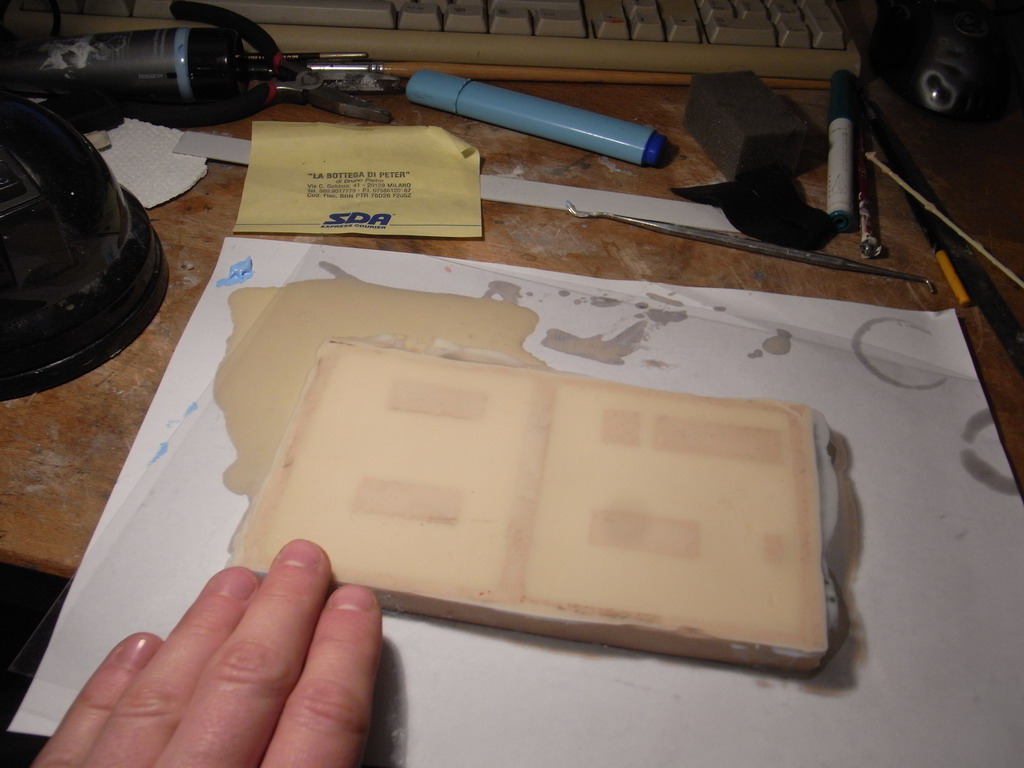
For pratical reasons i splitted the mould in two parts. The firs two pieces (the left ones in the pic above) get ready first, and i casted the first facade as soon as possibile.
Exif_JPEG_PICTURE
I was such in a hurry that i forgot some bubbles, and while casting the facade for the second time i started fixing the first one with some acrylic in order to fil the little bubbles.
Exif_JPEG_PICTURE
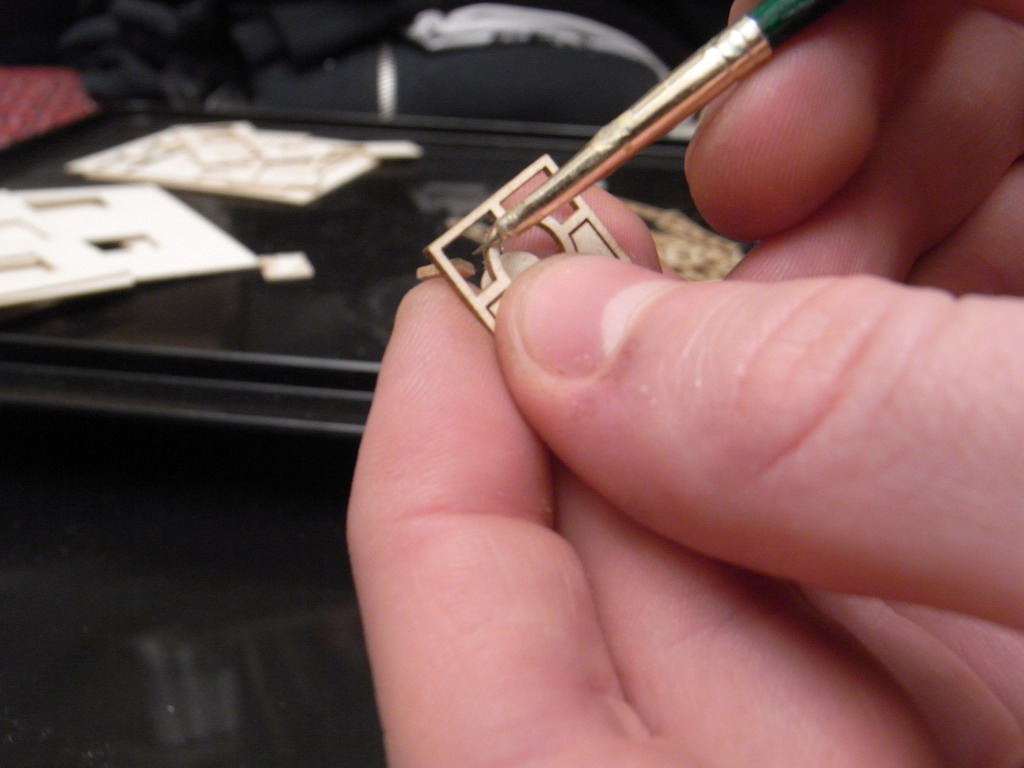
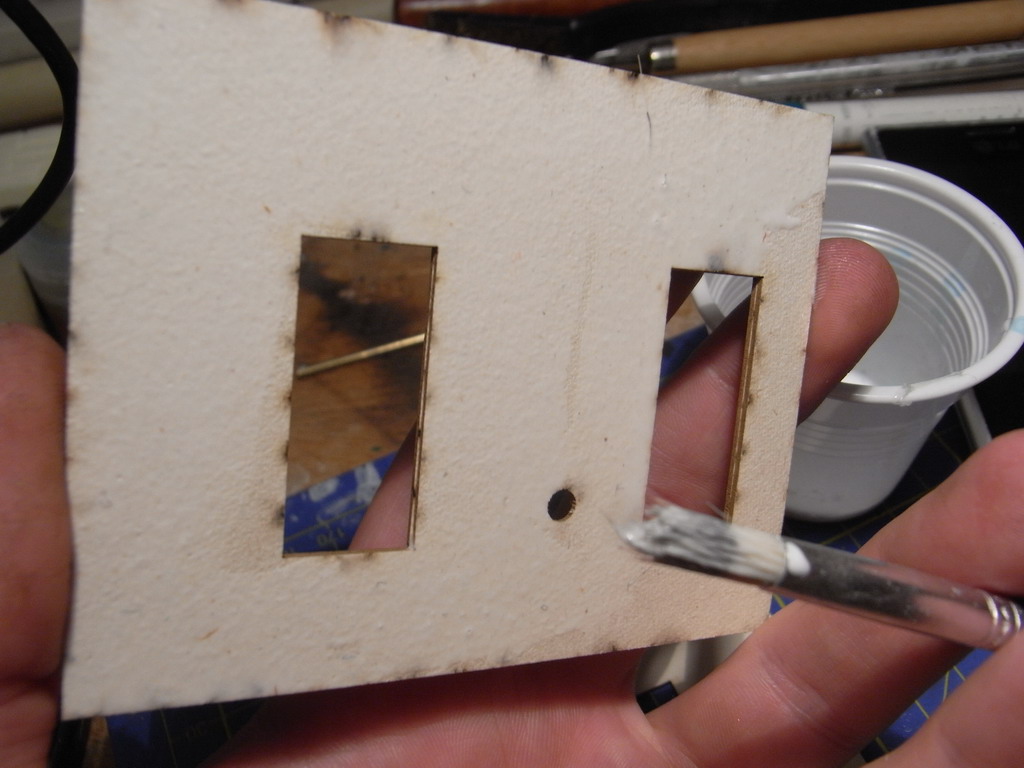
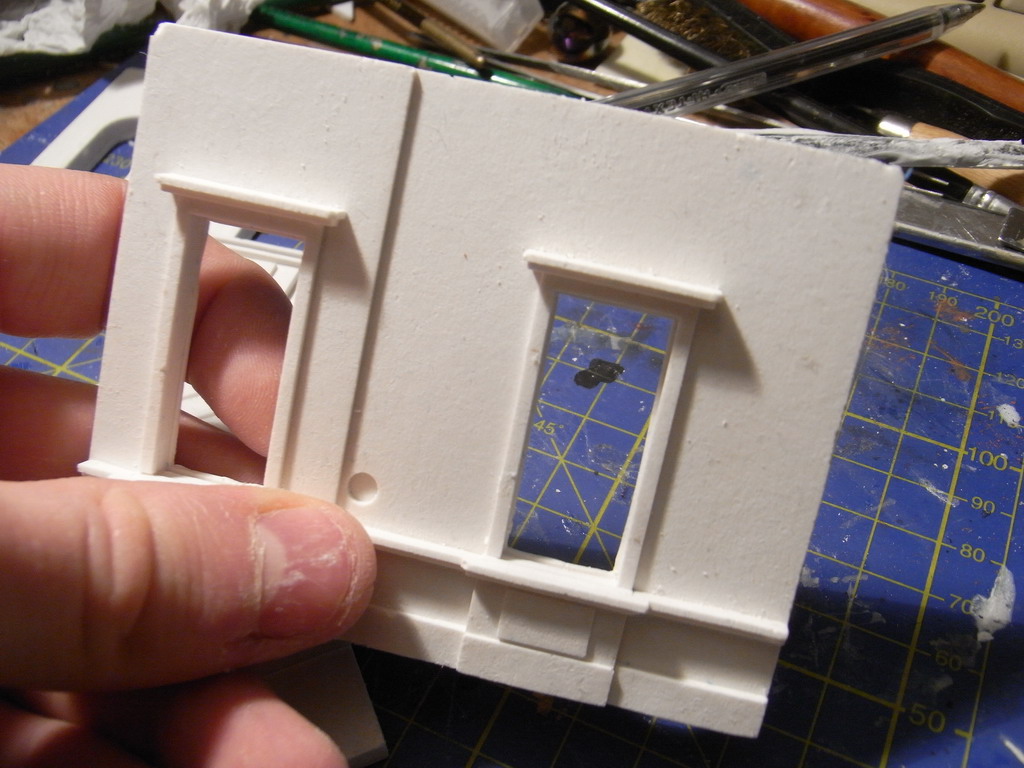
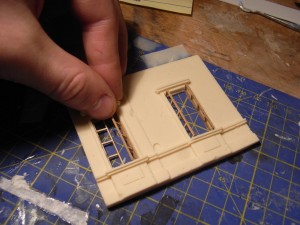
I also glued the windows. Actually, for a virtually perfect work the windows should be glued at the very end: first the glass should be applied, and all the building painted. But meh, who cares.
Exif_JPEG_PICTURE
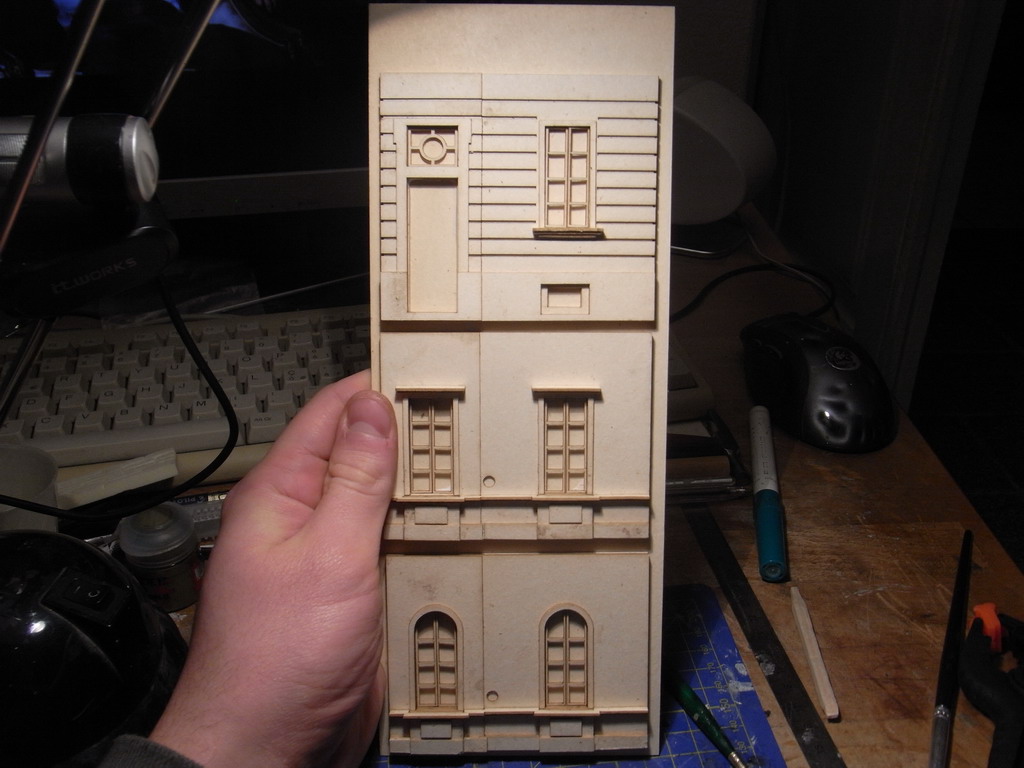
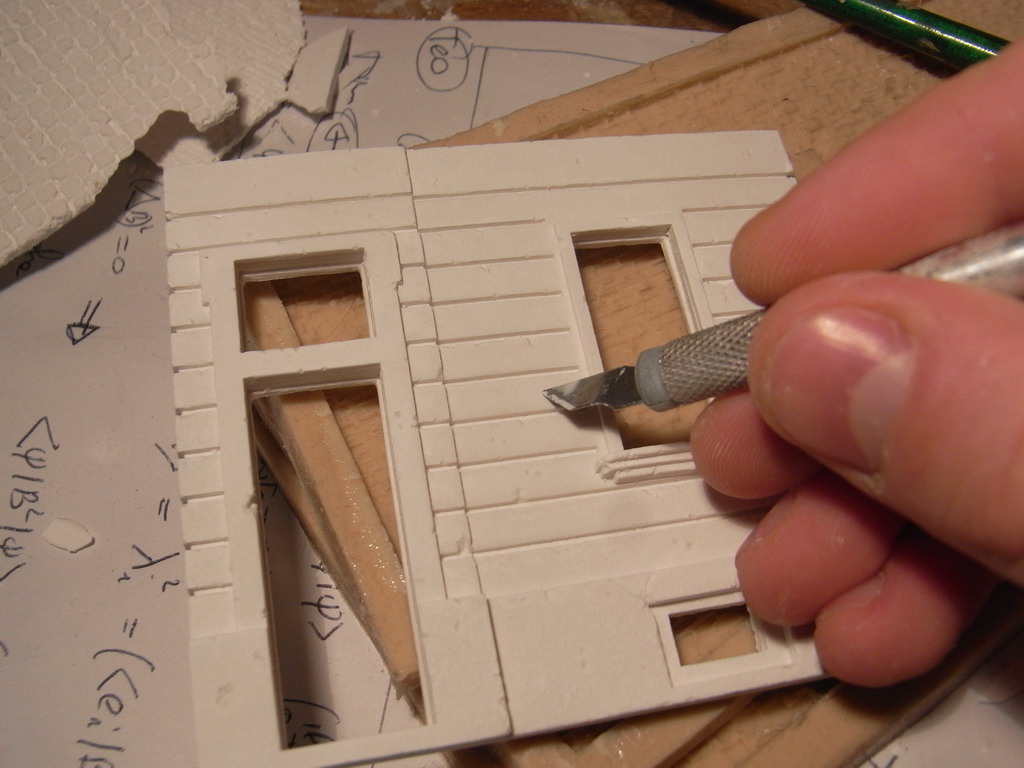
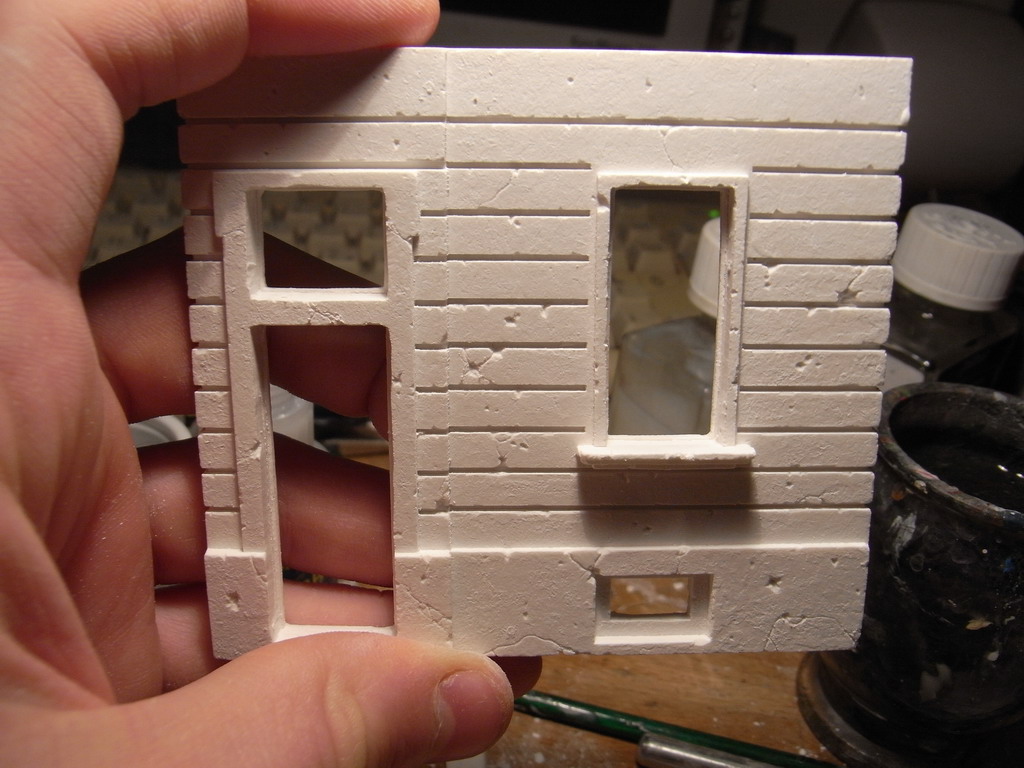
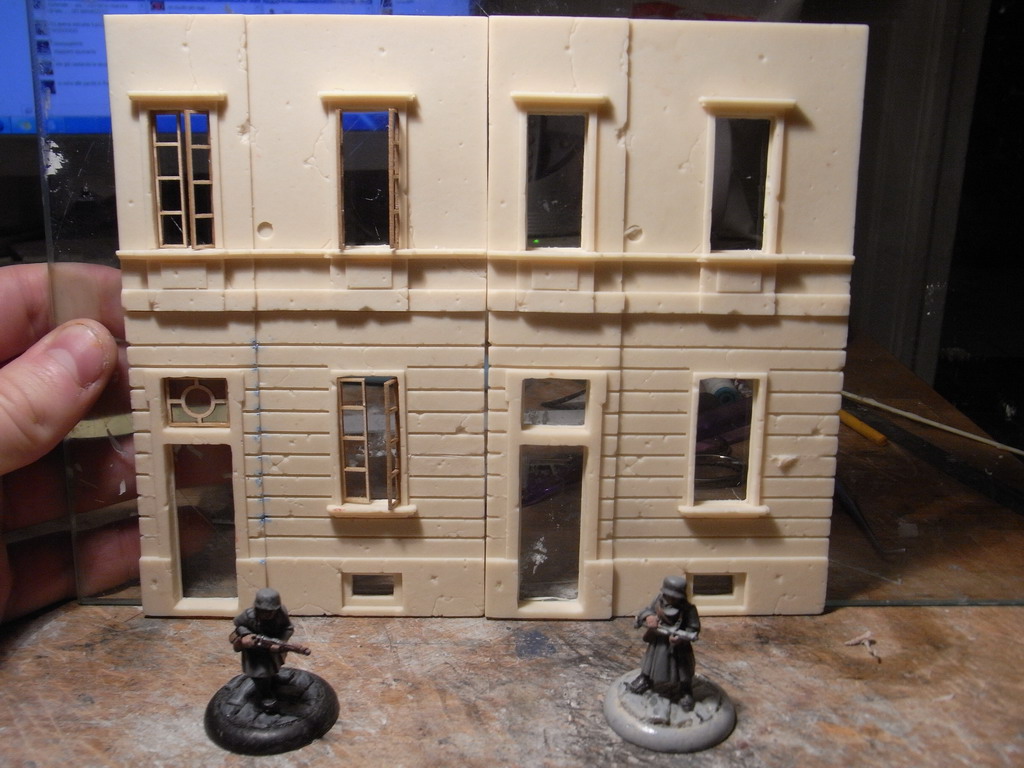
aaaand… the first pictures of my facade are ready! More pictures soon, with the other version of the facade and maybe a painting tutorial!
Exif_JPEG_PICTURE
Just stay tuned! I think that more buildings (maybe full buildings!) are likely to come, so… stay around!
Conclusions: Ok, i know that making a project interely by hand is something noble and brings a great good karma, but here most of the work was done manually. Having the pieces lasercut, although, gave me such a huge precision, and made me save several hours of work. It means more buildings, more ideas and … well, more real life, sadly.
For me, THAT is the way i will make my future buildings, and now finally the idea of a little town or lane is finally realistic!
Cheers

No comments:

Post a Comment