I haven’t posted tutorial for a while, i have been busy casting some cobblestone streets, and i started some other projects, like the Post Apocaliptic board.
While doing that, i always kept an eye on my main projects, such as the WWII building system and his side pieces.
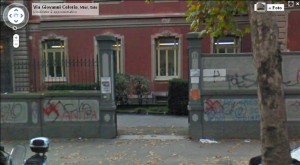
Since i went to university here in Milan, i wanted to make a model with the look of the walls around the Celoria’s complex. I didn’t want to make an accurate copy, but i love the overall look, and i took inspiration!
This is the original model (there are also other versions, but this is pretty nice!
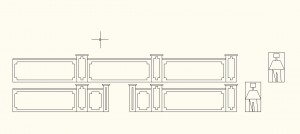
And that is the plot drawing. I totally forgot to use the lower part, but in the next pieces i’ll put that also!!
I didn’t want to follow totally the CAD drawing, so i choose to make a 8cm whide wall, with some columns, which i haven’t sculpted yet.
Now, Let’s start with the tutorial!
I started cutting as accurate as i could a piece of foamcore. I choose it because is really easy to cut, and even if it is not so accurate it doesn’t matter, because it is going to be covered totally.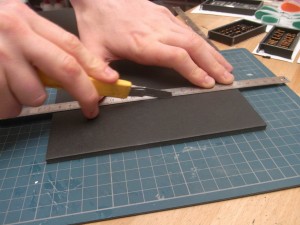
Then i used some cardboard. A good one, 1 mm thick. I’m not used to choose card materials, because the surface is really rough and irregular, but i wanted to give them a try, and for the plaster coating look is quite appropriate.
I overlayered two cardboard pieces for the reliefs, and glued them together.
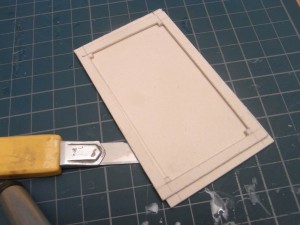
Then I did the same twice, and I made a sandwich with the foamcore piece i cutted. Since the two faces will never be seen together, it is not strictly necessary for them to be identical.
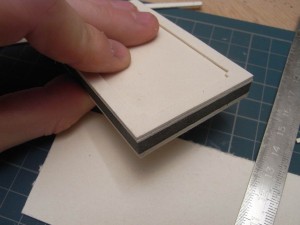
For the top, i used three layers of cardboard. Not really happy of the result, next time i’m gonna make something more thick!
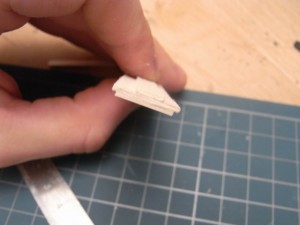
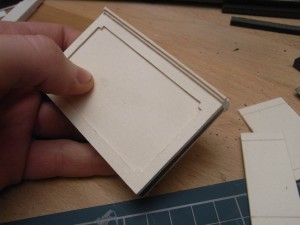
And that’s the final pre-master. Still made from cardboard, but it is already a good way to have a preview!
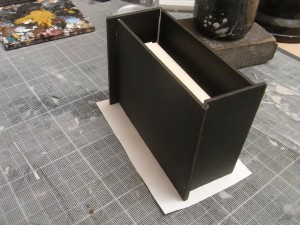
Then.. time for make the Pre-Mould! I used a cheap silicon from Antichità Belsito, and i prefered to use it in abundance, to avoid deformations or bulges. The box was made with cheap foamcore, thinner and lesser quality.
NOTE: Be careful about the use of the cardboard: the silicon is quite easy to separate from the master, unless you use fiber-made stuff, like cardboard or clothes. in that case you have to accept that the master, after one mould, is simply gone. When you pour the liquid silicon rubber in the box, say hello to your beloved work!
Luckly, everything went right, and i made a good mould. The cardboard was gone, but i don’t care.
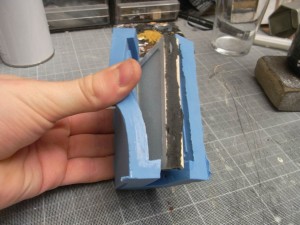
Then i made a piece in ceramic powder. Starting with an old brush i covered all the corner with the liquid stuff, then i poured the remaining in the latest holes. It could seem a simple task, but it isn’t. I needed 4 attempts before having a good piece.
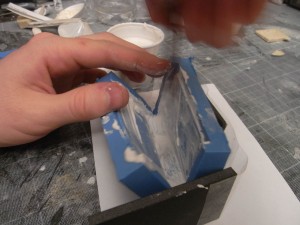
Finally: no bubbles, no bulges, no cracks. That’s the right one.
I left it to dry for a night, then i started sanding some parts, some joints or similar.
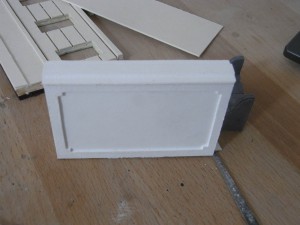
When completely dry, you have to carve it. And to do that… Guess what? Drench it again!
Seriously, The plaster is much easyer to work with if it is completely wet, but it is also much more fragile. That’s why you have to wet it locally, avoiding unwanted cracks on the other parts (where you hold it with your hands).
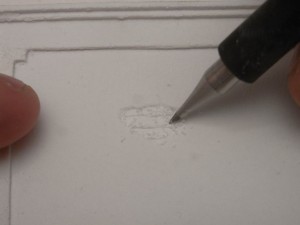
Then you just have to scribble bricks and cracks on the plaster cover, until you’re satisfied.
For the bricks, i start with my tip making the perimetral shape, then with a screwdriver and a cutter i remove a layer of ceramic from inside the shape, until i obtain a flat surface. Then i simple scribble the bricks. Some irregularities are welcome, and of course you have to follows the horizontal lines, to avoid a bad quality look.
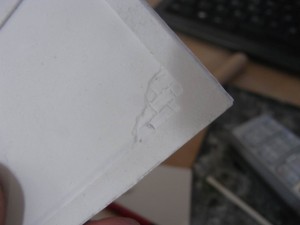
Don’t be shy, move the tip around the bricks again and again, they have to look like different pieces!
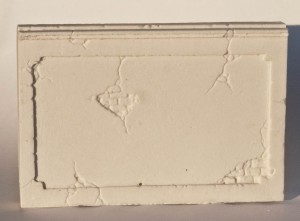
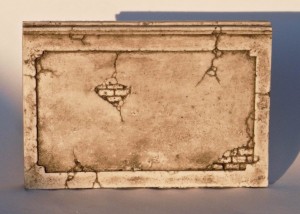
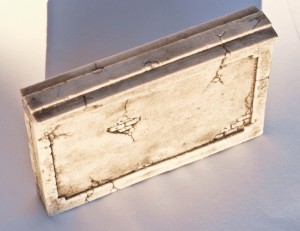
When finished, it looks like that: I wanted to make it look like an old wall; it could look quite exagerated, but believe me, it’s not. I have seen dozen of this walls around my university, and the weather can make those cracks quite fast!
One side:
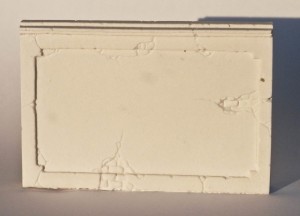
And the other side:
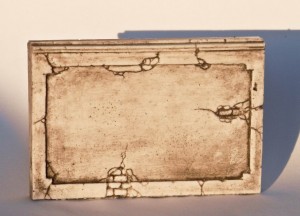
Hint: once you have finished to sculpt the piece, i really suggest you to give it a heavy wash with a dark colour. it is a really nice way to see better the carving work you did, and to discover if in same points you forgot something.
I used some china ink diluited 20:1 with water. After each layer i used a napkin to remove the excess, and the look is pretty nice! The procedure is really simple, and gives you a good chance for a preview, and a bit of satisfaction too.
Cheers,
No comments:
Post a Comment