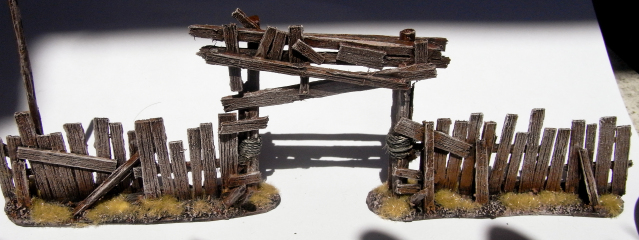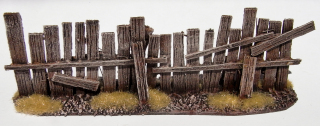

 This
Tutorial is meant for a simple way of making scenery, using (almost)
only vinilic glue (PVA), balsa wood and sand (or corn flour, wich is
better to me!)
For make simple barricade you just need that ingredients, and a evening, maybe while watching a nice B-Serie action movie, where the looking is appreciated but not required.

Anyway, Let’s start with the tutorial!
starting from some balsa wood, brushed with a metal brush to highlight the woodlines:

i cutted the balsa in some stripes, approx 3 cm x 5mm:

some other strips, around 1 mm thick

glued together to make some 6-7 pieces long fences:

then merged and glued on some card support:

then I added some small rocks and some corn flour, for the ground

First, i glued some more “patches”, to give a more variety to the different pieces:

Then a black primer and a rough brown coat:

for the ground, brown – to – white drybrush, to give an excessive contrast (good with the grass, imho)

then, for the wood, drybrush (not too dry) with orange, mixed with brown

finished with some white, for the aging:

then, the grass, to give the complete nordic-style orkish architecture.

At the end some photos of the finished stuff!

Conclusions: this method for making walls is fast, easy to
learn and gives a nice way to understand the hidden power of the balsa
wood. After you did something like that you can start more ambitious
projects, such as whole balsa buildings or – as I did – some wooden
engines and machinery!
hope it will be usefull to all you!
No comments:
Post a Comment