Medieval Village - Casting the walls that go around the Village
| There is a wall that goes all the way
around the medieval village. This was a mini project unto itself and a
lot of fun. I cast two different size walls and posts that connect them. In this tutorial I show you that process. |
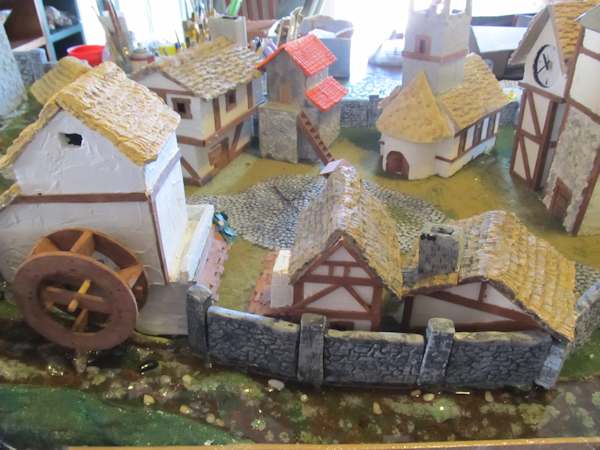
The wall goes all the way around the village and
in this picture you can see part of it in the front. And a little bit
more of it between the buildings on the back side of the diorama.
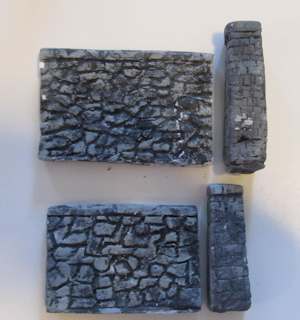
I created four different pieces that could all be used as the wall system around the village. Two wall units and two pillar units. And you can see there are two different sizes. One pair is larger than the other pair.
Making The Walls -
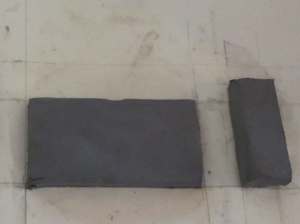
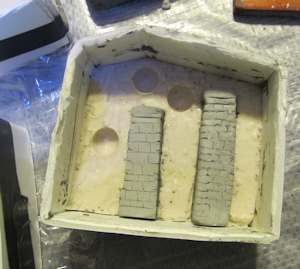
I started out simply forming the wall pieces with clay. I used an air drying clay called Marblex.
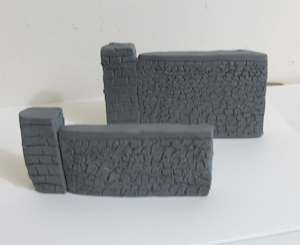
Then I used some tools to sculpt out the bricks and shapes in the walls and pillars. The picture shows the pillars against the walls but they aren't connected. They are just side by side for reference.
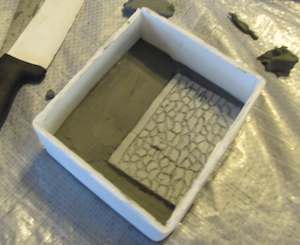 So,
now we want to make a rubber mold of each of these pieces so we can
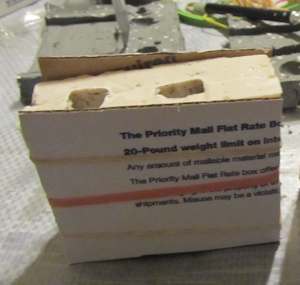
cast lots of copies. We do this by starting the mold. You can see the
little cardboar box we built. Then we filled the bottom half of he mold
with clay and embedded the wall half way into that clay.
So,
now we want to make a rubber mold of each of these pieces so we can
cast lots of copies. We do this by starting the mold. You can see the
little cardboar box we built. Then we filled the bottom half of he mold
with clay and embedded the wall half way into that clay.You can't see in in this picture but I pressed a couple of marbles about half way into the clay. These are location points that will hold the two halves of the mold together correctly. You will see how that works.
 Now
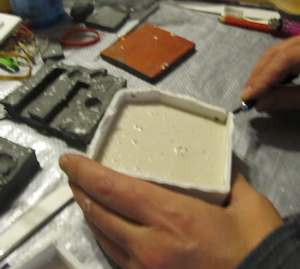
we fill the top half of that mold with some kind of a molding material.
You can use OOMOO rubber or for a quicker and easier mold you can use
InstaMold whichi is cheaper and easier. But instammold has a lifespan.
If you use Instamold you need to cast your wall pieces the same day!
Now
we fill the top half of that mold with some kind of a molding material.
You can use OOMOO rubber or for a quicker and easier mold you can use
InstaMold whichi is cheaper and easier. But instammold has a lifespan.
If you use Instamold you need to cast your wall pieces the same day!Here are the two products for Mold making.
 |
 |
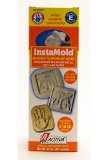
Activa Products Instamold 12 oz. can
Cheap and just add water. But you have to use the mold the same day before it dries out and is no longer useable. |
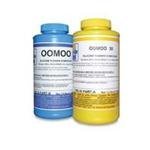
Smooth-On Silicone Mold Making Rubber OOMOO 30
Fantastic molds, can be used over and over forever but more expensive. You mix the two halves together in equal amounts. |
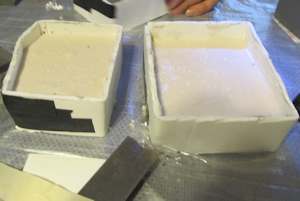
Once the Rubber for the first half of the mold is dry you can take apart the walls and then remove the clay half.
 Now
that the clay is removed you can also remove the marbles and then
rebuild the box around the rubber and parts. See how this is going to
work?
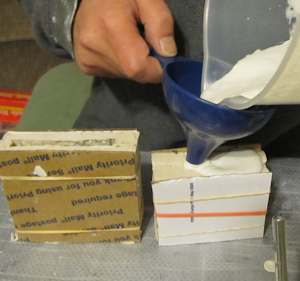
Now
that the clay is removed you can also remove the marbles and then
rebuild the box around the rubber and parts. See how this is going to
work? Now we can pour the rubber into this part and complete the mold.
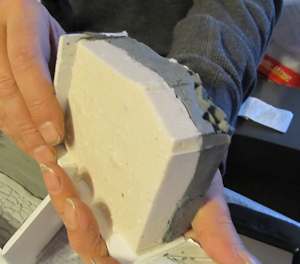
 And there you go. The rubber has been cast and is now dried. The mold is complete.
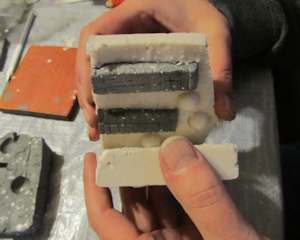
And there you go! The mold is complete. Open it and separate the two halves then remove the clay parts.
Now putthe two halves together and bind them gently with a couple of pieces of cardboard and rubber bands.
Now mix up some plaster or plaster of paris and pour it into the mold. Rap on the mold moderately hard to insure the plaster flows completely into all the details inside the mold.
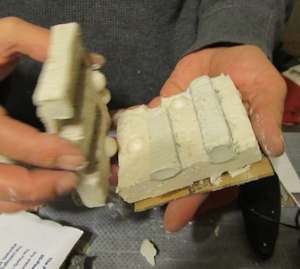 Once
the plaster has dried you can open up the mold and remove your pieces!
Yay! Now you can use that mold again to cast more plaster parts. I did a
whole lot of them.
Once
the plaster has dried you can open up the mold and remove your pieces!
Yay! Now you can use that mold again to cast more plaster parts. I did a
whole lot of them.Now they are ready to paint!
No comments:
Post a Comment