Yes, yes, I know...there was no Bloat Thrall on my "to do" list when I
got back from vacation. However, over the past week, I booked into
GenCon in August, and registered for several Warmachine events. One of
them is a 50-pointer, and when I put some lists together I realized I
could probably use a Bloat Thrall.

So, since I'm probably going to need one anyway, why not do it right
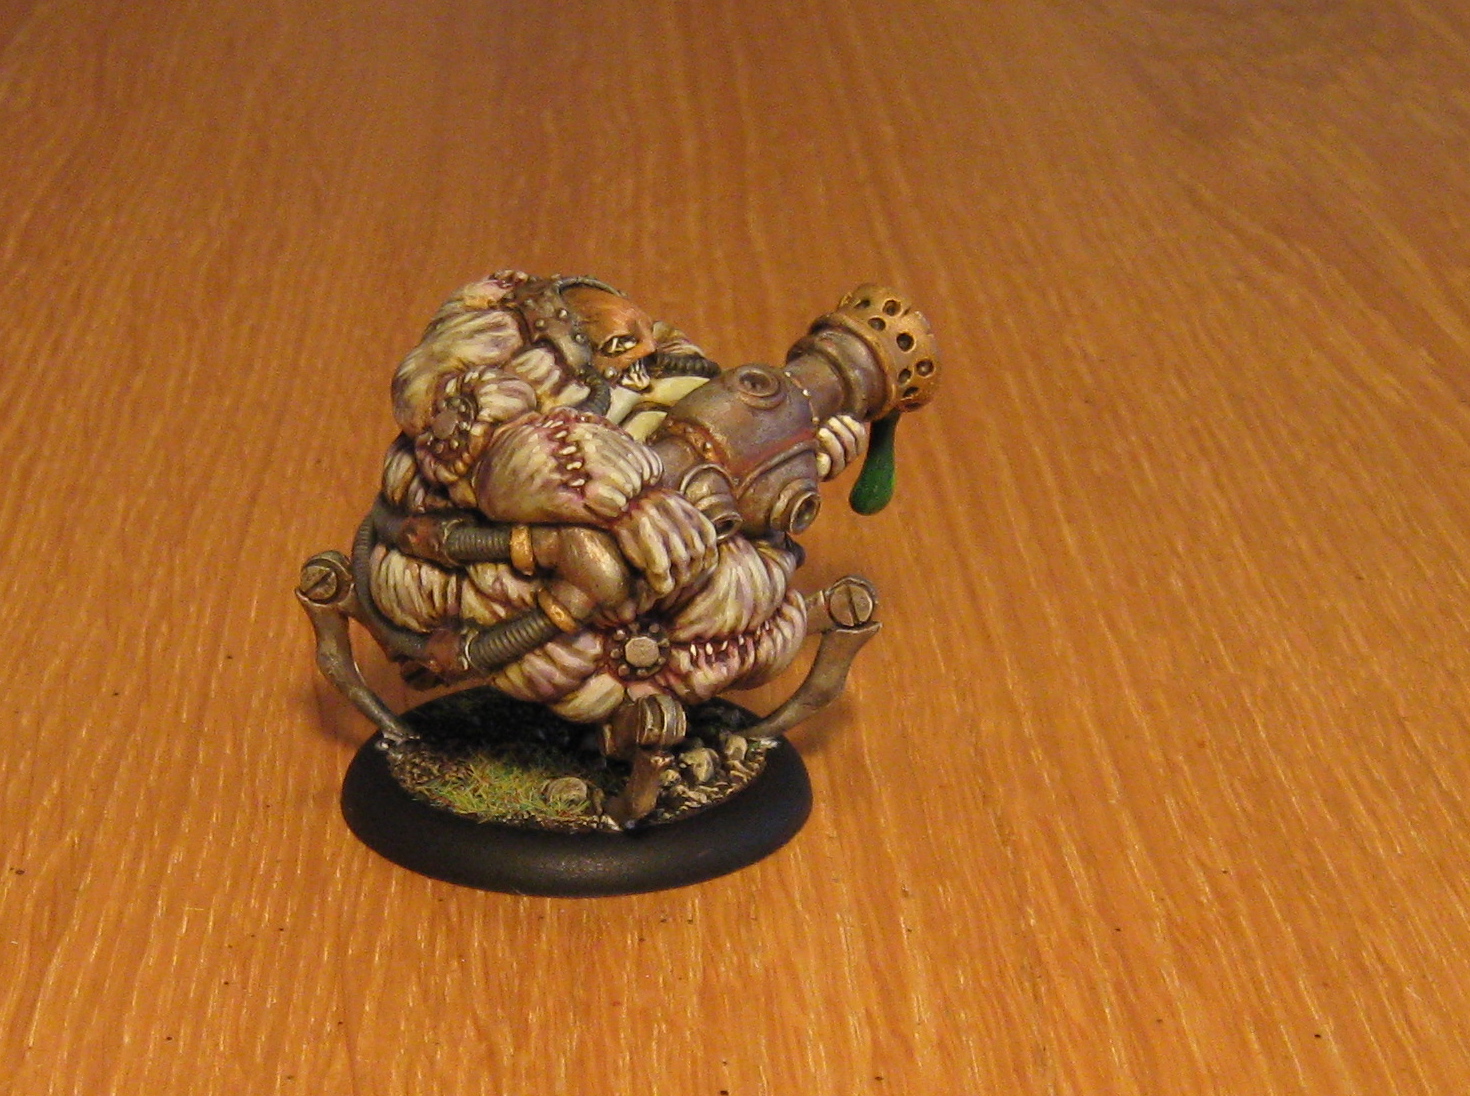
away and whip up a tutorial? OK...so first off, the assembled model.
This went together very quickly, the casting was clean, and I quickly
realized that the sculp is fantastic. So much deep relief and plenty of
chunky detail...great for painting.

The only problem I ran into were the gaps along both sides of the assembled model.

Liquid green stuff filled these in short order.

At this time, I went ahead and did the base. The figure pretty much hides the complete base, so nothing fancy here. Sand and glue.

Followed by some quick paint, drybrushing and static grass. This was then set aside as work continued on the main model.

OK, started with a spray of white primer.

Followed by the dark wash (as always, this is a mix of Future floor wax, black and brown paint, and some matt medium to flatten the finish).

Now on to base colors to block out the main parts of the figure. The
flesh is Moldy Skin covered with patches of Khaki Shadow. The metal
pieces are based in Blackened Steel. Brass starts with some Foundry
Brazen. Rubber gets...Dark Rubber. The leather hood starts with Russet
Brown and the goo in the cannon nozzle is painted in Gnarls Green from
P3.

This is just a block painting pass. As you can see, the base coat application is very light and watered down. There will be several layers of paint on the figure, so keep the paint thin to prevent clogging up detail.

Then the entire figure is washed with Sepia Shade.

I started with the leather hood. You can see the progression of colors here, using a set of Reaper browns. The final highlight was done with a Foundry pale brown which is from a German camouflage color set.

The metal is quite simply done with some Chainmail drybrushed over the Reaper base. I didn't spend too much time on the metal, because I knew I was going to heavily stress it with rust paints later.

The brass fittings get Foundry Gold over the Brazen base. They are also highlighted with Chainmail.

Hoses next. Vallejo has a nice dual set of rubber colors, which I use on lots of models.

Finally, it was time to address the skin. This is the main showcase of the Bloat Thrall, so this is where I spent most of the time on the model. I wanted the skin to look distressed and ropey, so there was plenty of brushwork involved. This was done with Moldy Skin and Bloodless Skin.

Next, bruising, infection and irritation...mmmmm. I dug out the great Citadel purple wash and applied that first for bruises. Next, Red Shade went into all the stitching. Finally, Umber Shade was liberally applied randomly over the surface. As you can see in the photo, all these washes made the figure quite dark. I then went back over the model with Moldy Skin to bring the highlights back. You can see this effect in later photos.

Time to distress the metal. I used four shades of rust, watering them down in a pallet. To each pot, I added a few drops of rubbing alcohol. This breaks the surface tension of the washes, and lets the rust colors run into seems and settle nicely on the model.

I started with the darkest rust color and moved up to the lightest. I then went back over the metal with a dark wash and just ran it into crevasses to make the metal areas pop out appropriately.

OK, time for goo. I used P3 paints for this and just worked up the greens to an off-white dot highlight. The model was then sprayed flat, and the goo got some Future floor wax for a glossy finish.

And that's it.
This type of treatment makes for a pretty convincing undead horror.


'Til next time
Thats a great tutorial. There are a lot of nice tutorials around here, good stuff!
ReplyDeleteGlad u like it, im glad people post tutorials but not everyone is very detailed in there categories so its hard to find them and more importantly there is no guarantee u found all that is out there. This blog is my attempt to hoard all the useful one i have found. And i cant paint so whn i have time to sit down and do so i have a reference point hopefully among what i have found.
ReplyDelete