
Hello again!
I didn't expect works on new material would start so fast but recently I was asked to paint Warmachine helljack for one of my clients.
Mark (my current hobby boss =p ) chose Cryx Nightmare to be painted. General plan is to paint it unorthodox way and to mount it on the big base - the piece will be glass case model only. The model was ordered and while waiting for the parcel I started basing process.
Please note: there are many tutorials about painting different minis. Some are very detailed - other short.
But there are much less articles about preparing bases or preparing model for a long and dangerous trip so I decided to focus on these elements here**.
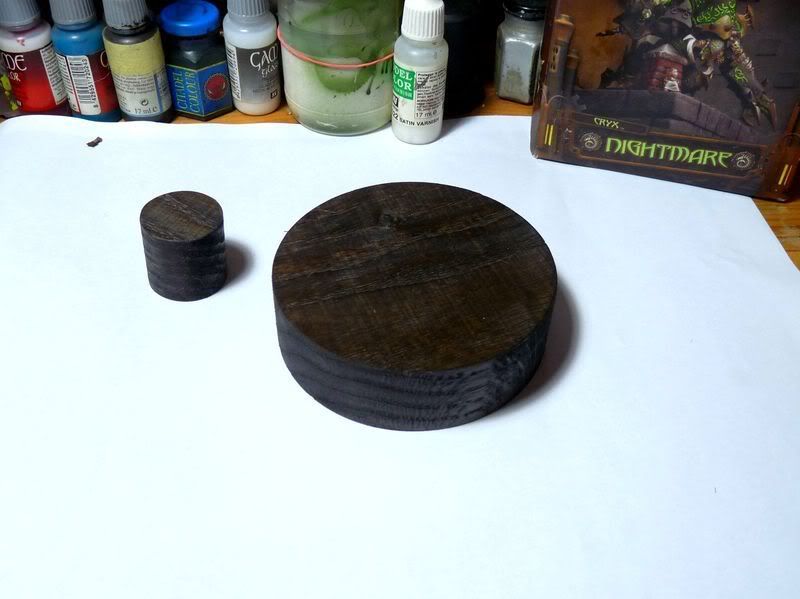
Anyway I decided to use the biggest round oak base I had available in the store - there will be a lot of space on the top of it to place heavy jack. >
We had a discussion about what should be on the base and the final agreement was: the base must be dark, there will be some corroring bits to break monotony and again - the base must be tall.
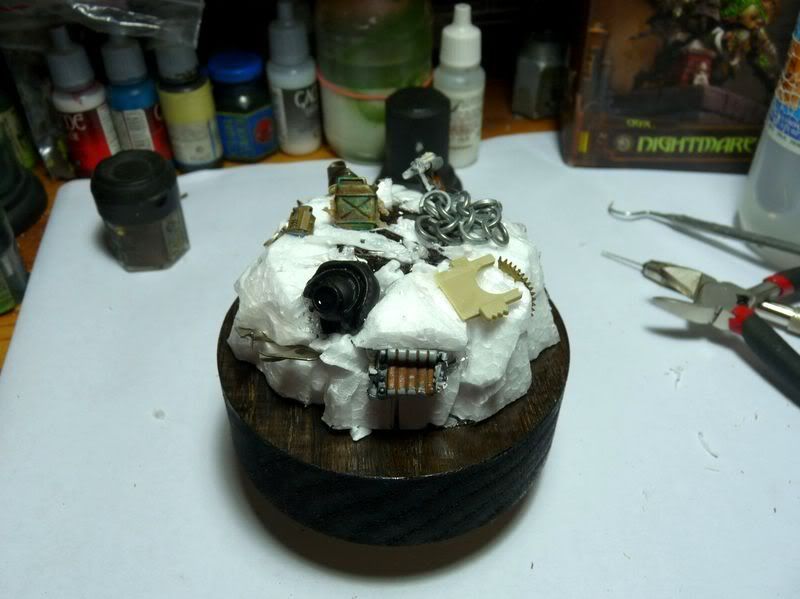
The first and obvious choice was picking styrofoam to build the rock. The problem is pinning heavy model to styro is just stupid idea - no way it could survive trip over the big pond undamaged, so I decided to harden the main construction.
I grabbed the base and also small wooden block - rock will be made around it.
 Next I marked shape of the block on styrofoam sheet and mad e a cut - hot wire thingy FTW!
Did exactly the same on the second sheet - layer of styro must be at least as tall as the wooden core.


 Sheets were impaled with some paperclip pins + glue and I cut the shape of the rock.
  Styro bond is drying so in the mean time the base core elements could be assembled.
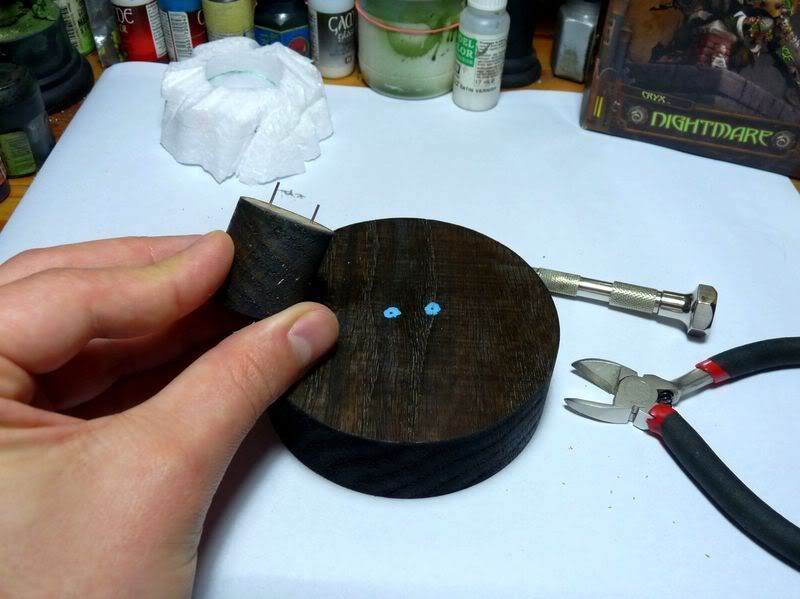
Once again - the procedure is easy as fucking: first of all I put 2 pins in the smaller block and prepared holes in the base.
Next some polymer glue was applied aaaand.. TA-DAAAAAA!!! It is done!
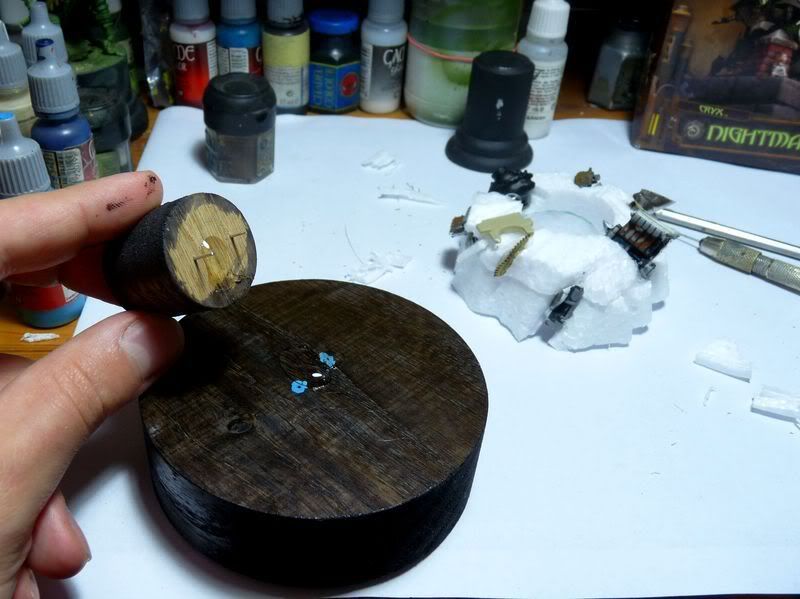
 The glue need some time to dry so let's come back to the rock.
Mark wanted some junk on the base so I grabbed some strange parts from the very bottom the the bits box (not sure what was most of them).
Then I made some cuts in the styro, applied bit of glue and pressed junk into the rock.

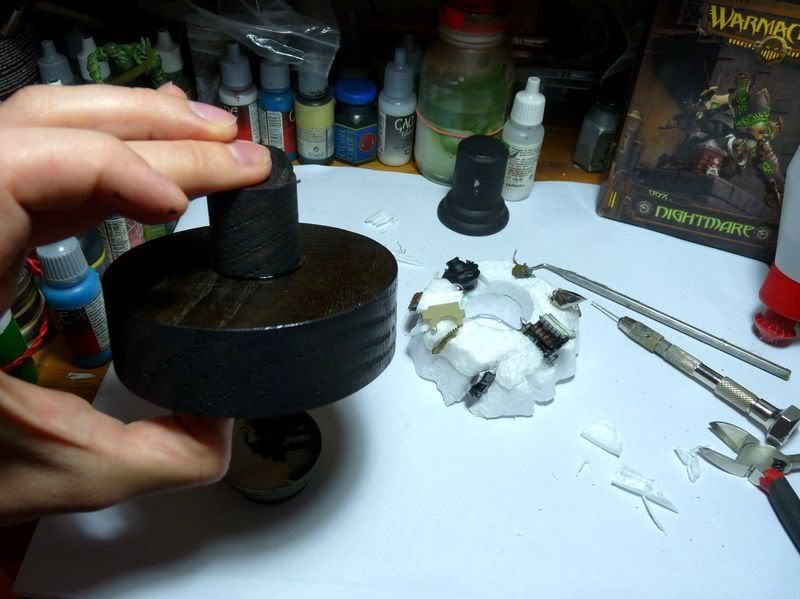
 The shape of main rock structure is ready so I decided to attach it to
the base and add more junk later: solid amount of glue on the base and
around the core is everything you need. Model will be pinned to the
core, not to styro so you don't need pins or whatever at this stage.
The shape of main rock structure is ready so I decided to attach it to
the base and add more junk later: solid amount of glue on the base and
around the core is everything you need. Model will be pinned to the
core, not to styro so you don't need pins or whatever at this stage.As I wrote - even more junk was added: I found piece of arm from poor Seether model and even piece chainmail I made looong time ago (yup - there was a short period of my life when I was interested in historical reenactment*)

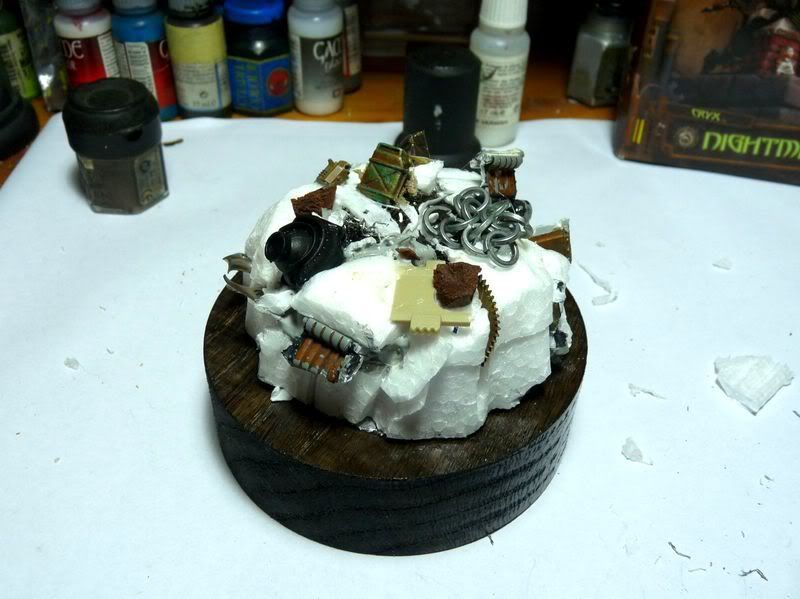 This time bits were glued to the rock - give it some time to dry.
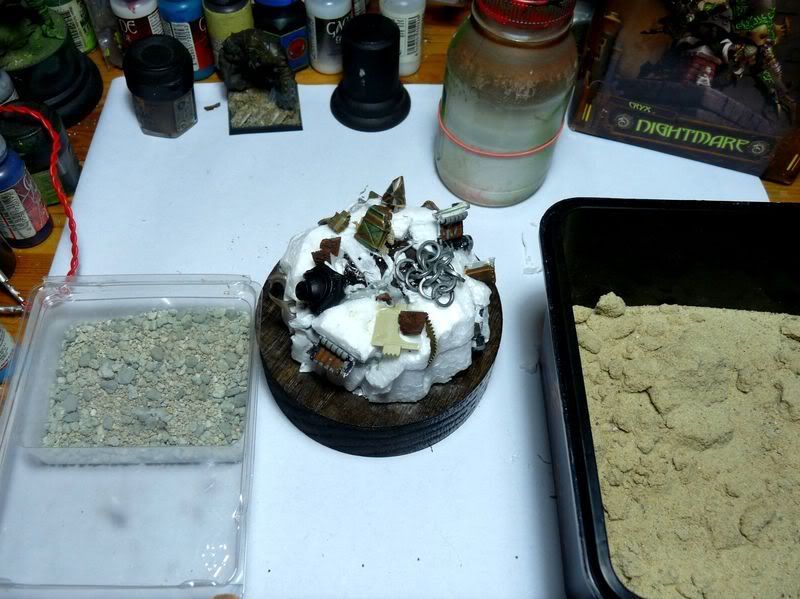
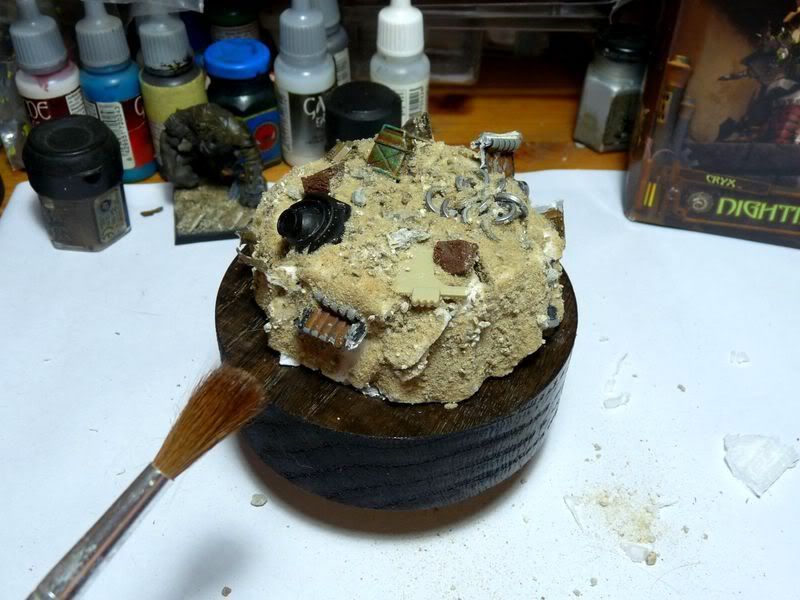
Now it's finally time to give the rock proper structure - again gravel+sand+pva combo works the best: cover piece of pase with pva, sprinkle with gravel and sand - paint another area and so on.
Don't worry if some junk is hit with glue - it will be look equally fine partially buried.

 First coffee time: pva ALWAYS needs time to dry - especially if you decide to dilute it. So have a break.
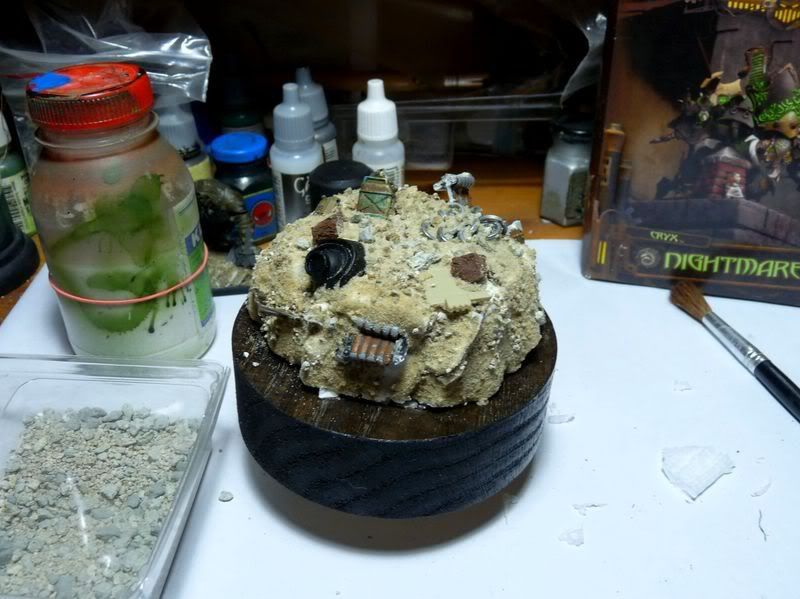
Remove excess of the sand with soft brush - both from the base and from the rock. The base was covered with solid coat of glossy varnish so sand comes off with no problem.
 The next step is painting whole sand and rock area with diluted pva
glue - this will prevent sand from falling off during painting.
The next step is painting whole sand and rock area with diluted pva
glue - this will prevent sand from falling off during painting. 
 Painting time - finally!
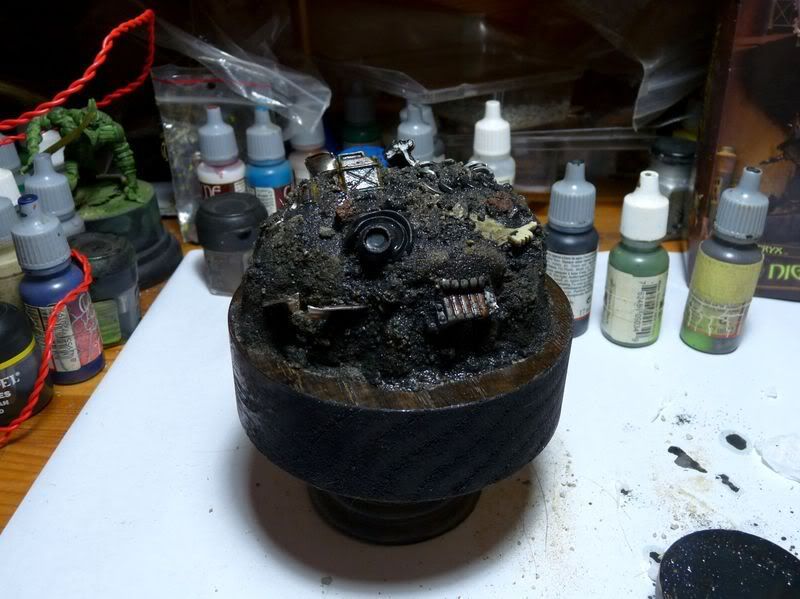
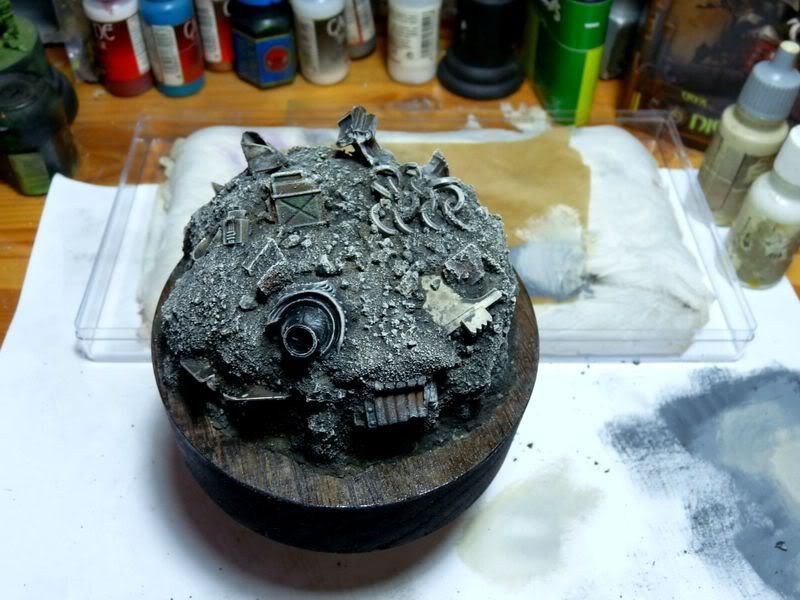
The client wanted the base to be dark - I don't like using pure black as base color so I decided to mix some black, dark olive and smoke. Paint has been diluted so after painting some sand should be visible - this will make further easier. Besides watered down paint is MUCH easier to paint over rough surface.

 Base layer is dry so we can proceed with drybrushing.
I started with dark / medium grey. After than some more medium grey was added and finally bleached bone and little bit of pure white for the final highlights.

 The next step is painting junk.
I don't wan't to wast too much time on it - it must be simple corroded parts laying on the ground: it could be battlefield or parts of old warjack buried long time ago and forgotten - make your orn fluff for it :)
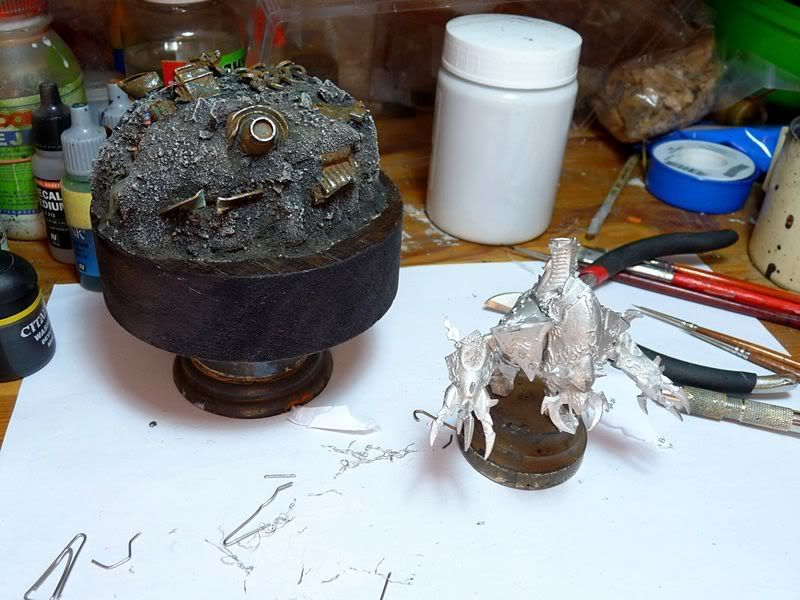
Base color is mix of boltgun metal, some black and dark brown.
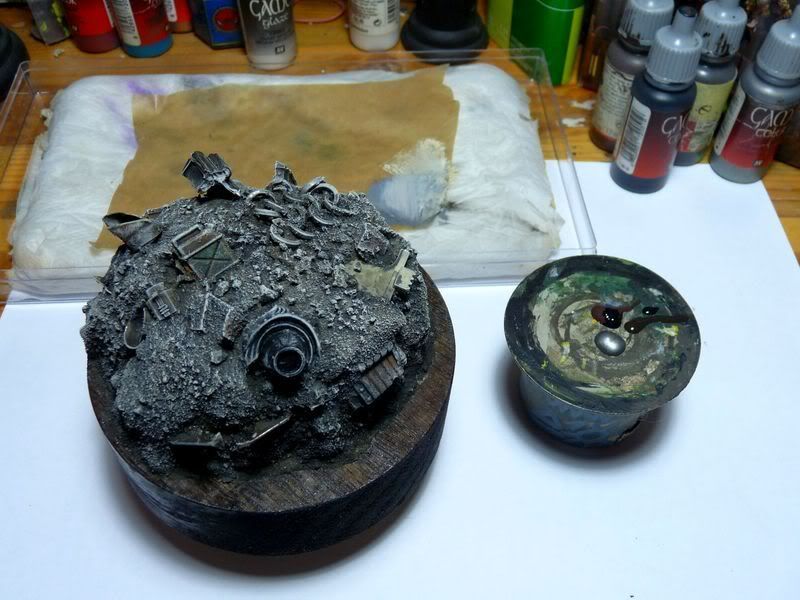
 I gave the junk some time to dry and then shaded it with smoke - one of my fav colors apparently.
  Highlights were painted with bright silver tone - chainmail, mithril or whatever you can get.
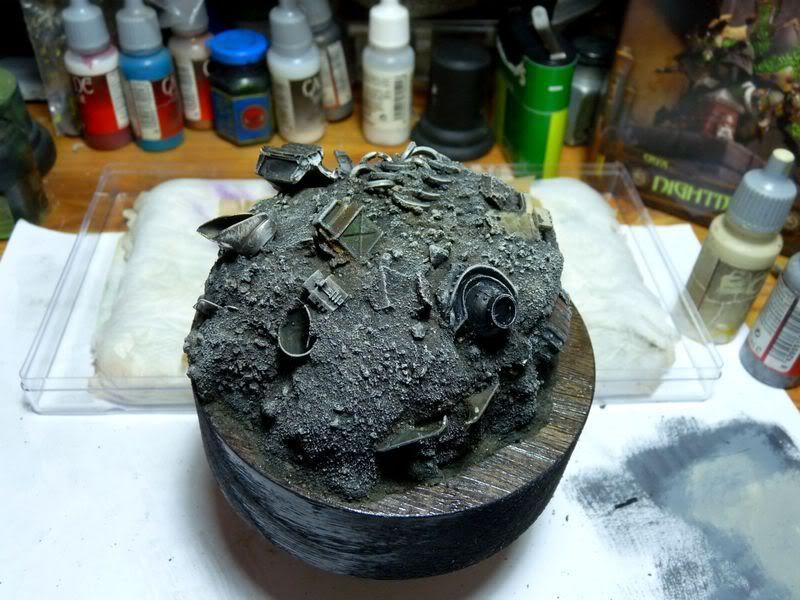
 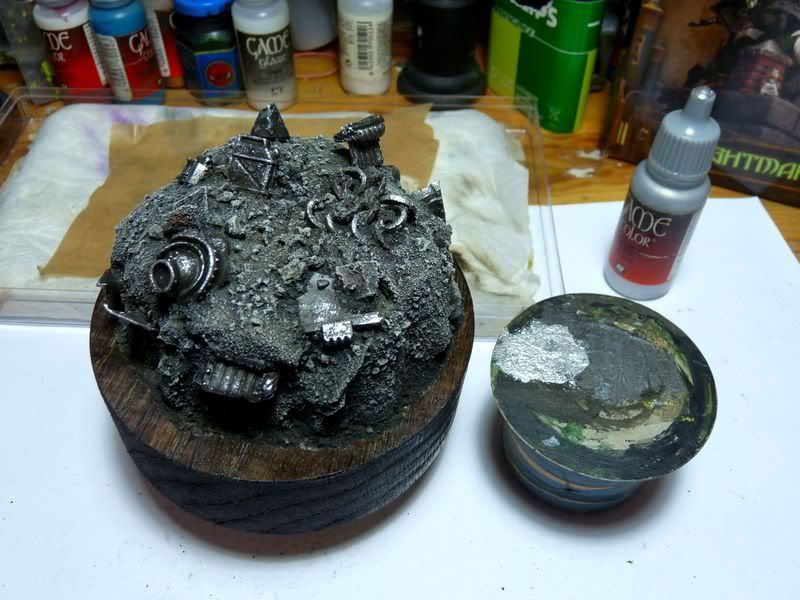 Rust time!
I waited until metalics dried completly and then glazed them with watered down orange and smoke.

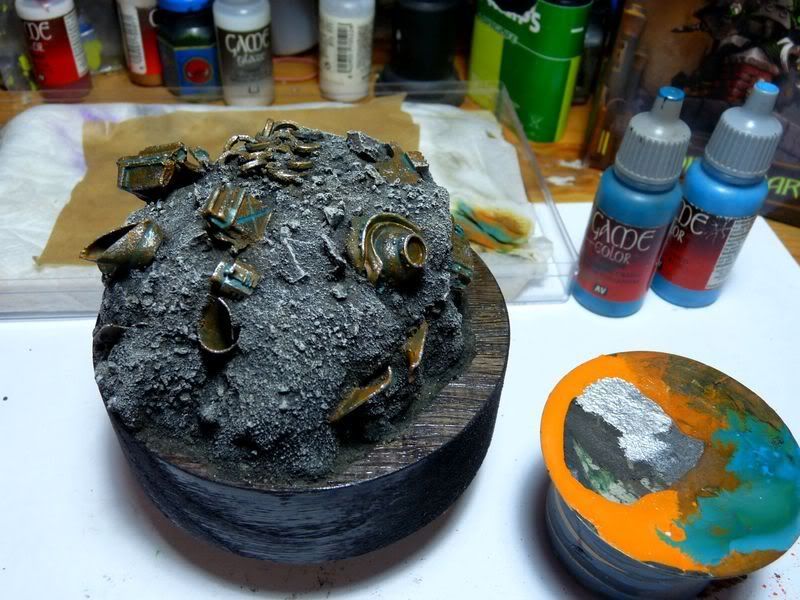
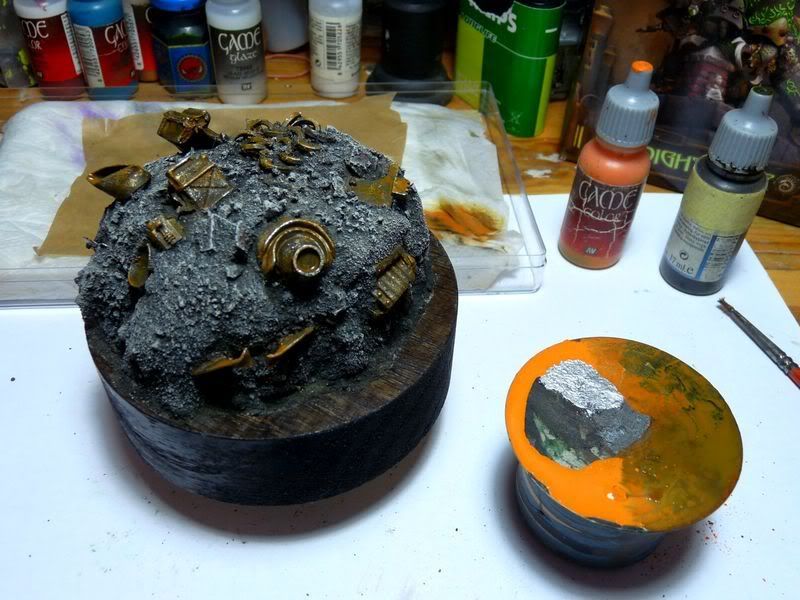 Highlighting again - some rust could have been peeled off my Nightmare
walking over it or scavengers searching anything worthy selling.
Highlighting again - some rust could have been peeled off my Nightmare
walking over it or scavengers searching anything worthy selling. 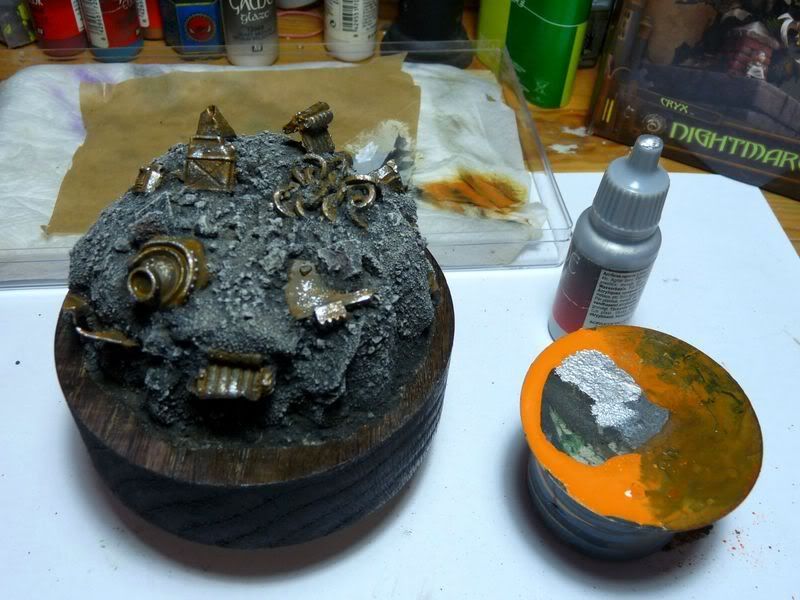 Because my client wanted some blue accents on the model I decided to
apply some blue also on the base to make whole thing coherent.
Because my client wanted some blue accents on the model I decided to
apply some blue also on the base to make whole thing coherent.I don't think blue is natural color of oxidation but I don't five a fuck: I doesn't have to be natural but coherent. For this task I mixed some turquoise and electric blue.
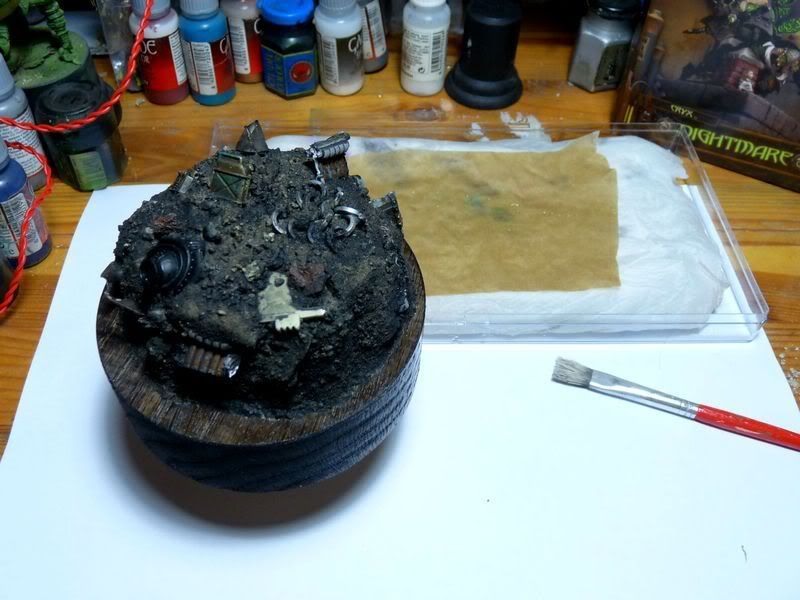
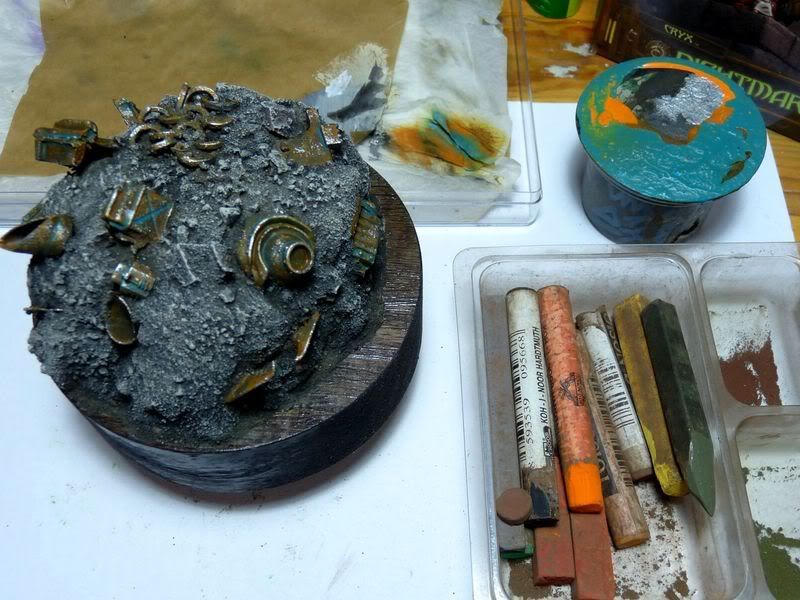
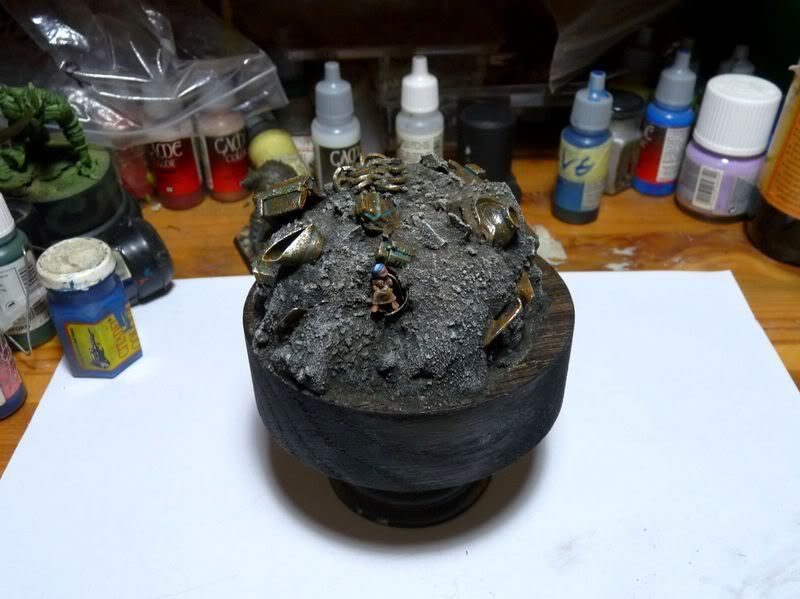
 And finally what tigers like the most: applying pigments. It's just incledible how fast and effectiv whis thing is!
There's not much to write about here - I simply took some natural colors: browns, orange and my definitely fav chalk - dark olive, powdered them and applied on the base using large brush.
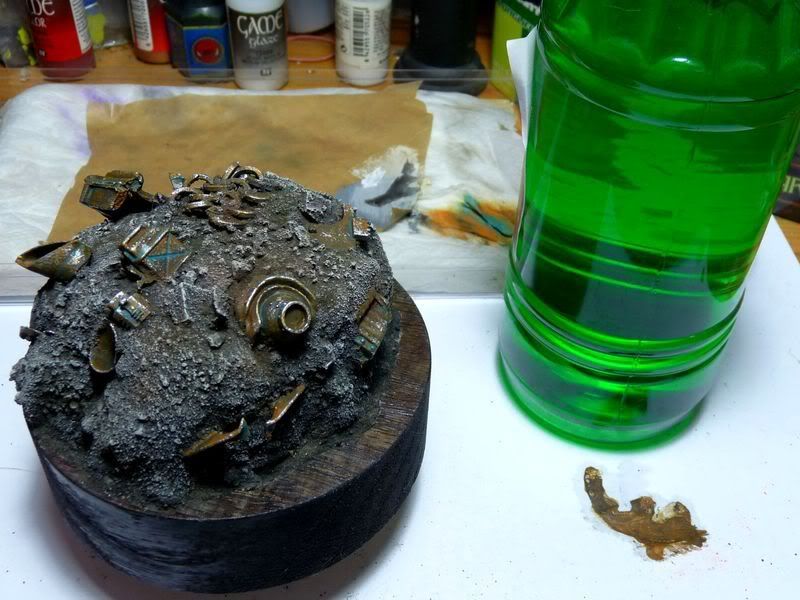
Usually to fix it I spray base (or model) with varnish but since wooden part has already been varnished - spray was not an option. Sure I could use masking tape but applying turps works just fine and was definitely faster - the only drawback is it's hellish stench.
Stench or not - a minuta later the job was done.
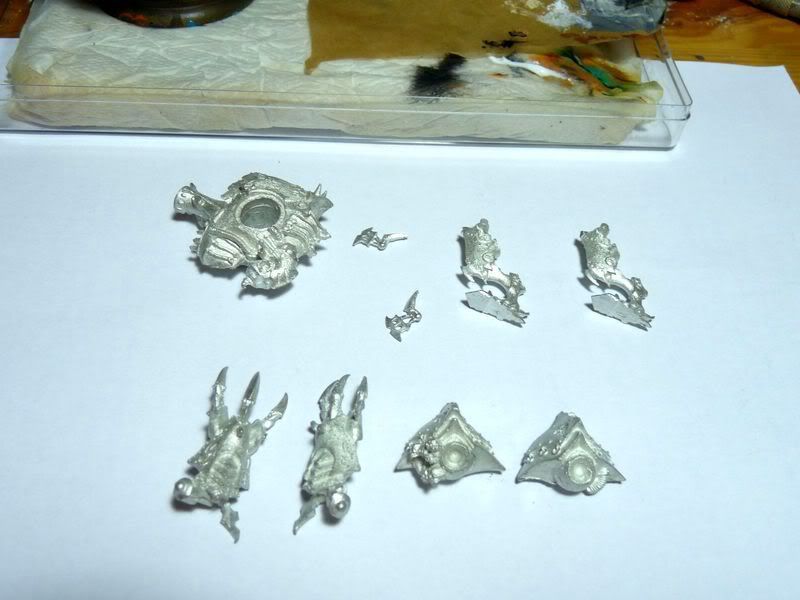
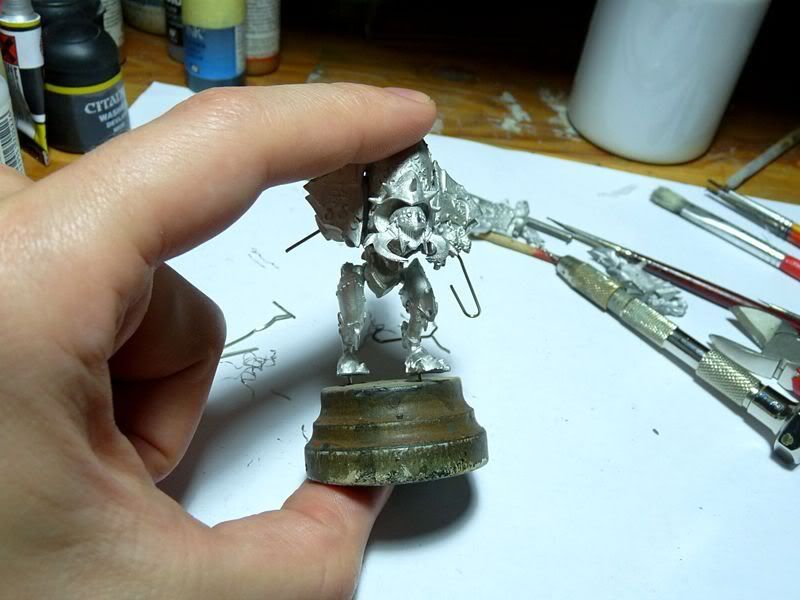
 The next logical step was assembling the model and preparing it for painting
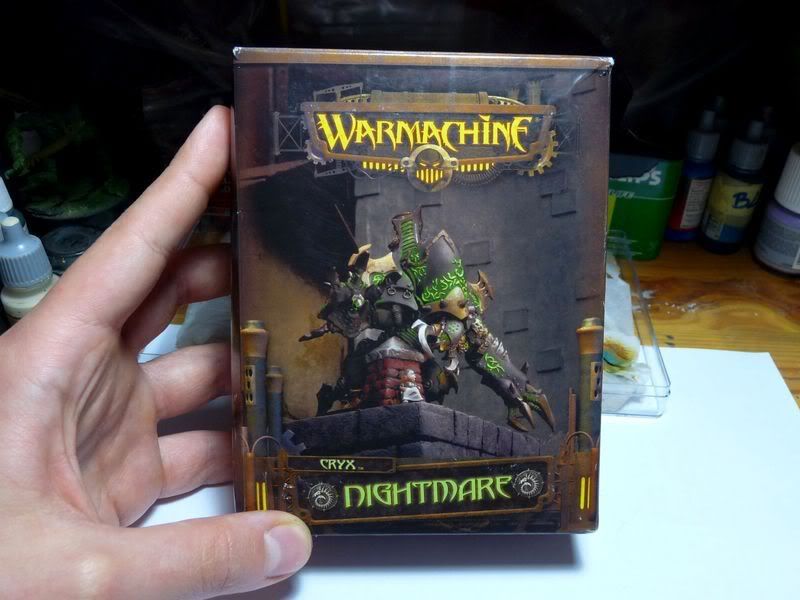 I really like this model so I was pretty happy I got second opportunity to paint it.
Sadly when I opened the box it turned out guy or gal who was preparing the set fucked the job big time because there was no head inside and instead or pair or legs I got 2 right ones...
It's 3rd or 4th time I got incomplete PP model but the customer service works really fine (no shit) and the next day after I mailed the guys - the parts were on the way.
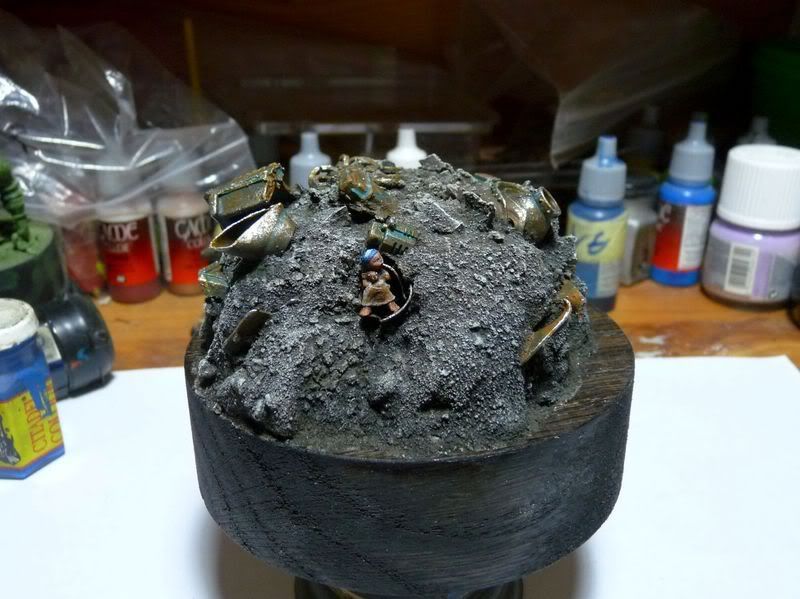
 I didn't want to waste time while waiting for the delivery so I decided for a small experiment:
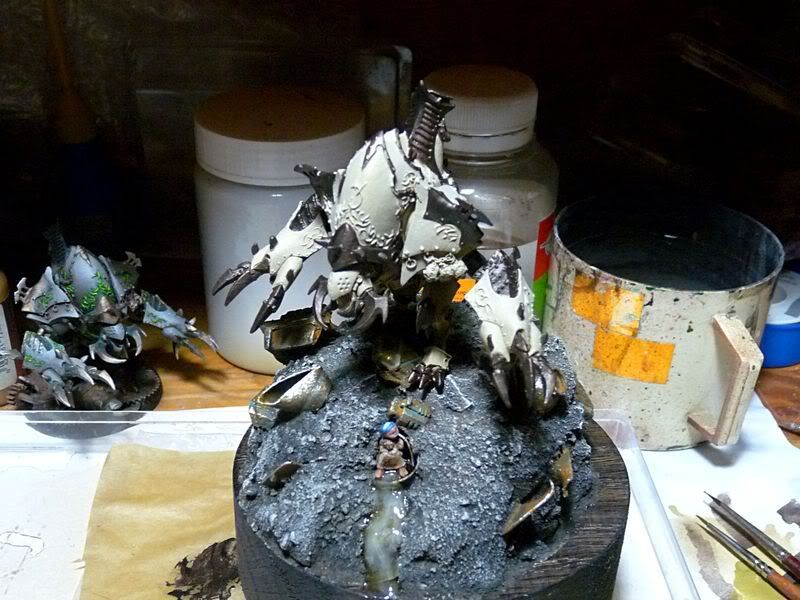
part of Nighmare set is little girl hugging teddy bear - I painted it and put into broken pipe coming out of the base. I will try to make her look hiding from evil machine walking just above.
 And now an experiment part:
some time ago I purchased Vallejo water effect thingy but never used it for anything else then making icicles. Time for change!
I applied some of this stuff on piece of plastic and let if dry.
The next day I ripped it off and got something like this:
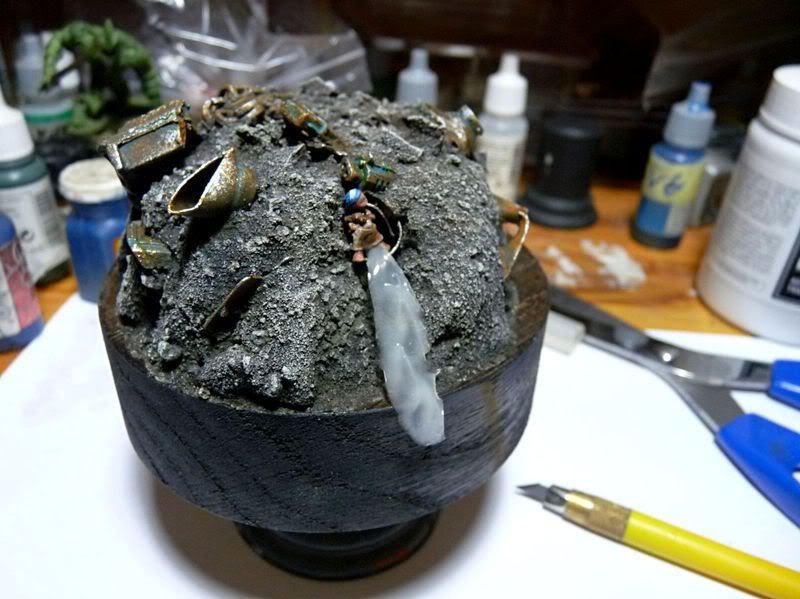
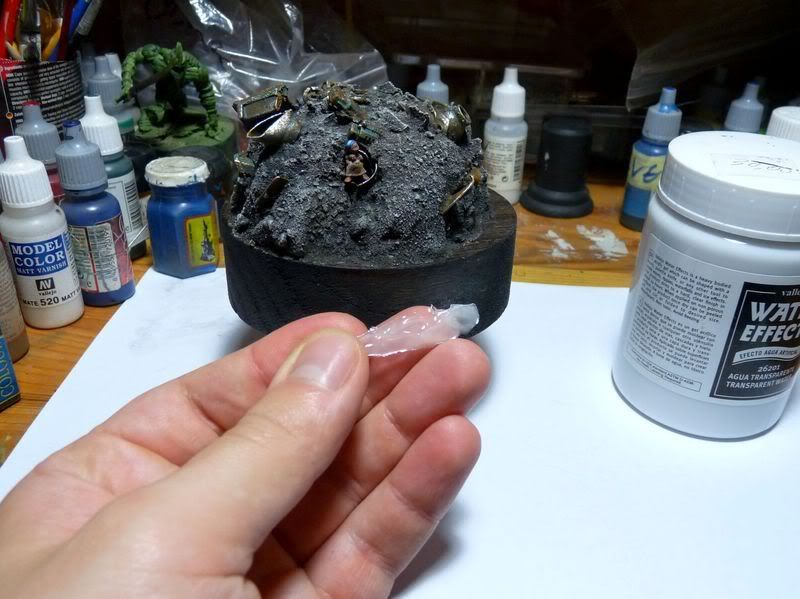 Water effect is pretty soft and easy to manipulate so put it into the pipe just under girls legs and attached with superglue.
Next I applied some more glue on the rock and pressed the water into it - it is not a waterfall but rather slides on the rock. The bottom part was just just to fit the wooden base's edge.
To make the water look more "wet" some still water was applied - you can also use glossy varnish. Still water also makes bond stronger - it's some sort of resin I think.
The water looks ok but didn't really like the idea of clear water coming out of the huge pile of junk so I added bit of sepia to resin and applied it into hollow areas - so it now look more like sewage and also explains girl's girty dress hehehehe...
 Time to work on the model - all parts are finally on the paint station.
  It is always good idea to pin all the parts especially in case of
heavy, gaming models - usually super glue ain't enough to provide
reliable bond.
It is always good idea to pin all the parts especially in case of
heavy, gaming models - usually super glue ain't enough to provide
reliable bond.In case of commissioned works pinning is simply a must - I know some parcels have to take a walk thru hell to reach the recipient and this one will be travelling beyong the Big Pond. Besides I don't want to let down the client who wants to see painted miniature, not pile of junk in the display case.
To attach arms and legs I used 2 long wires running through whole model - it's much more solid than 2 separate pins especially because Nightmare's torso is hollow inside.
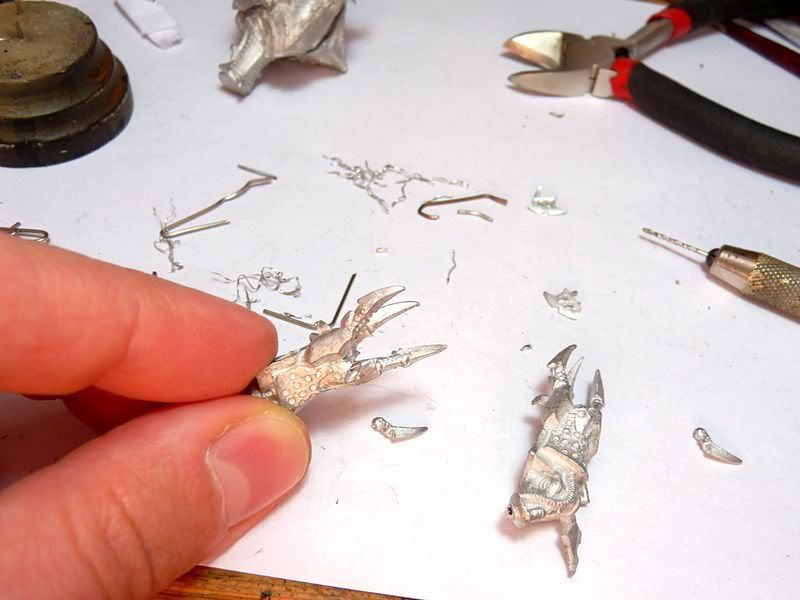
 Pinning fingers was pain in the ass - these parts are quite small but I know such things break off easily so there's no choice.
The only elements attached only with glue were blades on the shoulders. Glue is drying and the model is ready for painting.
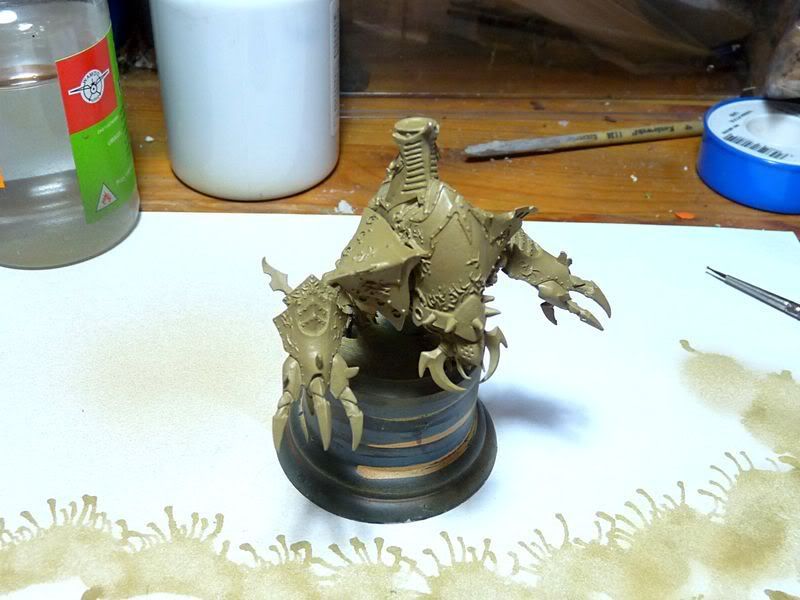
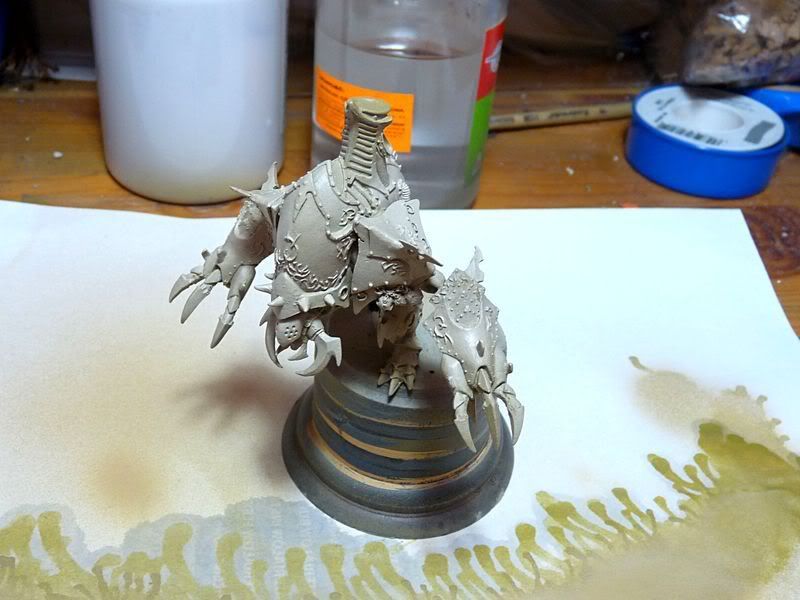
 The first step is basecoat.
Usually I start with dark tone but because Mark wanted me to paint the model a'la menite fashion decision was made to use bright grey.
 Base color used for armour was medium brown from Vallejo Air range. Few
years back I became pretty lazy so I used airbrush to apply the paint.
Of course ordinary brush would also do the job but:
Base color used for armour was medium brown from Vallejo Air range. Few
years back I became pretty lazy so I used airbrush to apply the paint.
Of course ordinary brush would also do the job but:- it would take much more time - airbrushed paint dries really fast so painting base colors doesn't take long
 The next layer was desery yellow...
 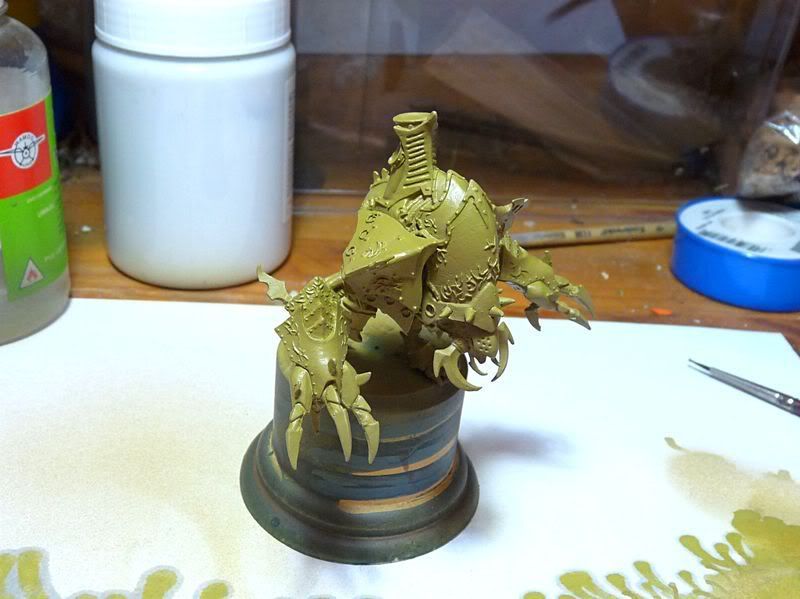 Followed by sand yellow.
 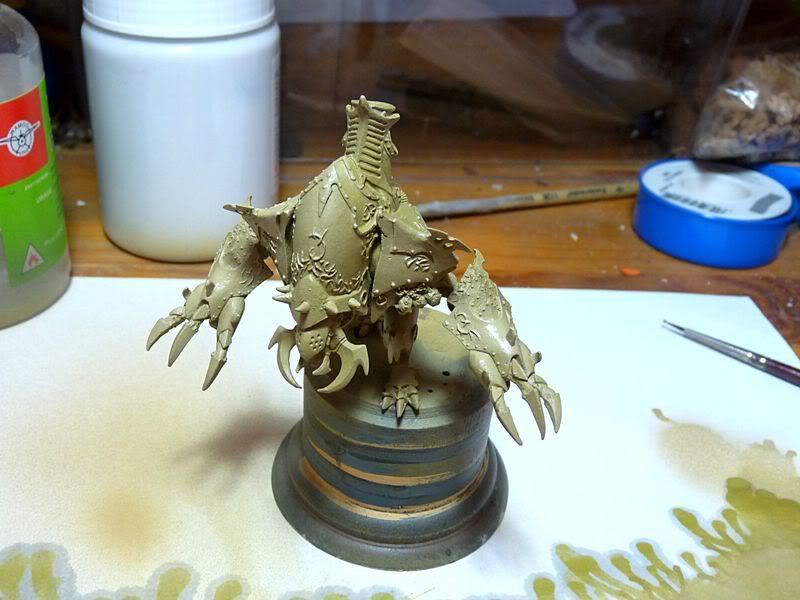 For the final layer I added some pure white to sand yellow but now
watching the pics I think I shouldn't have done that. Bit darker tone
would be also fine and not so striking in the end.
For the final layer I added some pure white to sand yellow but now
watching the pics I think I shouldn't have done that. Bit darker tone
would be also fine and not so striking in the end.Oh wel - another lesson learnt.
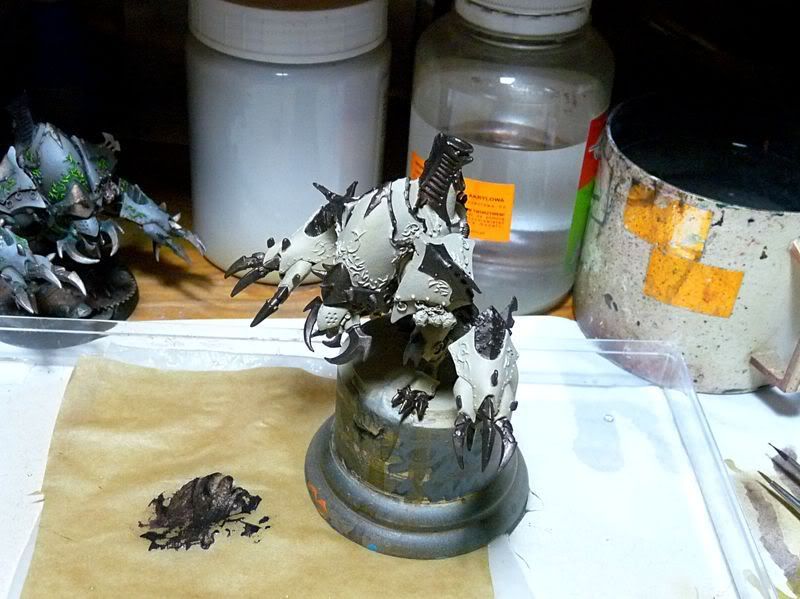
 As for metal parts we agreed to paint them dark, contrasting with bright armour plates.
So I started with mix of charred brown, black and tinny tin.
Metalics must be dry before the next step so I managed to put Nightmare on the proper base and send quick wip-shot to the boss.
 For mid-tone I mixed some bright bronze + tin...
 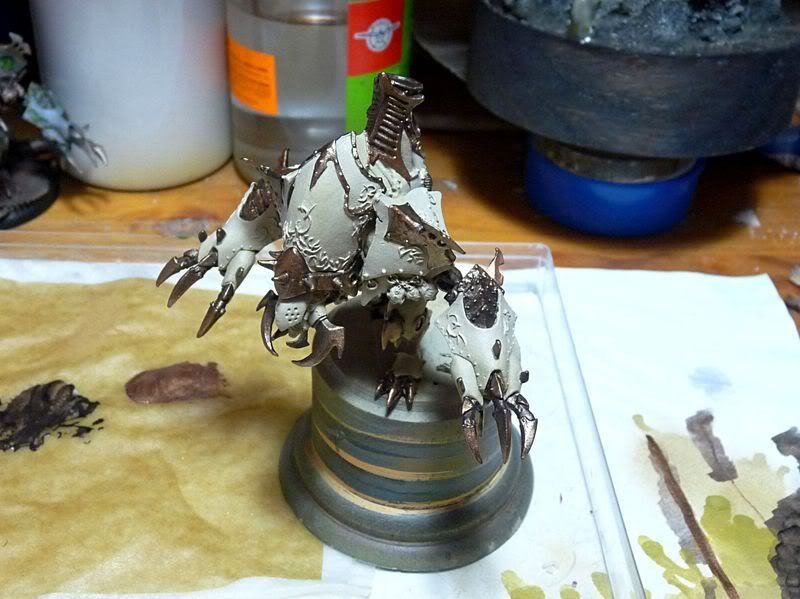 Which was highlighted with bronze + pure silver.
Time to have a coffee and kill some lobotomites in Fallout - paint must be dry before I can start applying washes.
 Glazing: using diluted devlan mud, smoke and brown I shaded the armour
and metalics. I know waiting can be annoying but it's much easier to
paint several thin layers instead of one thick: paint is easier to
control and there's smaller chance to make a critical, hard to correct
mistake.
Glazing: using diluted devlan mud, smoke and brown I shaded the armour
and metalics. I know waiting can be annoying but it's much easier to
paint several thin layers instead of one thick: paint is easier to
control and there's smaller chance to make a critical, hard to correct
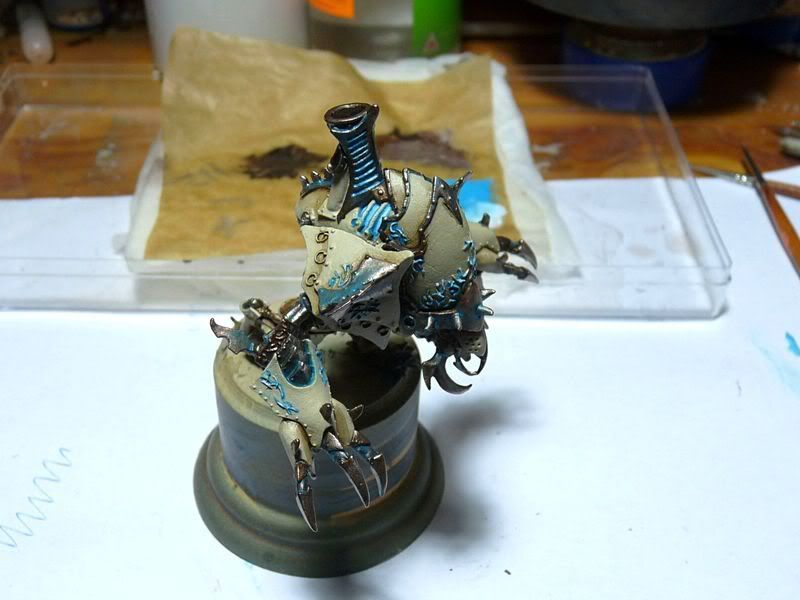
mistake. 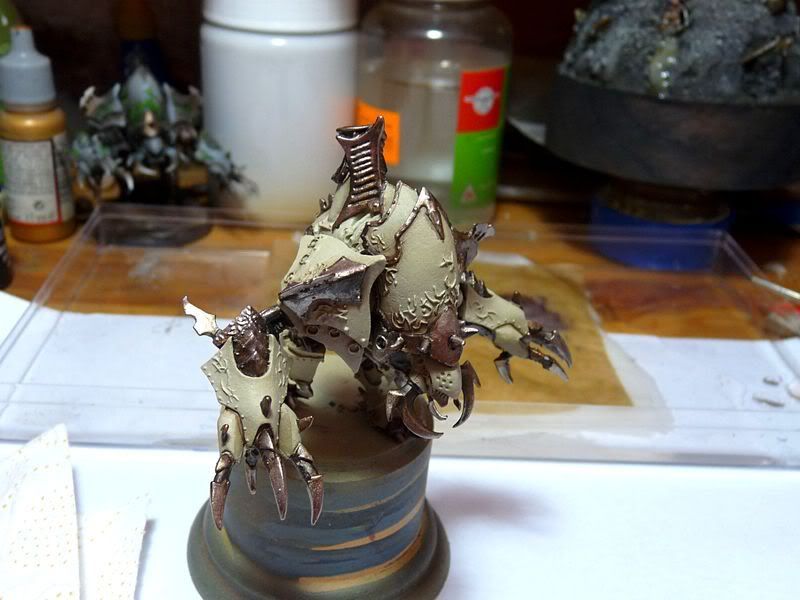 To make metalics a bit more interesting and coherent with blue elements
painted / planned I painted verdigris: once again washes saves the day.
Some layers of different blues and greens fdo the job really fine.
To make metalics a bit more interesting and coherent with blue elements
painted / planned I painted verdigris: once again washes saves the day.
Some layers of different blues and greens fdo the job really fine.  At this stage bit more washes were applied but most important - vents, necrotite and runes*** were painted.
I started with hawk turquoise, added some white for mid tone and the final highligts were painted with pure white.
Aftr that I painted watered down blue wash over these elements to merge separate layers.
 And the final picture: I highlighted metalics, added some dry pigments
on the armour so it gets more "dusty" look, corrected some mistakes and
painted details:
And the final picture: I highlighted metalics, added some dry pigments
on the armour so it gets more "dusty" look, corrected some mistakes and
painted details:chains, skulls, vents on the head. Also the model was atached to the base with very strong epoxy glue and some greenstuff. I masked the bond with gravel and dry olive pigment. The same pigment was applied on legs to make the thing more convincing - there's pretty lot of dust on the base.
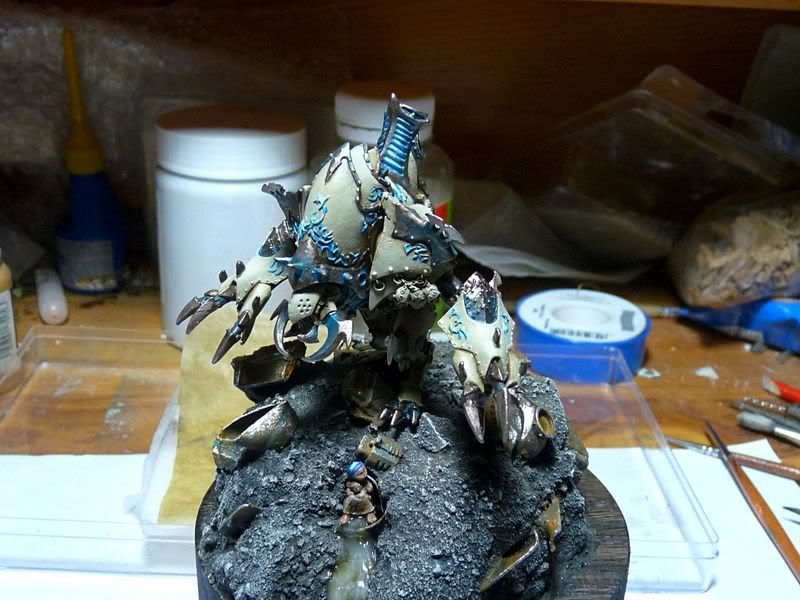 The model is done - Mark likes it.
As the final touch I was allowed to paint some blood on claws and fangs. I also asked da boss does he want some plaque on the base - there's lots of free space after all.
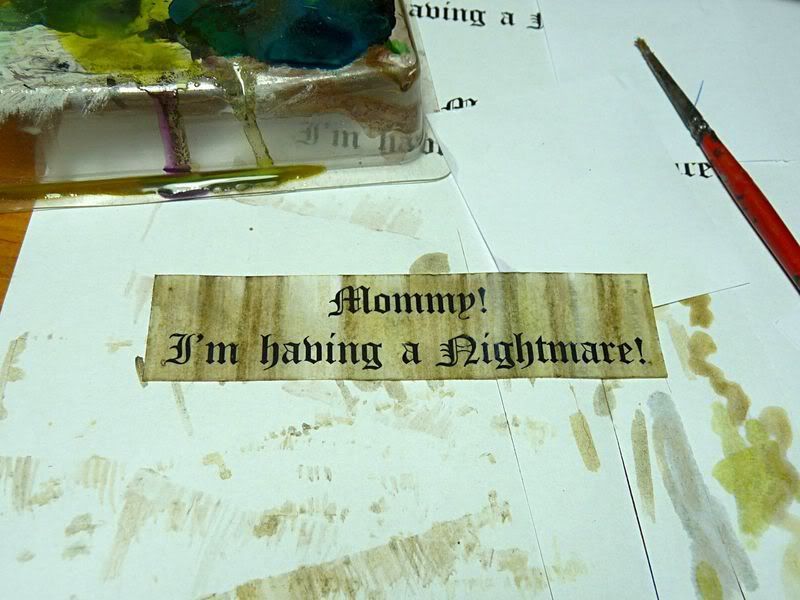
At first he denied but after my email bitching about the case Mark made up great text to be used:
"Mommy! I'm having a Nightmare!" :D
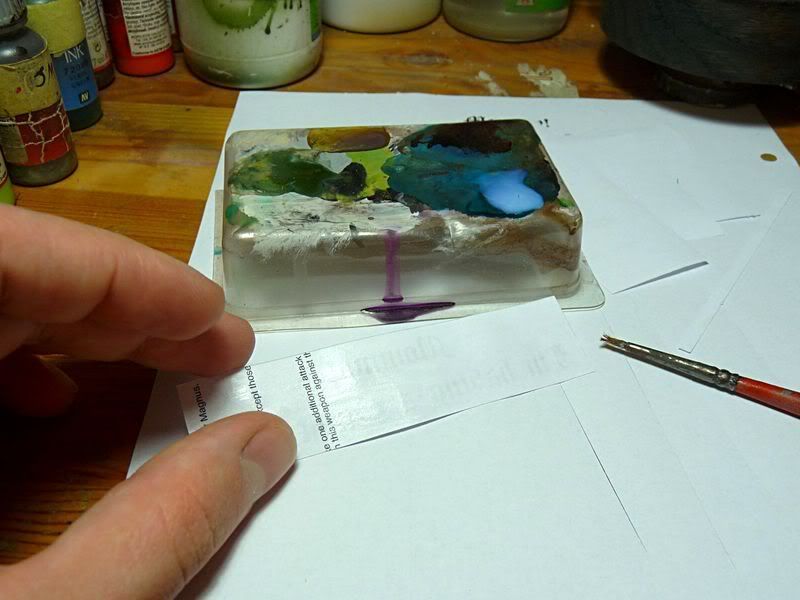
The procedure is just easy as pie - the most difficult part was choosing the text actually and Mark took it off my shoulders. He also chose the font (Old English, size ~30) so the text was painted and cut to desirable size.

 Next I varnished the back of paper (yes, back!): I would like to prevent white glue from sinking into paper at least a bit.
Besides varnish makes plaque more durable - washes used for painting will be watered down so I wouldn't like to see paper ripping apart while applying paint or attaching plaque to the base.
 Painting is easy - large brush, set of washes and some pigment (used both on base and model) did the job well.
To keep maximum coherency the only colors I chose were ones used on model: devlan mud, sepia, brown and or course - olive chalk.
 And for the final touch I decided to add "nails proxies": after the
glue dried I drilled a hole in each corner and put needle top in.
And for the final touch I decided to add "nails proxies": after the
glue dried I drilled a hole in each corner and put needle top in.There some rust was painted around it - bright orange like on the base.
And here are pics of the final model.
Mark also asked me to add some informations about preparing model for the trip so here it is.Solid packing is pretty obvious for me - I treat each and every of my clients seriously therefore I do my best to deliver models safe and sound.
The first protective layer is soft toilet paper - each limb was wraped as well the base.
No comments:
Post a Comment