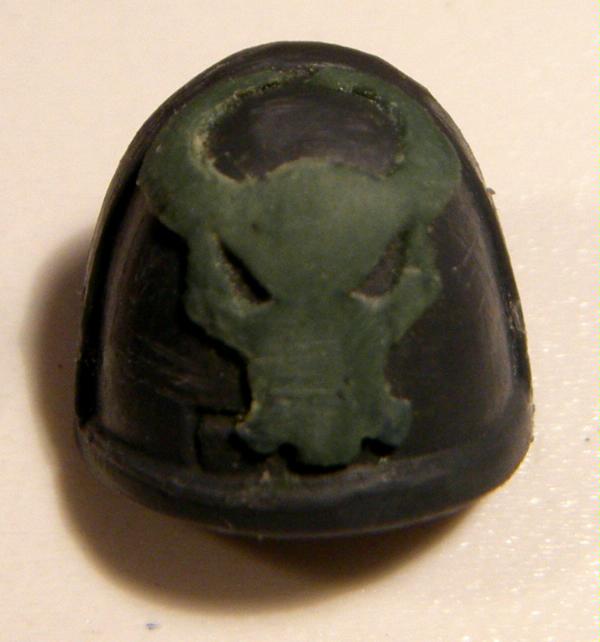
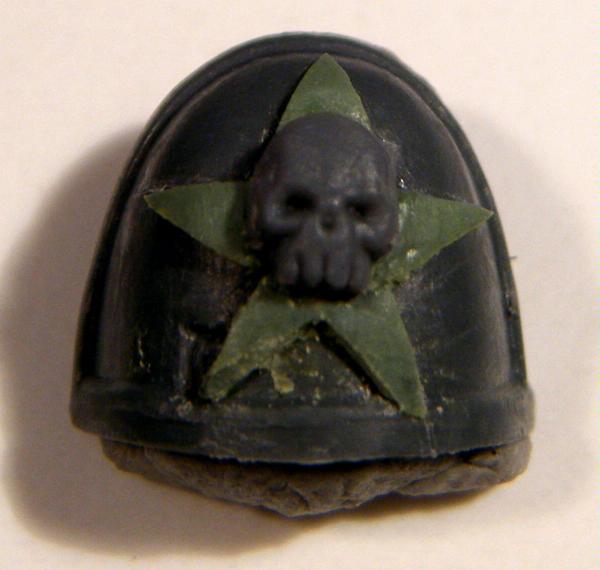
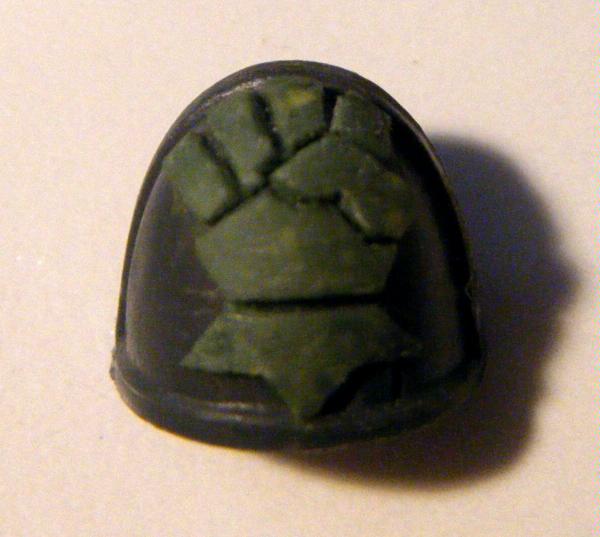
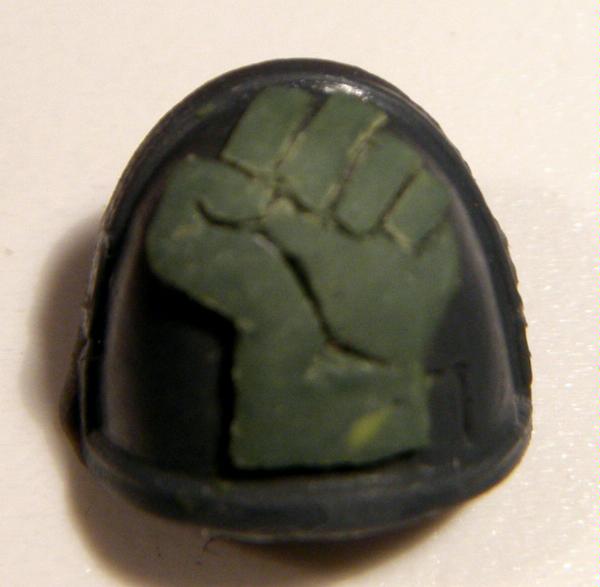
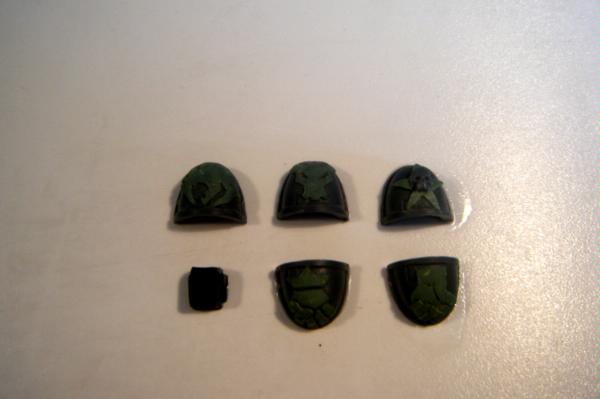
To start with you will want your Master Copies, in this case I used a bunch of plain marine pads and GSd a few chapter symbols on them like so....
Brazen Minotaurs
Invaders
Iron Fists
A test for an alternate Sabre Legion Pad
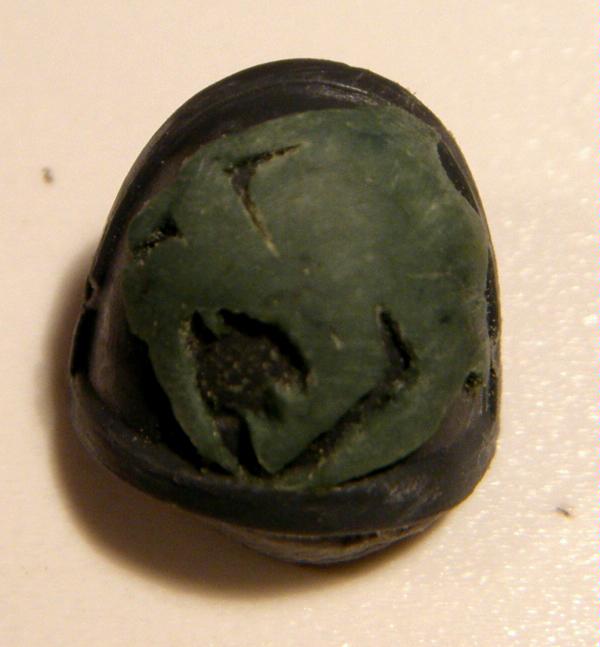
And another test for a pad based on my Avatar pic
So you have your Master Copies and now you need your casting materials,
For the molds I use a two-part silicone called Pinkasyl I get it from a special effects and modelling shop in NZ but I'm sure its available elsewhere,
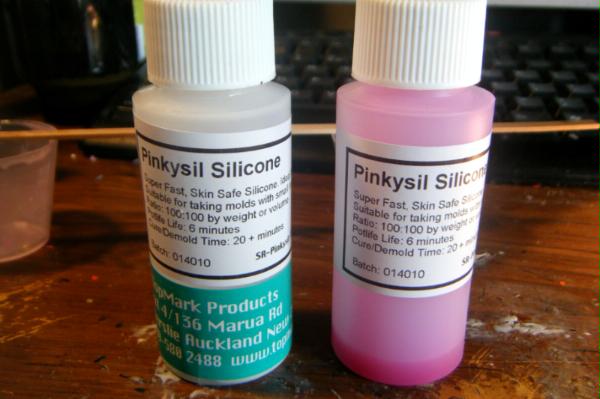
These are not the original bottles so I am not sure what they look like but the name what you need, I use Pinkasyl because of the low temperature when curing ( your master copies won't deform), the incredibly quick curing time ( 15-20 mins, less if you sit it under a lamp and heat it up) and lastly because of it's high flexibility which increase the life time of the mold.
For the resin I use "Easycast" it comes form the same company as the Pinkasyl and was recommended by them as they demold without the use of a release spray or oils. This is really handy when it comes to painting as you will not need to wash the resin casts woot!.
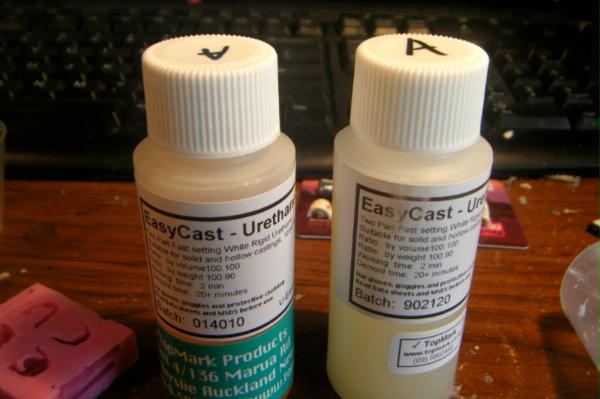
Same as the Pinkasyl, Easycast is a quick curing and simple to use product, they are both 1:1 mixtures which means they use equal parts A and B so they are simple to mix and usually only need one mixing cup. Another fun fact is that once you have mixed and poured the rubber and resin out of the mixing cup and then cured you can just yank out the remnants and the cup is ready use again!
Ok so the most important part of the process is setting up the mold properly. If the master copy moves in the mold box then the wall of the mold can be too thin and may break letting resin spill everwhere and basically ruining your day so to begin with...
Step 1 : the mold base
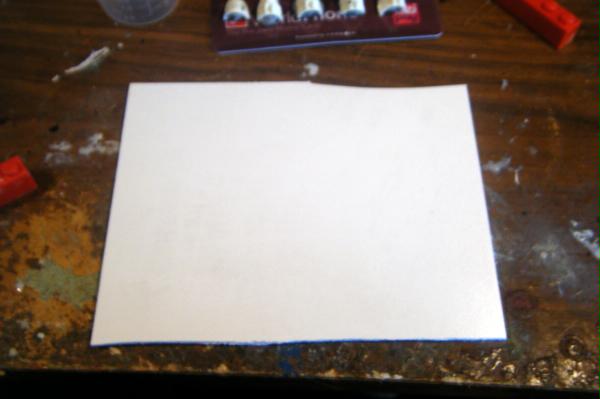
Basically a piece of plasticard big enough to hold the master copy or copies and the mold box material in this case lego
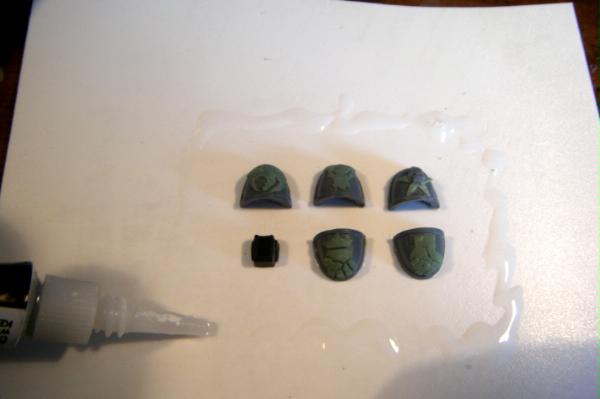
Step 2 : glue master copies to base
Use a minute amount of superglue to fix the pads to the base, just enough to keep them from shifting when you pour in the silicone mixture but not so much that you cant break them off the base later.
Step 3 : make up a lego box around your master copies and superglue it down
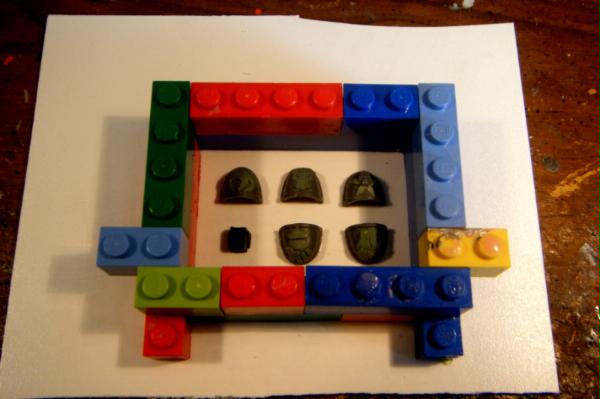
In this case don't be stingy with the glue as it will keep the silicone from leaking out the bottom and again, ruining your day.
Make sure to leave about a 5mm gap around the edge of the mold and between all the pieces in the mold, this will give the walls enough strength that they will flex but not break again extending the life of the mold.
Step 4 : mixing the silicone.
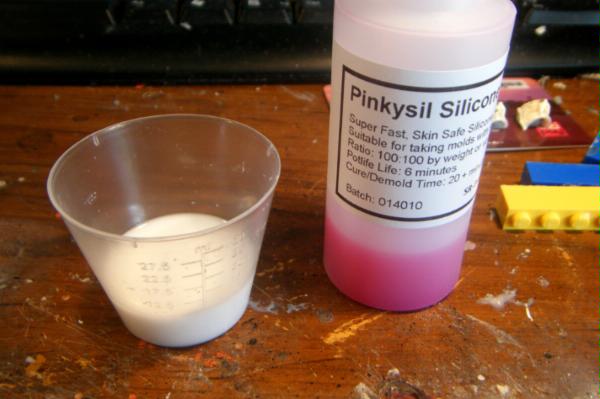
I usually use one mixing cup and pour either part A or part B into the cup up to say the 5ml mark then pour the other part into the same cup up to the 10ml mark.
This saves making a mess in two cups and when you pour from one cup into another there is often wastage and a loss of some of the liquid. The main thing is to make sure you get hold of a decent clear plastic measuring cup with highly visible measure marks medicine cups are the best.
Step 5 : pouring the silicone
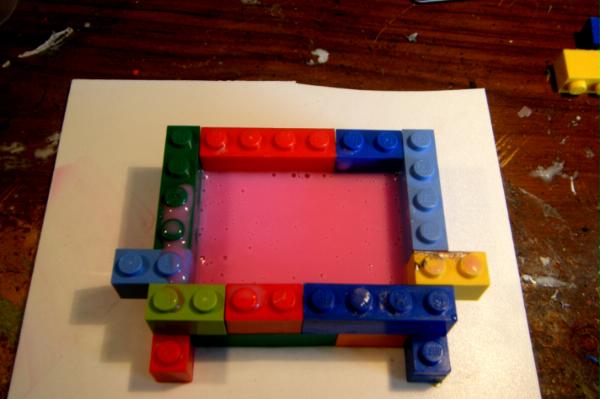
Pretty straightforward, can be messy but use your mixing stick to lay a bit of the mixture over the most detaiedl parts of the master copies so that all the cracks and details get covered properly, then pour in the rest of the rubber making sure to cover them completely you want about 5mm of rubber above the top of the masters in the mold so that there is a solid base to the mold. I also like to stir the rubber slowly with a toothpick to get rid of bubbles which can screw your model up, especially with shoulderpads as the inside of the pad is a notorious bubble trap and having to carve this area out really sucks.
Step 6 : let it cure or be impatient like me!
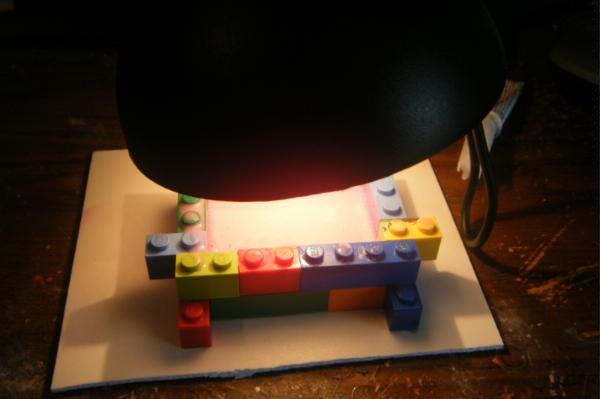
O,k so you can wait 20mins to let it cure or put it under a heat lamp and it will cure in like 10mins or less, I do this because I hate waiting but there is a downside! bubbles that would have usually rise to the top will get stuck in the mold and could potentially ruin it, again stirring slowly with a toothpick should break up the worst of this.
Step 7 : You have your mold!
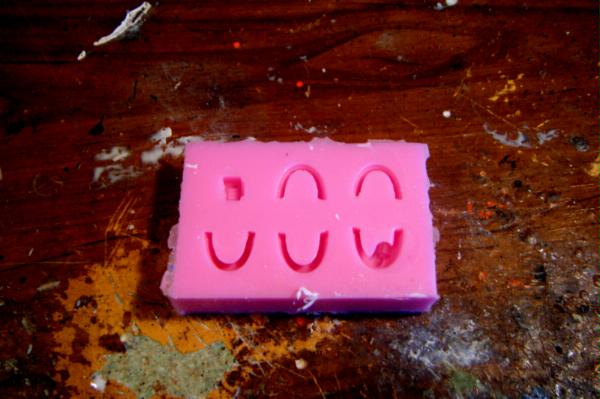
You should end up with something like this, as you can see on the bottom right hand corner there is a large void in under the shoulderpad where a bubble formed, Doh!
Step 8 : mix up some resin
Didn't take a pic as this is exactly the same process as mixing the silicone, at this point I just wish I had a mixing cup with a spout on the lip as pouring the resin into the mold is always messy!.
Step 9 : pouring the resin
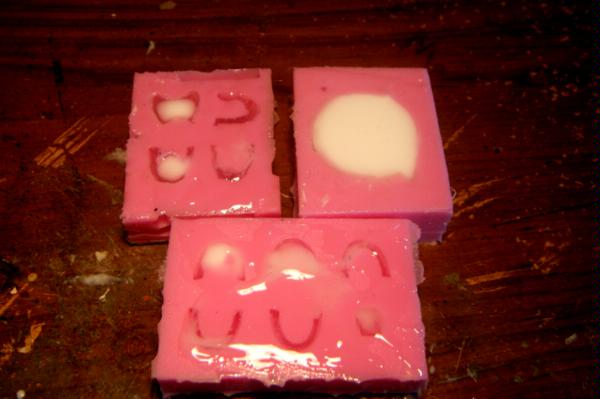
Having poured the resin you will end up with something like the above pic, now fortunately shoulderpads use a minute amount of resin so it would be wise to make a few different molds so that you have them on hand when doing your first pour so that you can use the extra for something productive, in this case I poured the 5 pads, a special ammo clip, a muscle torso , 3 lion pads and a custom base with 5mls of resin, not too bad
 Again you can use a heat lamps to cure the resin quicker, and demolding
before the pieces are completely hard will allow you to carve off flash
and bubbles a lot easier.
Again you can use a heat lamps to cure the resin quicker, and demolding
before the pieces are completely hard will allow you to carve off flash
and bubbles a lot easier.
Step 10 : Demolding and flash removal
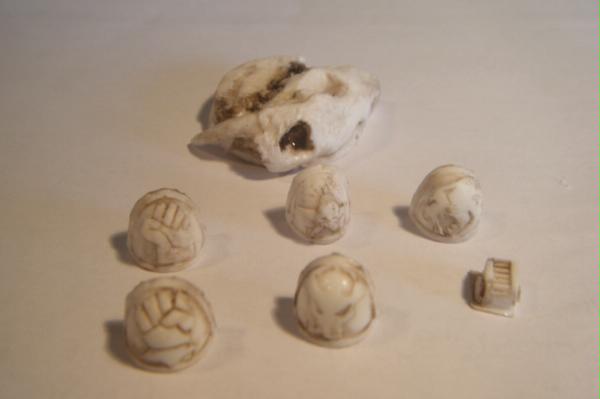
After you pop out the resin casts and cut off the flash you should end up with something like the above, I have washed them in devlan mud to pick out the details in this pic.
Several of these had bubbles along the edges which I will have to fill in with GS but thems the breaks.
So there it is my method for resin casting, hopefully this makes sense to everyone and helps to get your creative juices flowing!
No comments:
Post a Comment