Do-It-Yourself: Paint Cases and Dropper Bottles

I use craft paints for most of my painting, but I had the chance to try out some dropper bottle paints recently. It inspired me to see about making my own, along with a paint case for storage and transport.
DIY Dropper Bottles
Craft paints work just fine for my painting. I realize they don't have all the qualities of model paints, but they are about one-tenth the price per ounce and are available in a dizzying array of colors. For an average painter like me, they are more than adequate.
For those considering craft paints, my favorite brand for flow quality and pigmentation is Delta Ceramcoat ($1.20 for 2 oz.), though I use others as well. The main drawbacks to craft paints are the size, which affects transport and storage, and ease of dispensing. Miniature painters don't need much paint as a time, but even the small openings on craft paint lids may give too much paint at once, resulting in waste.
After seeing other club members using Reaper and Vallejo paints with their nifty dropper bottles, I decided a change was in order. A bit of searching led to this eBay seller advertising 100 15ml-dropper bottles (same as Reaper and Vallejo) for $36 bucks shipped. They also have smaller quantities.

I jumped at the opportunity and a week later they arrived at my door from Hong Kong. Here's a comparison shot of the various types of bottles next to the dropper bottle I ordered (the one with the white cap).

The bottles are about the same size as Reaper bottles. These bottles are intended for retail, so they have a lock ring on them, so you'll have to screw the cap on and off to break off the lock ring.
When squeezing the craft paint into the bottles, I highly recommend holding the empty bottles a bit squished. That way when the inevitable clog happens in the neck (craft paint is quite thick), you can release the squish and it will suck the paint into the bottle. Having toothpicks on hand to clear any clogs is a good idea also.
I've only had them for a couple of weeks, but they seem to work well. They dispense the paint in very small amounts. I don't know if they will be prone to clogging over the long run, but the dropper ends are simple to remove for cleaning with a needle or toothpick. I've got all my bottles of craft paint in storage for when I will need to refill the droppers. Now all I need is a way to store them....
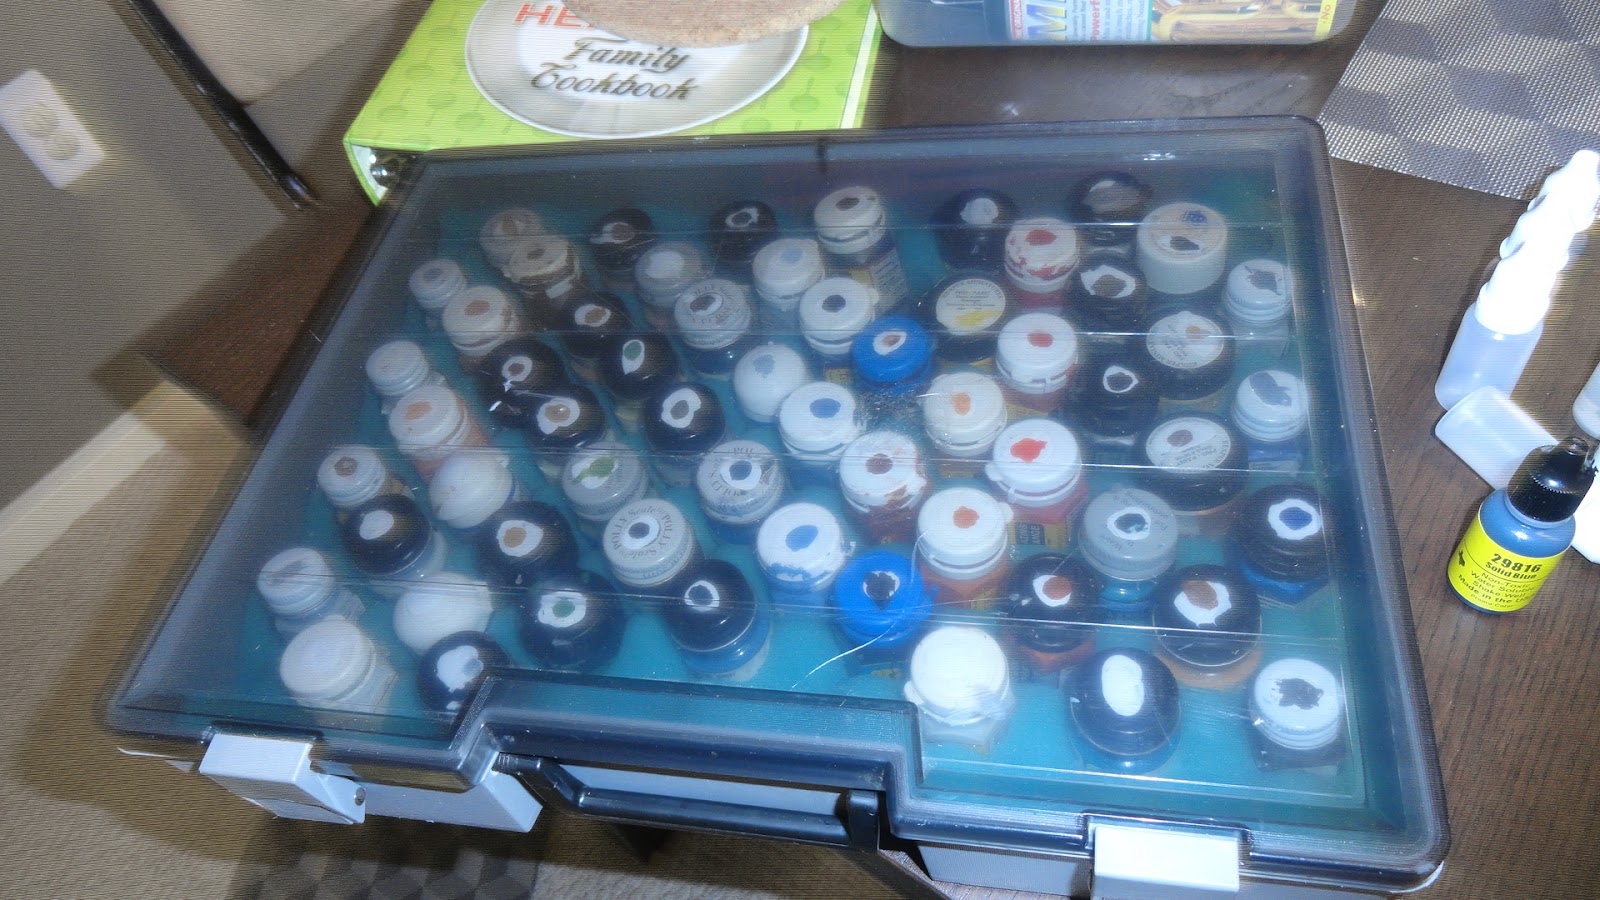
Make Your Own Paint Storage and Transportation System
After transferring all my craft paint into dropper bottles, I wanted a way to store them. Their small size means they will take up almost no space in a small box, but I also wanted a way to transport them, since the club has been having more painting nights. Here's what I came up with.
What you will need
1) Foam -- Either eggshell or flat top foam will do. The top of the flat foam or bottom of the depression in the eggshell should be no more than half the height of the paint bottle. I used some scrap eggshell for this project.
2) Plastic case -- I highly recommend heading to your local resale shop and reusing a case. The cases in this review cost me just $2 or $3 each! All that matters is the height of the case. It needs to match, or be only slightly taller than the paint bottles. Paint bottle heights are below:
- Current or previous generation Games Workshop paint pots are 1.25 inches (4.5 cm) tall
- Old style Games Workshop pots, and most half-ounce pots of model paint (Model Master, Polyscale, etc) are 2 inches tall. The small square glass bottles of hobby paint are just a bit shorter.
- Most dropper bottles are 3 inches tall.

3) Foam cutters -- You can cut the foam with a knife, but it's a messy business. Instead, head to your hardware store and get 1 inch and 3/4 inch copper fittings. They will cost you about $1 each.
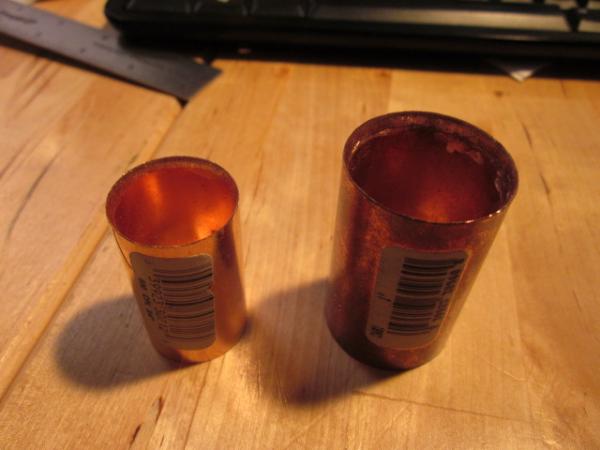
Then take a grinding wheel or a Dremel and grind out the inside edge of the fittings until they is nice and sharp. By twisting them into the foam with a slow rotating motion, these cutters will remove a nice round plug of foam. Note that the measurements given when you buy the fittings are not actual; the real interior or exterior diameters of the fittings are actually larger. The larger fitting will give you a cavity about 31 mm in diameter, perfect for larger paint pots and bottles. The smaller fitting will give a hole about 24mm in diameter which is ideal for dropper bottles.
4) Diamond-coated file, Dremel -- For making the foam cutters above. The diamond file is particularly useful for periodic sharpening as you start carving holes in your foam sheet.
5) Glue gun -- I find a glue gun is great when dealing with soft plastics and foams. Contact cement also works well, but it stinks to high heaven.
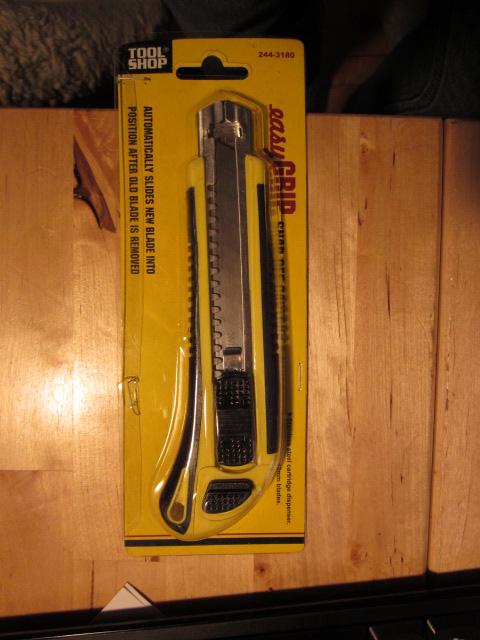
6) Knife -- For cutting the sheet of foam to fit. I have an electric carving knife that I picked up from a resale shop, but a razor knife, or even a serrated bread knife will work also. Here's a good cheap option.
How To Make the Case
1) Cut the foam to fit the case. Cut it about 1/4 inch wider than your measurements to ensure a nice tight fit.
2) Cut the cavities for the paint with your foam cutters. When using eggshell foam, just place the cutter in the depressions and you'll end up with evenly spaced holes. For regular foam, it's best to measure first to determine where the cuts should be. Briefly sharpen the cutter using your diamond file every 15 holes or so. Copper is a soft metal and foam blunts it quickly. For making larger holes, you may need to let the holes overlap. This is OK; the paint will be held in place just fine, like in this pic.

3) Glue the newly cut sheet into the case. Hot glue cools quickly, so start from one corner and glue down one row at a time diagonally, giving 20 seconds or so for it to dry before gluing the next line. The results should look something like this.


No comments:
Post a Comment